
There is nothing in this world quite like the smell of warm bread baking when you know you didn’t have to wait hours for it to rise. That’s the joy of this recipe! I’m talking about the real deal: Traditional Irish Soda Bread. It’s my absolute favorite bread because it’s the definition of a quick baking recipe—you can go from pantry staples to a crusty loaf in under an hour. My background, mixing intense Mexican tradition with my mom’s knack for Southern ingenuity, taught me that the best comfort food is often the simplest. And believe me, this authentic soda bread is the definition of simple comfort. Forget fussy yeast; we’re going straight to the good stuff.
- Why This Traditional Irish Soda Bread is Your New Go-To Recipe
- Gathering Ingredients for Your Soda Bread
- Expert Tips for Perfect Soda Bread Texture
- Step-by-Step Instructions for This Quick Baking Recipe
- Savory Bread Varieties: Making Cheddar Herb Soda Bread
- Serving Suggestions for Your Homemade Loaf
- Storage and Reheating Instructions for Soda Bread
- Frequently Asked Questions About Soda Bread
- Estimated Nutritional Profile for Classic Soda Bread
Why This Traditional Irish Soda Bread is Your New Go-To Recipe
I’ve tested countless bread recipes over the years, both professional and personal, but I always come back to this traditional Irish Soda Bread when I need reliable comfort fast. Why does it win every single time? Because it ticks every box for the busy home cook who still wants that incredible, rustic bread baking experience.
- It delivers amazing texture without demanding hours of rising time—it’s the ultimate Easy Homemade Bread.
- The ingredient list is super short, relying only on common pantry items you probably have right now.
- It’s versatile! It’s practically a necessary pairing for any hearty soup or stew.
The Magic of No Yeast Bread
This is what makes it such a Quick Baking Recipe. Instead of waiting for living yeast to do its job, we use chemical energy! The combination of baking soda reacting with the acid in the buttermilk creates carbon dioxide bubbles instantly. This means you mix, shape, and get it into the oven almost right away—no rising time needed, which is great news for Recipe for Beginners.
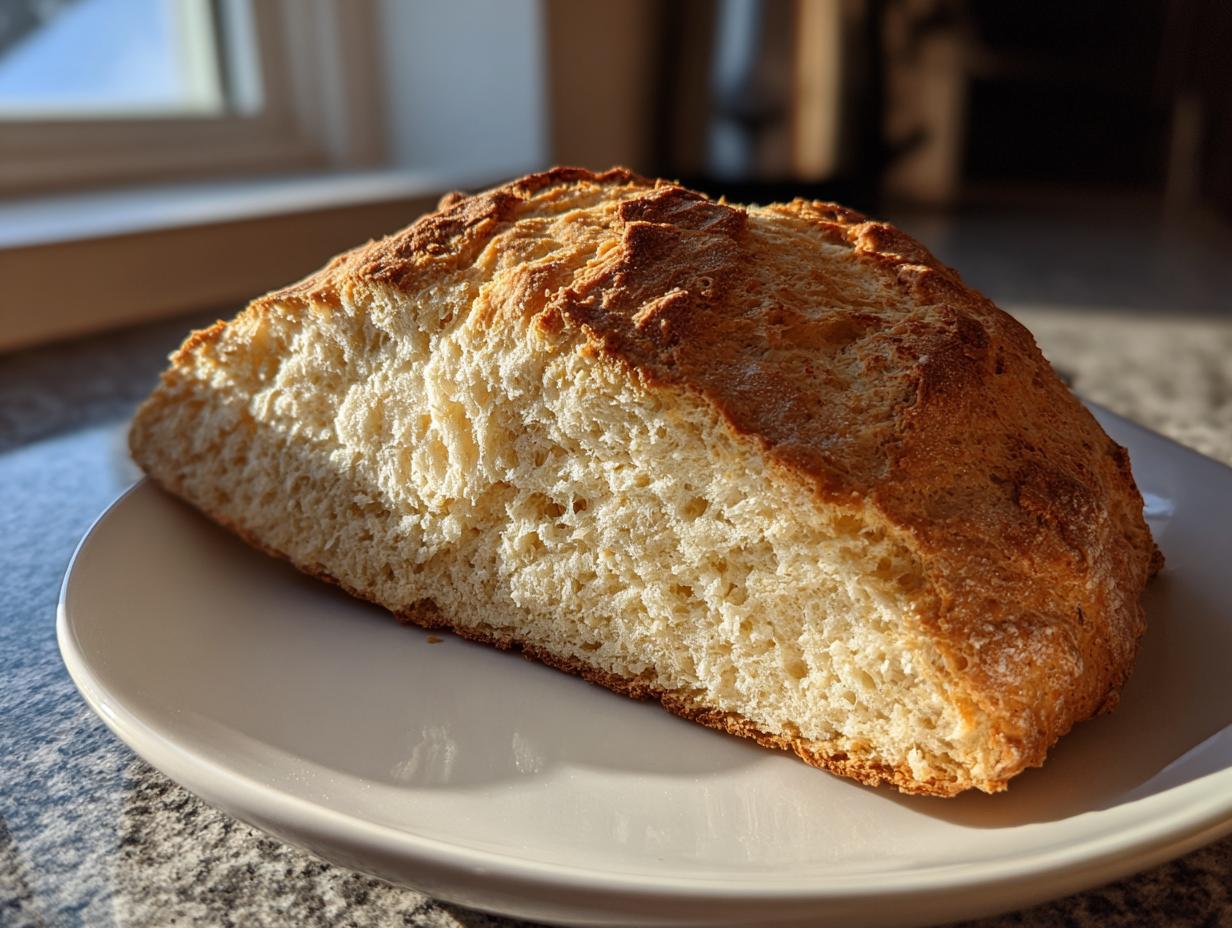
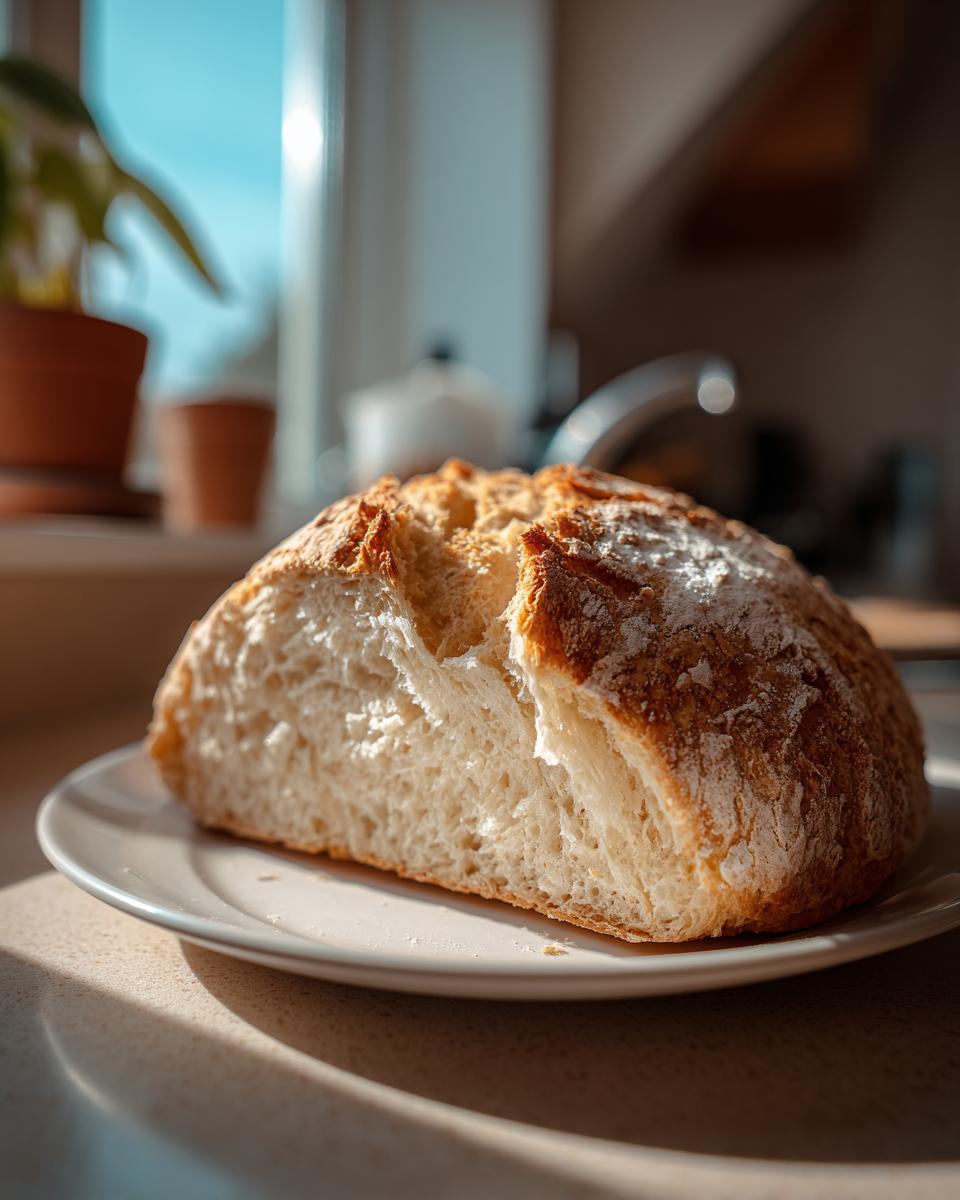
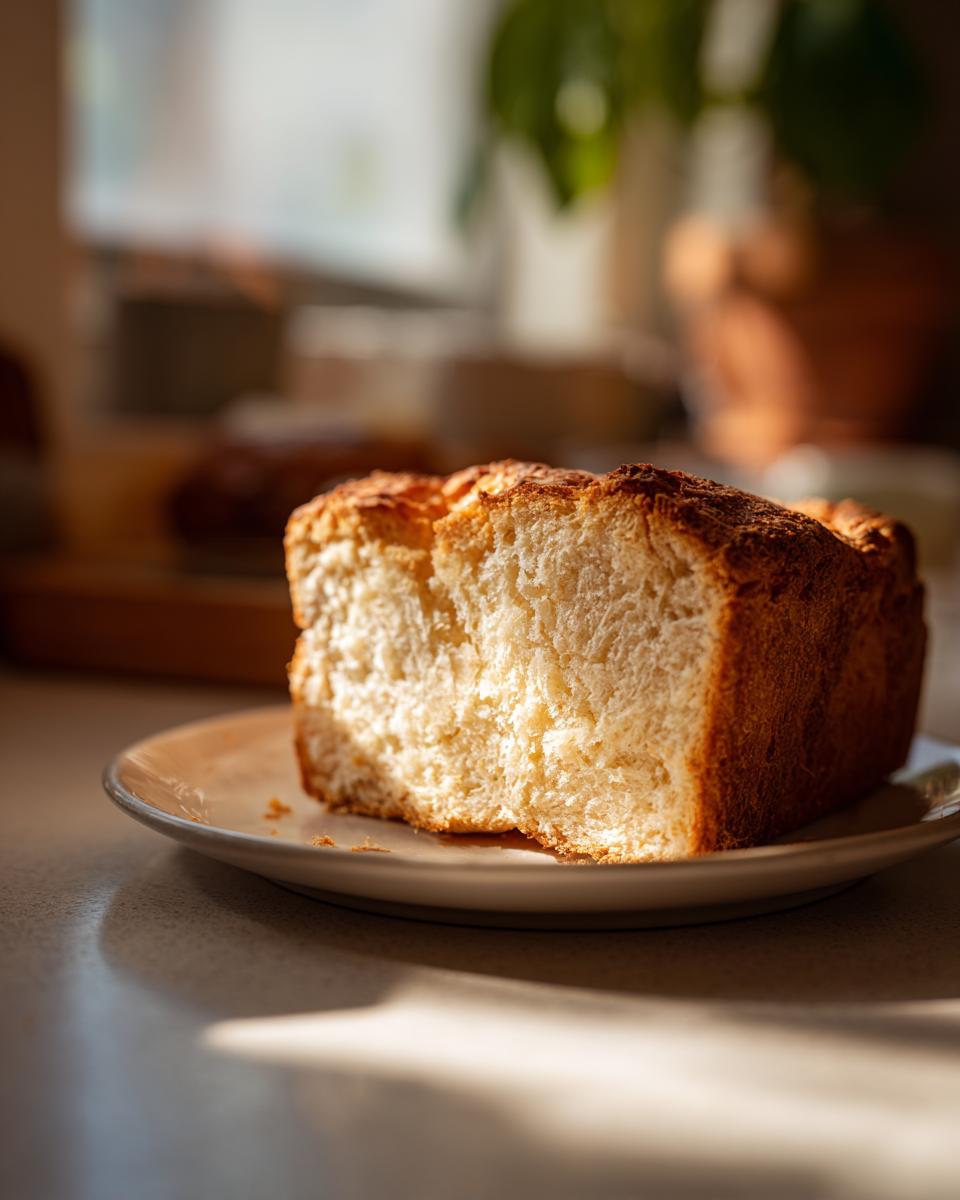
Perfect Texture: Crusty Outside, Soft Inside
What you’re aiming for is that wonderful contrast that makes Rustic Bread Baking so satisfying. This recipe promises a tough, golden, wonderfully crusty exterior paired with a soft, slightly dense, and tender crumb inside. It holds up beautifully to butter or dunking!
Gathering Ingredients for Your Soda Bread
Making wonderful Buttermilk Bread doesn’t require tracking down exotic items. That’s the beauty of this Simple Pantry Recipe—it relies on things you likely already have on hand. Precision here is key, though, because the chemistry between the baking soda and the buttermilk is what makes this bread work its magic so fast.
For the basic, traditional loaf, just keep these things in mind:
- 4 cups all-purpose flour (no need to sift it twice, honestly)
- 1 teaspoon baking soda (make sure it’s fresh!)
- 1 teaspoon salt (this brings out the flavor of the flour)
- 1 ¾ cups buttermilk (this is the liquid gold!)
Now, for those traditional touches that really give it character—but remember, these are optional if you want the quickest, simplest version. Many folks include 1 tablespoon of sugar for just a hint of sweetness, and about ¼ cup of raisins or currants for that classic flavor profile.
Expert Tips for Perfect Soda Bread Texture
Listen, the texture of this soda bread can honestly make or break your experience. Since we aren’t using yeast, we rely entirely on a speedy chemical reaction and, crucially, we cannot knead it for long. Over-handling this dough is the kiss of death for light bread! It’s what turns our lovely loaf into something tough. For the best results in your Rustic Bread Baking adventure, mix only until those dry bits disappear. Seriously, stop mixing then. Also, for that beautiful, shiny, golden top? Brush the entire surface with a little melted butter right before it goes into the oven. It locks in moisture and gives you the prettiest crust.
Buttermilk Bread Substitutions
If you open your fridge and realize you’re completely out of buttermilk, don’t panic and run to the store! This is where being a creative home cook comes in handy. You can easily whip up a substitute that works perfectly well in this recipe. Take 1 ¾ cups of regular whole milk—any kind will do—and stir in about one tablespoon of white vinegar or fresh lemon juice. Just let that mixture sit on the counter for about five minutes. You’ll see it start to curdle just a bit. That tangy texture is exactly what the baking soda needs to react, so you’re good to go!
Step-by-Step Instructions for This Quick Baking Recipe
Okay, this is where we put all that planning into action! Since this is a soda bread, the timing is everything, and I mean *fast* timing. First things first: get your oven going. You need it hot—preheat to 400°F (200°C). While it heats up, you need to prep your surface. I usually dust a baking sheet lightly, or if I’m feeling fancy, I use parchment paper. Remember what I said about mixing? We want to avoid overworking this dough at all costs! You’re aiming for about 30 to 40 minutes in that hot oven. The true test isn’t just the look, though. You have to tap the bottom when you think you’re done. If it sounds hollow, you nailed it! For more on speed, check out how others handle their quick loaves here.
Mixing and Shaping the Soda Bread Dough
Once you pour that buttermilk into your dry mix, you need a wooden spoon or your hands, and you need to work quickly, but gently! Mix just until everything comes together into what I call a “shaggy mess.” Don’t worry if it looks a little unrefined; that’s perfectly normal for this No Yeast Bread. Now, turn that dough out onto your lightly floured counter. You must only knead this dough about three or four times—just enough to bring any loose bits together into a smooth, round loaf shape. Any more, and you’ll wake up that gluten structure and your bread will be tough, not tender!
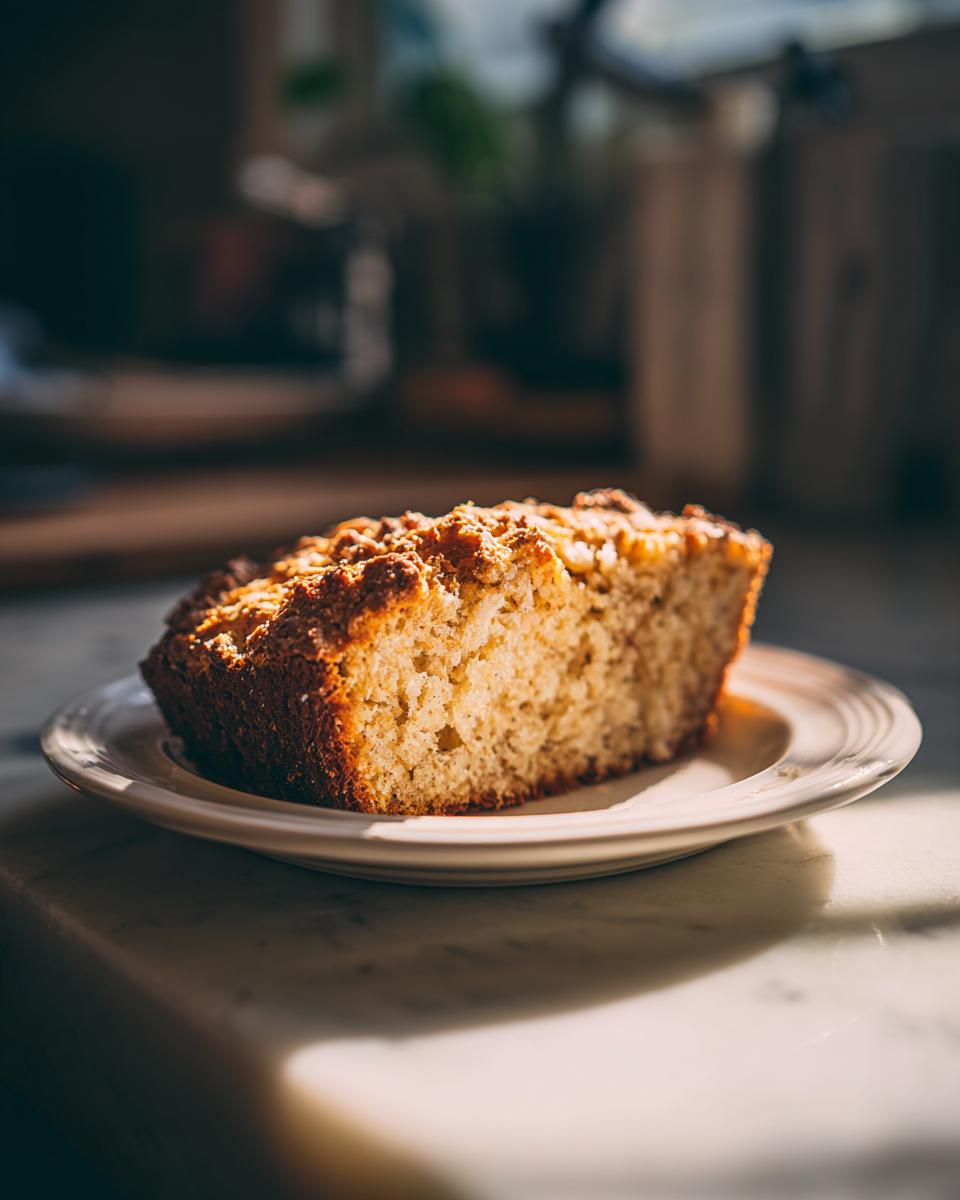
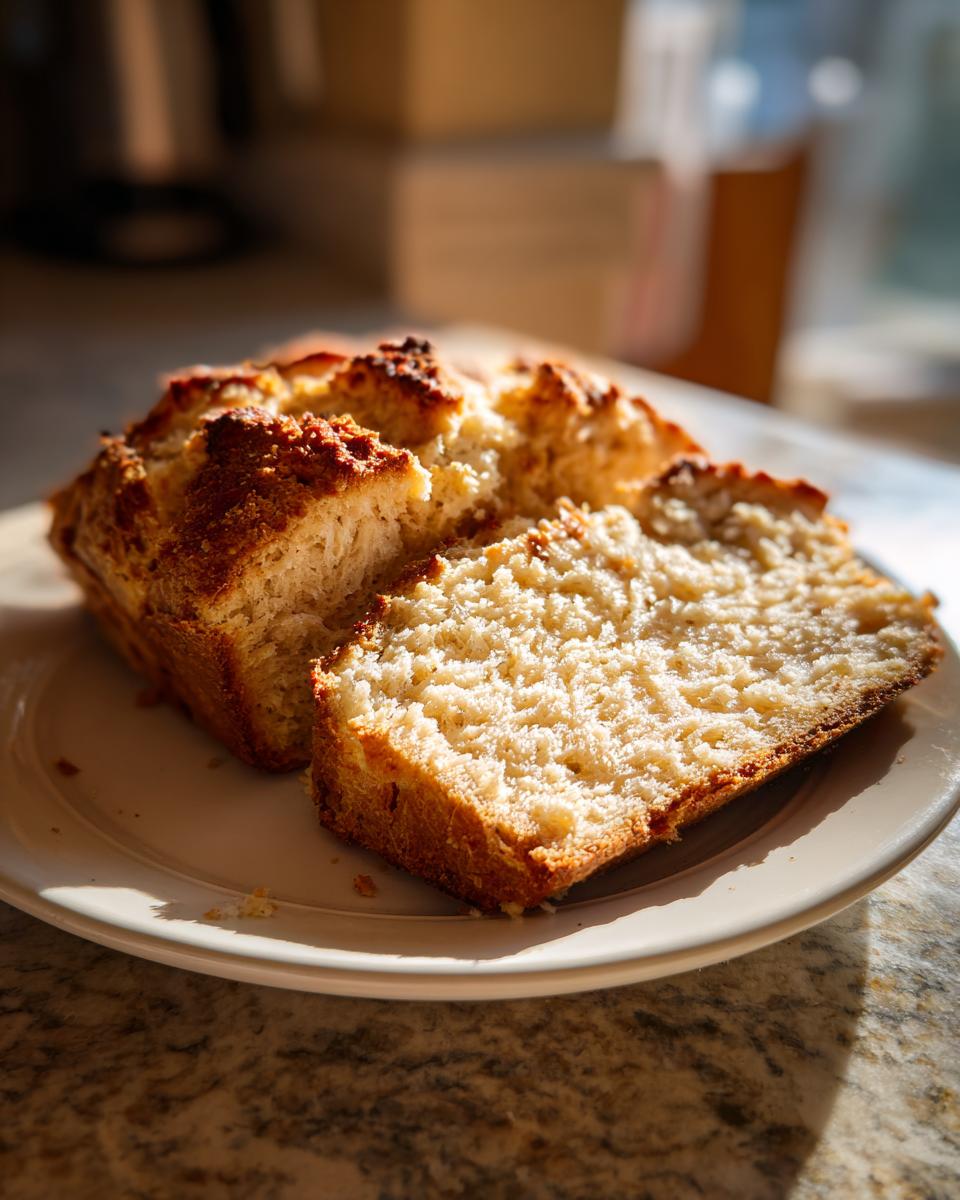
Savory Bread Varieties: Making Cheddar Herb Soda Bread
While the traditional loaf with raisins is absolutely beautiful with a cup of tea, sometimes you need something a little more robust, something better suited to dunking into chili or slathering with butter right out of the oven. That’s where we get into the fun Savory Bread Varieties, and my favorite adaptation is the Cheddar Herb Bread. This is so easy to pivot to! You just add your savory mix-ins right when you are whisking your dry ingredients together.
For this version of soda bread, I recommend folding in about a cup of sharp, grated cheddar cheese and a handful of finely chopped fresh herbs—chives, parsley, or even a little rosemary sing beautifully against that tangy buttermilk. Just be sure you toss the cheese with a teaspoon of flour first so it doesn’t clump together when it hits the wet ingredients. It creates such a fantastic, warm accompaniment for dinner. For even more ideas on savory bakes, you can check out this lovely recipe for cheddar adaptations here.
Serving Suggestions for Your Homemade Loaf
This soda bread is truly versatile, which is why it deserves a spot in your regular rotation. It’s the perfect Soup Side Dish Bread imaginable—nothing beats tearing off a chunk to soak up the rich broth of a stew or serving it alongside a hearty bowl of chili. If you stick to the traditional recipe without the optional currants, it makes wonderful Comfort Food Appetizers when sliced thick and served warm with quality butter, salty or sweet.
Now, my personal favorite way to eat it, especially when it’s straight out of the oven? Sliced horizontally, toasted lightly under the broiler, and smothered in sharp, salty butter and a drizzle of pure maple syrup. Don’t knock it till you try it; that contrast is just heaven!
Storage and Reheating Instructions for Soda Bread
We need to be honest here: this soda bread is truly best when it’s still slightly warm from the oven. That crusty exterior starts to soften up pretty quickly, no matter what you do! If you have leftovers, don’t fret, because we can bring some life back to it tomorrow. Store any remaining loaf tightly wrapped in an airtight container or heavy-duty aluminum foil. I find foil works best to protect that crust.
When you’re ready for a slice the next day, the trick to reviving that crust is heat. Skip the microwave—it just makes it gummy! Instead, pop your slice directly into the toaster oven or under the broiler for just a minute or two until it’s warmed through and you hear the outer edge starting to crisp up again. It’ll taste almost brand new!
Frequently Asked Questions About Soda Bread
I always get these questions when folks try this recipe for the first time, and that’s okay! Baking is all about learning the little quirks of a recipe. Hopefully, these quick answers help you feel more confident about your next homemade loaf!
Can I use regular milk instead of buttermilk for this soda bread?
You can, but you absolutely need to turn it into buttermilk first! If you use plain whole milk straight in, the baking soda won’t react correctly, and you won’t get that lift you need for a light crumb. As I mentioned before, just mix 1 ¾ cups of regular milk with about a tablespoon of lemon juice or white vinegar, let it sit for five minutes until it looks slightly curdled, and then use it exactly as you would buttermilk. It works like a charm for great No Yeast Bread!
How can I tell my soda bread is done baking?
The visual cue is nice—it should be golden brown all over—but the real confirmation comes from sound. Once you pull the loaf out (be careful, it’s hot!), tap the bottom firmly with your knuckle. If it sounds fully hollow, like tapping on wood, it’s done. If it sounds dull or heavy, it needs a few more minutes back in the oven. That hollow sound is the key to a perfectly baked Crusty Loaf Recipe.
Is this bread freezer-friendly?
Yes, but I recommend waiting until the loaf is completely cool before freezing. Wrap it *very* tightly in plastic wrap, then slip it into a freezer bag to keep air out. It keeps well for about two months. When you want to eat it again, let it thaw on the counter, and then slice it and pop those slices into the toaster for that wonderful Warm Bread Recipes feel.
Can I make the Cheddar Herb Soda Bread dough ahead of time?
Because the reaction between the soda and the buttermilk happens right away, I strongly advise against making the dough ahead of time if you are using the traditional recipe. Once the liquid hits the dry ingredients, you need to shape it and get it baking immediately. If you wait, the carbon dioxide bubbles from the reaction will escape while it sits on the counter, and you’ll end up with a dense, flat brick instead of light soda bread.
Estimated Nutritional Profile for Classic Soda Bread
I always get asked about the nutrition, especially since we’re using simple pantry staples here. Knowing what’s in your food is just part of thoughtful home cooking, right? This information is based on the traditional recipe I shared above—if you add things like cheese or extra sugar, those numbers will obviously change. These figures are just a nice guideline for you to have.
Keep in mind that this is an estimate. The exact mineral and vitamin content can fluctuate based on the brand of flour or if you use whole milk versus a substitute for your buttermilk. For example, if you skip the optional sugar, your carbohydrate and sugar counts will drop slightly. Always treat this as a general snapshot of your delicious homemade loaf!
- Serving Size: 1 slice
- Calories: 250
- Fat: 2g
- Saturated Fat: 1g
- Trans Fat: 0g
- Cholesterol: 5mg
- Sodium: 350mg
- Carbohydrates: 54g
- Fiber: 2g
- Protein: 8g
- Sugar: 3g
It’s hearty, filling, and perfect alongside a big bowl of soup, which is why I love having this easy recipe on hand for a quick dinner side!
PrintTraditional Irish Soda Bread: Quick, Crusty, and Comforting
Make this traditional Irish Soda Bread, a quick, no-yeast bread that bakes up crusty on the outside and soft inside. It is a simple pantry recipe perfect for serving with soup or butter.
- Prep Time: 10 min
- Cook Time: 35 min
- Total Time: 45 min
- Yield: 1 loaf (8 servings) 1x
- Category: Bread
- Method: Baking
- Cuisine: Irish
- Diet: Vegetarian
Ingredients
- 4 cups all-purpose flour
- 1 teaspoon baking soda
- 1 teaspoon salt
- 1 ¾ cups buttermilk
- 1 tablespoon sugar (optional, for slight sweetness)
- ¼ cup raisins or currants (optional, for traditional flavor)
Instructions
- Preheat your oven to 400°F (200°C). Lightly flour a baking sheet or line it with parchment paper.
- In a large bowl, whisk together the flour, baking soda, and salt. If using, mix in the sugar and raisins or currants.
- Make a well in the center of the dry ingredients and pour in the buttermilk all at once.
- Mix the ingredients quickly with a wooden spoon or your hands until just combined into a shaggy dough. Do not overmix.
- Turn the dough out onto a lightly floured surface. Gently knead the dough 3 or 4 times to bring it together into a round loaf shape.
- Place the loaf on your prepared baking sheet. Cut a deep cross into the top of the loaf, about half an inch deep.
- Bake for 30 to 40 minutes, or until the loaf sounds hollow when tapped on the bottom.
- Transfer the soda bread to a wire rack to cool slightly before slicing.
Notes
- For a richer flavor, you can brush the top of the loaf with a little melted butter before baking.
- If you do not have buttermilk, mix 1 ¾ cups of whole milk with 1 tablespoon of white vinegar or lemon juice and let it sit for 5 minutes before using.
- This bread is best eaten the day it is made for the best texture.
Nutrition
- Serving Size: 1 slice
- Calories: 250
- Sugar: 3
- Sodium: 350
- Fat: 2
- Saturated Fat: 1
- Unsaturated Fat: 1
- Trans Fat: 0
- Carbohydrates: 54
- Fiber: 2
- Protein: 8
- Cholesterol: 5