
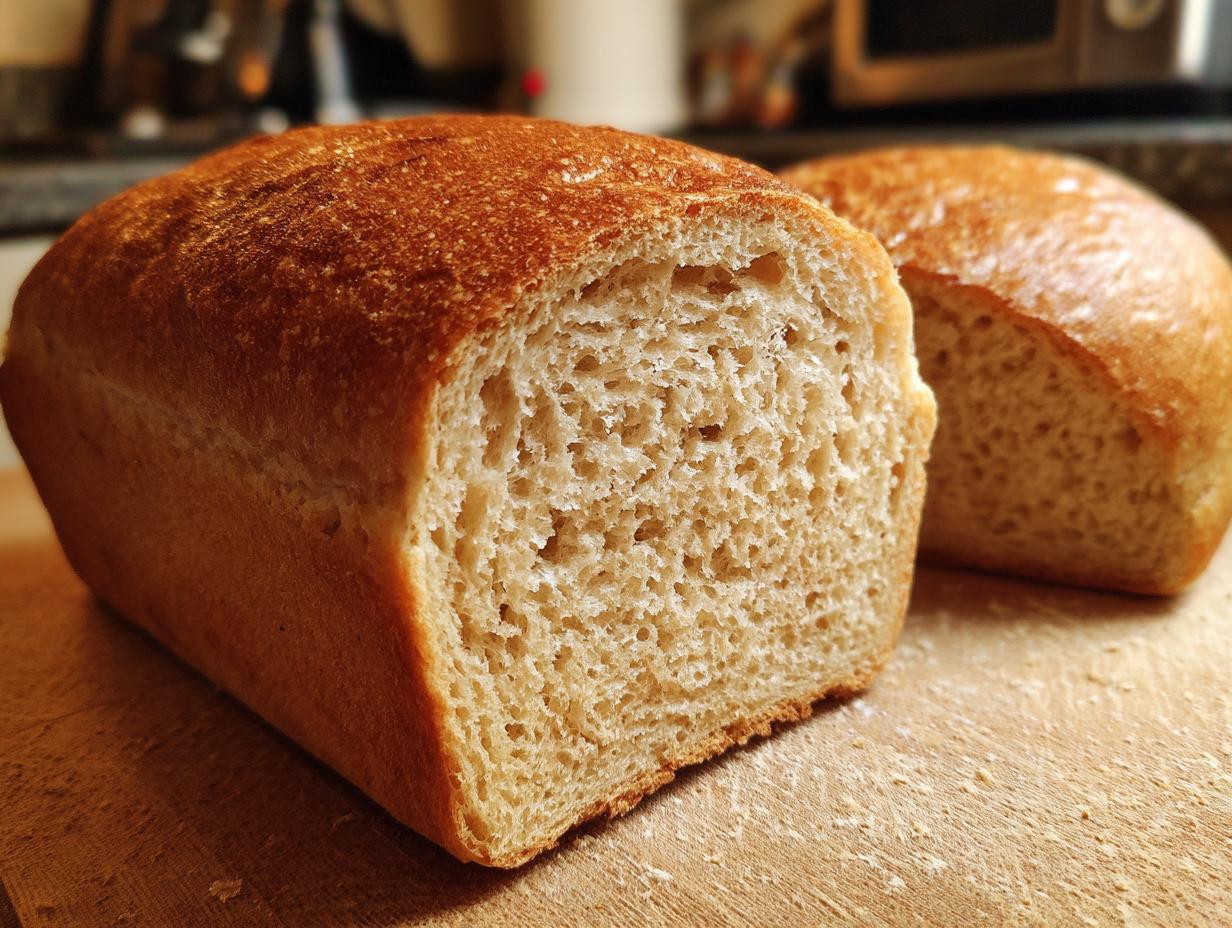
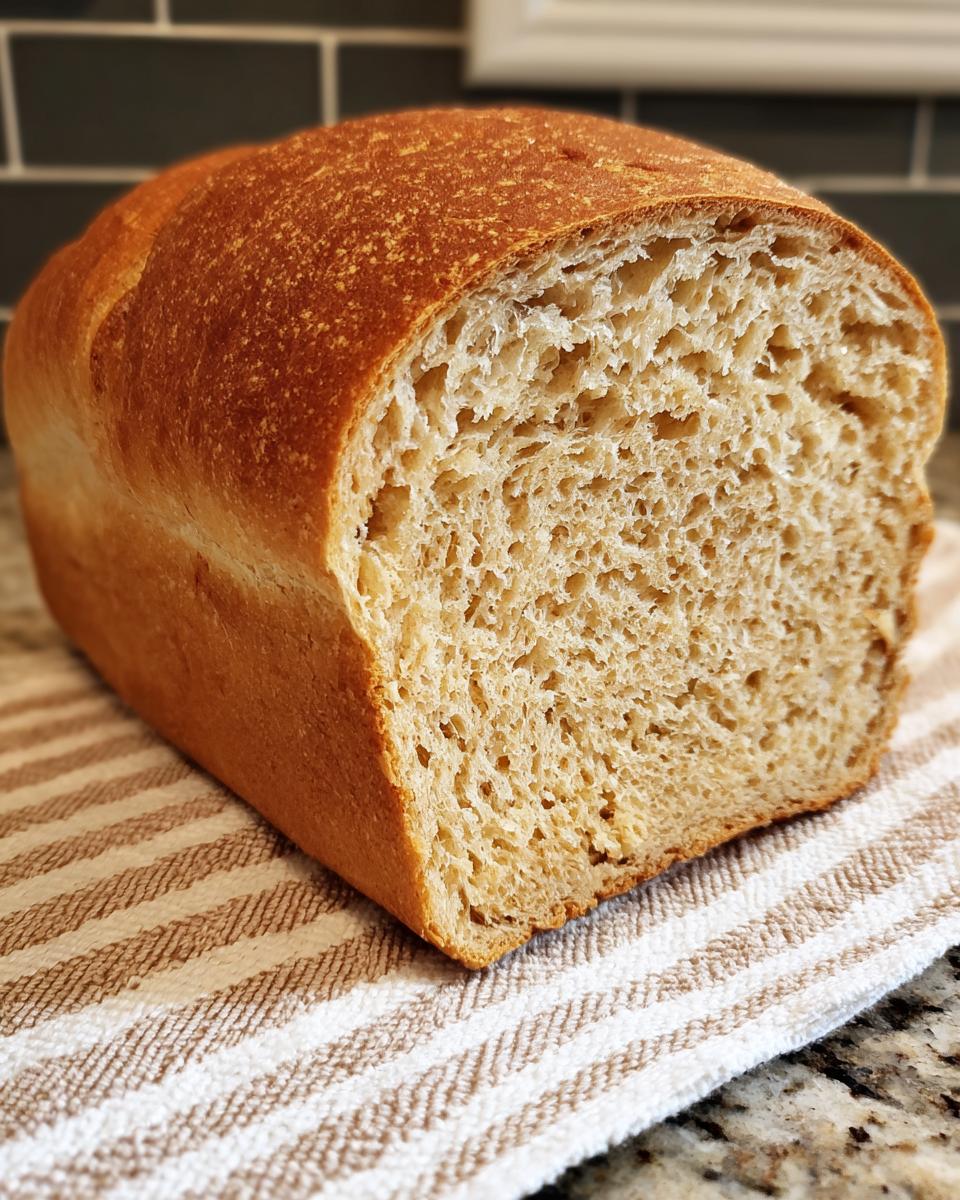
There is nothing quite like the smell of warm, fresh bread filling your entire house, is there? It’s the ultimate comfort food! If you’ve ever been intimidated by the idea of baking your own whole wheat bread, please listen closely: this Soft Honey Whole Wheat Sandwich Bread recipe is your ticket in. It’s seriously beginner-friendly and comes out so soft and fluffy—not dense like a brick, I promise!
When I started developing recipes for Cooking by Mia, making a wholesome loaf that didn’t sacrifice texture was high on my list. I think that commitment to quality you can see in all our recipes, which you can read more about over at the About page. This recipe uses a trick—a little bit of all-purpose flour—to guarantee that melt-in-your-mouth texture every single time. It’s rewarding, it smells amazing, and it makes the best toast you will ever have.
- Why This Soft Honey Whole Wheat Bread Recipe Works for Everyone
- Ingredients for Your Best Whole Wheat Bread Recipe
- Step-by-Step Instructions for Easy Bread Recipe Success
- Tips for Success When Baking Bread From Scratch
- Variations on This Honey Whole Wheat Bread
- Serving Suggestions for Fresh Baked Bread
- Storage and Reheating Instructions for Homemade Whole Wheat Bread
- Frequently Asked Questions About Whole Wheat Bread
- Nutritional Estimate for This Wholesome Wheat Loaf
Why This Soft Honey Whole Wheat Bread Recipe Works for Everyone
I spent ages testing this recipe so you don’t have to worry about failure. That’s my pledge to you here on Cooking by Mia—reliable results, whether you’re whipping up a quick weeknight meal or just baking for fun. This method manages to deliver that deeply satisfying, hearty flavor you expect from whole wheat bread while keeping the texture incredibly light.
- It’s genuinely beginner-friendly; the hands-on time isn’t scary at all.
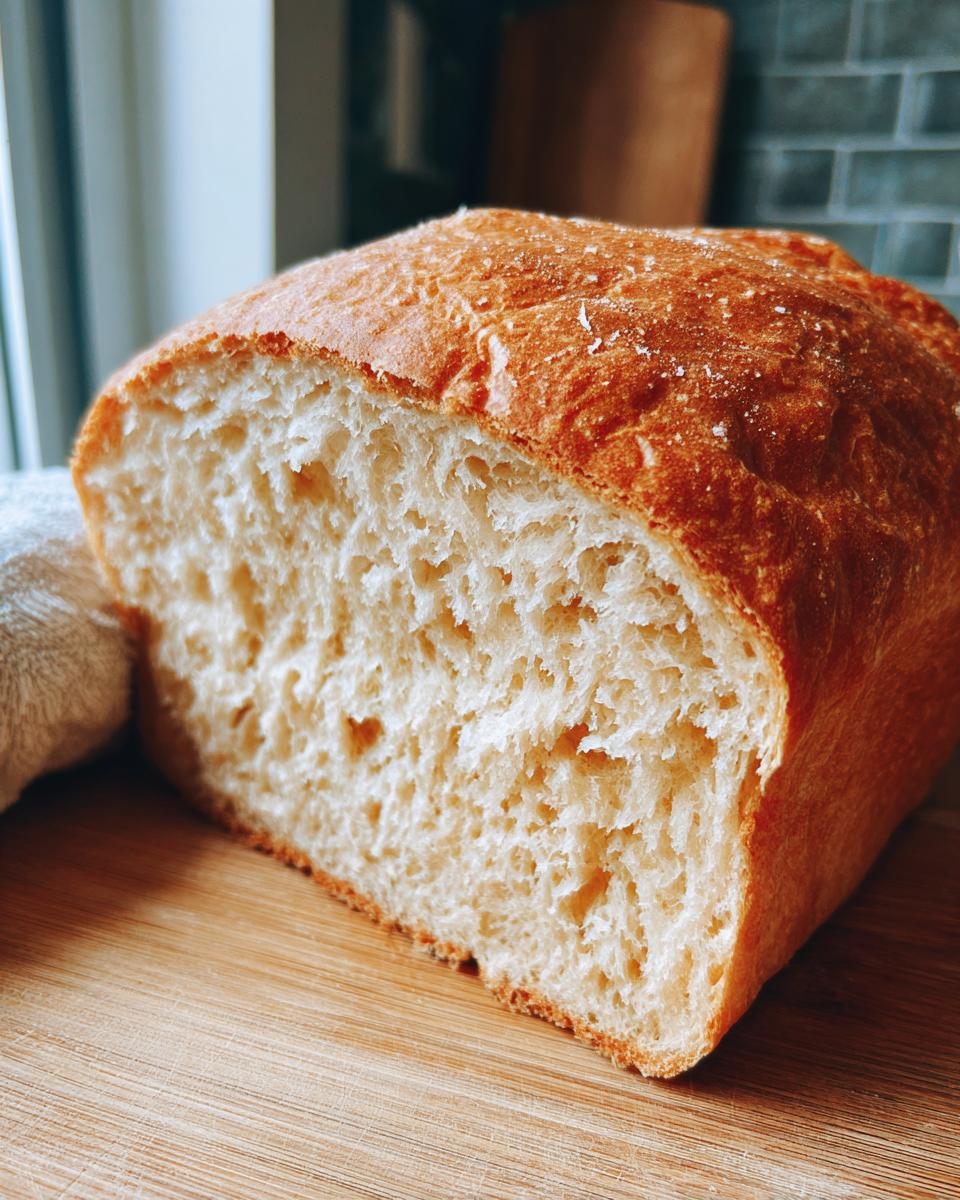
- We guarantee a soft texture, which is rare for 100% whole wheat loaves.
- It slices beautifully, making it the best structure for weekly sandwiches and daily toast.
We test everything rigorously to ensure you can trust what comes out of your oven when you use my tried-and-true processes. If you get hooked on baking bread, check out some fast dinner ideas over at my weeknight dinners page!
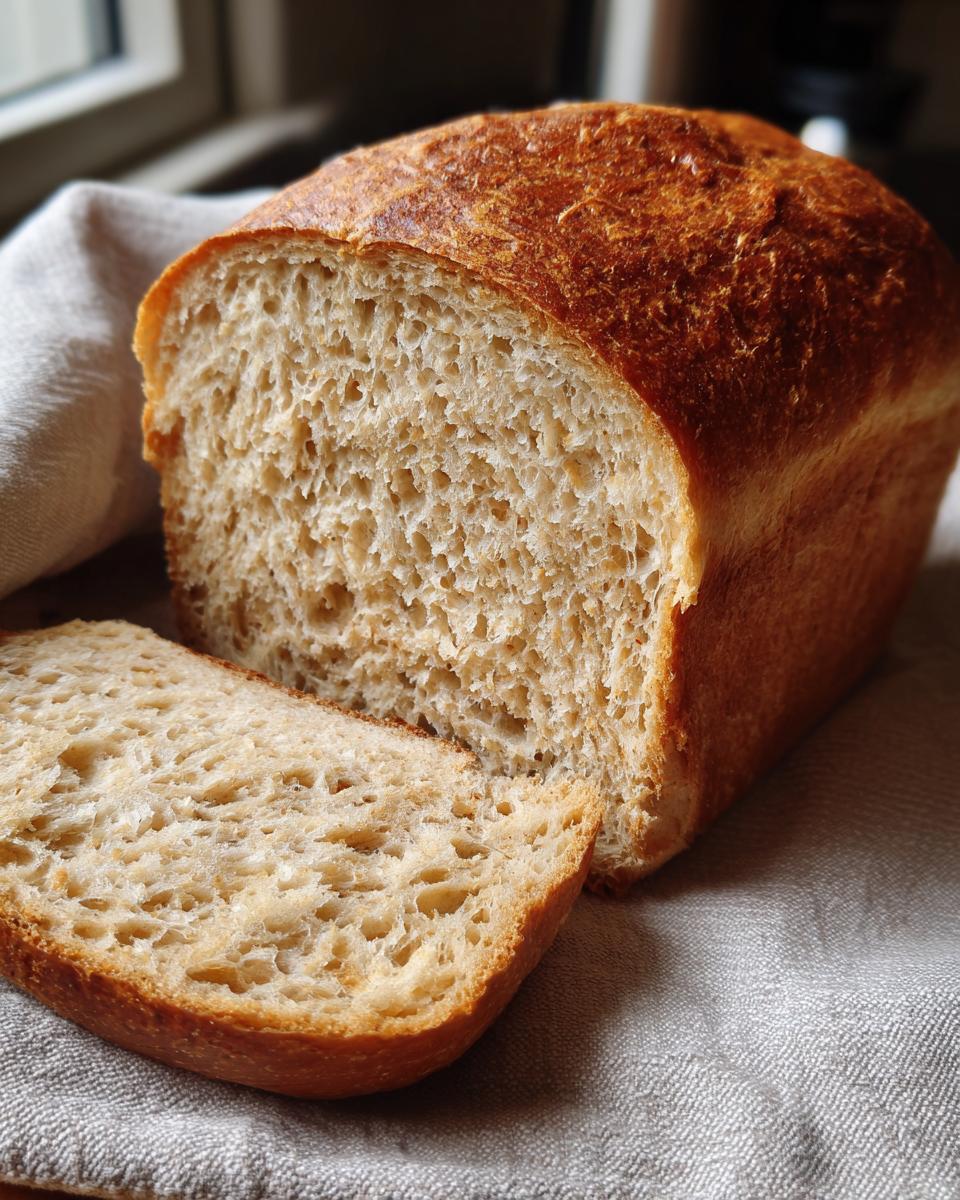
Achieving a Soft Whole Wheat Loaf Texture
The secret to avoiding that crumbly, heavy texture we all fear in whole wheat baking is twofold. First, we use a little bit of all-purpose flour mixed in. Don’t worry, it’s just enough to keep the structure light, so it’s still incredibly wholesome!
Second, the kneading time is important. You need to work that dough until it’s smooth and elastic—that means the gluten has developed properly. This is crucial for that truly soft whole wheat loaf that springs back when you gently poke it. It’s the difference between a dense brick and beautiful, fluffy bread baking perfection.
Ingredients for Your Best Whole Wheat Bread Recipe
Okay, let’s talk about what you need to gather for this batch of whole wheat bread! The beauty of this recipe is how simple the list is. You don’t need a million fancy things cluttering up your pantry; just the core staples to make a truly delicious loaf. Remember, quality counts when the ingredient list is short!
- 1 cup warm water (make sure it’s between 105-115°F—not too hot!)
- 2 1/4 teaspoons active dry yeast
- 1/4 cup honey
- 2 tablespoons unsalted butter, melted
- 1 1/2 teaspoons salt
- 3 cups whole wheat flour, plus more for dusting
- 1/2 cup all-purpose flour (this is optional, but trust me, it helps!)
Ingredient Notes and Substitutions for Whole Wheat Baking Tips
A quick word on those ingredients, because they make a huge difference. Always test your yeast first! If it doesn’t foam up happily when you add it to the warm water, toss it out and grab a fresh packet. That fizz tells you the magic is ready to happen.
Water temperature is next—too hot kills the yeast, too cool keeps it sleepy. Aim for that warm bath temperature I mentioned! If you want a slightly heartier but still soft loaf, you can swap that optional 1/2 cup of all-purpose flour for bread flour instead. Bread flour has more protein and will help build a strong structure for your whole wheat baking tips success.
Step-by-Step Instructions for Easy Bread Recipe Success
Alright, now for the fun part—turning those simple ingredients into amazing whole wheat bread! I always have my playlist on when I bake; it helps me stay patient through the waiting periods. The process is straightforward, but timing is everything, especially with yeast. Make sure you have a clean counter ready for kneading, and remember to check my lunch ideas later for what to put on this loaf!
Activating Yeast and Mixing the Whole Wheat Dough
Step one is getting that yeast happy! Pour your warm water into a mixing bowl and sprinkle the yeast right on top. Give it five minutes to get foamy—that means it’s alive and ready to work! Once you see that bubbly cap, stir in the honey, melted butter, and salt until they dissolve.
Next, start adding the flour, cup by cup. Mix it until it just comes together into a messy, shaggy clump. That’s the visual cue you don’t want to add too much flour too soon. This is where you mix in that optional all-purpose flour if you’re using it!
Kneading and the First Rise for Fluffy Bread Baking
Time to get your hands in there! Turn that shaggy ball out onto a lightly floured surface. Now, knead it for about five to seven minutes. You’re looking for the dough to transform—it should feel noticeably smoother and spring back slowly when you poke it. That elastic quality is what leads to fluffy bread baking success!
Once it feels good, lightly grease a bowl, tuck the dough in, cover it up, and let it rest in a cozy, warm spot for about an hour and a half, or until it’s doubled. Seriously, resisting the urge to poke it during this time is the hardest part!
Shaping, Second Proof, and Baking Your Whole Wheat Sandwich Bread
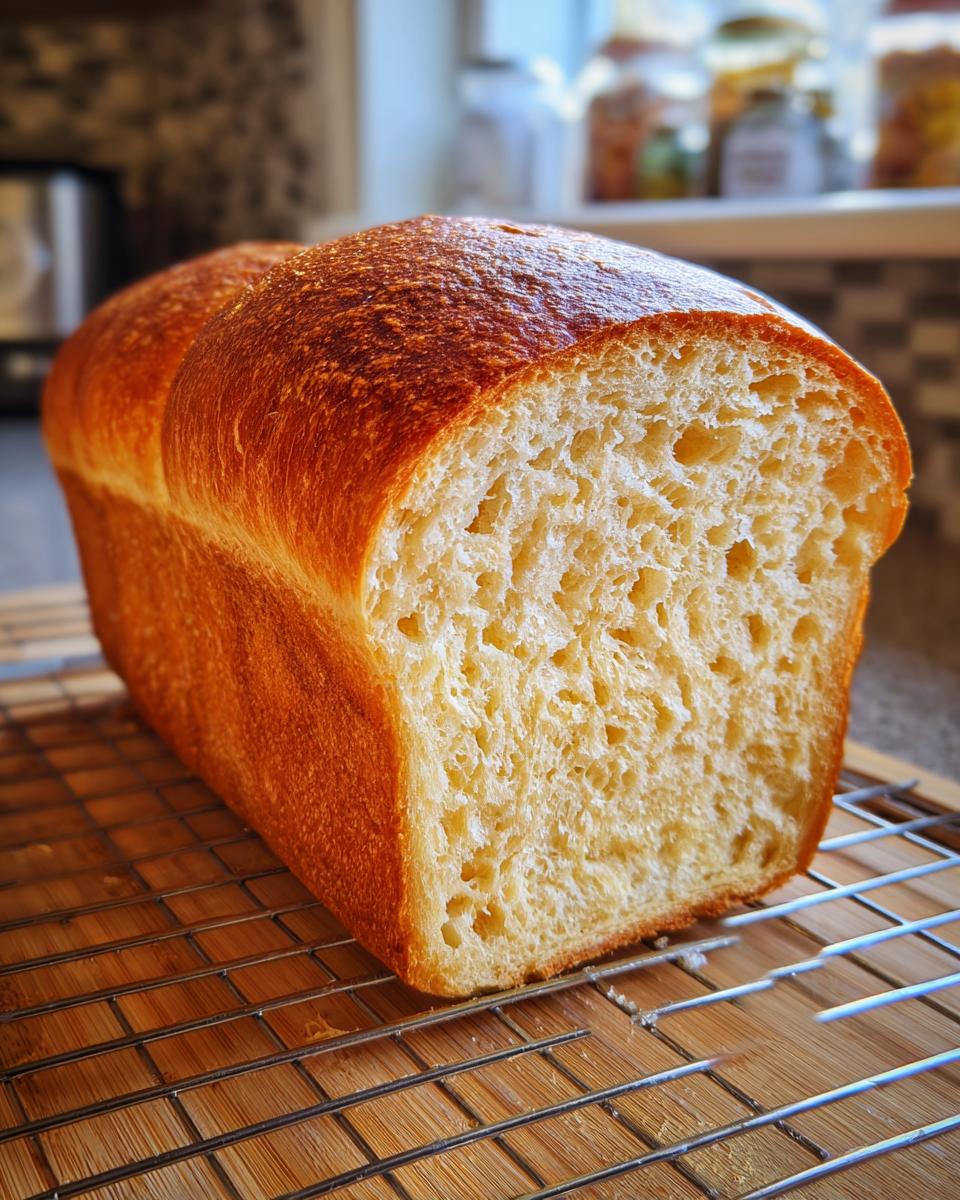
When the dough has doubled, gently punch the air out—that’s called the degas, and it keeps the texture even. Shape it into a smooth log and tuck it right into your greased 9×5 loaf pan. Cover it again and let it proof for about 45 minutes. It should look puffy, crowning about an inch over the rim.
Preheat your oven to 375°F during that last little rise. When you slide that loaf in, bake it for 30 to 35 minutes. My fail-safe signal that the whole wheat sandwich bread is done? Stick a thermometer right in the middle; 190°F means perfection. Please, don’t skip cooling it completely on a rack before slicing, or it gets gummy!
Tips for Success When Baking Bread From Scratch
Baking your first loaf of whole wheat bread can feel like stepping into a science experiment, but trust me, these little tricks make all the difference between a beautiful crumb and a dense disappointment.
- If your dough is just refusing to rise, check your ambient temperature! Yeast is fussy. If your kitchen is chilly, try placing the covered bowl inside your oven with just the oven light turned on. That little bit of warmth encourages a much better second proof.
- When you are ready to move on to slicing—I know, it’s hard to wait!—make sure the loaf is fully, completely cooled on a wire rack. Slicing too early is the #1 reason for gummy texture, even in the best recipes.
- Don’t overwork the dough once the final ingredients are mixed in. We knead it well initially, but after the first rise, just gently shape it—we want to keep those precious air bubbles intact for that fluffy result.
- When you are done, you can find some amazing topping ideas for your finished loaf over on my appetizers and snacks page!
Variations on This Honey Whole Wheat Bread
I love that this base recipe is so sturdy, because it means we can play around with flavors and textures! If you’re looking to turn this into something a little more rustic, try reducing the optional all-purpose flour entirely and instead use a full 3 cups of soft whole wheat flour. You’ll need a little more water, maybe a tablespoon or two, to bring it together.
For a deeply nutty, hearty whole grain loaf, try swapping out the honey for maple syrup—the flavor profile shifts beautifully! You can also stir in about a half cup of toasted sunflower seeds or rolled oats right before that first punch-down. It adds a wonderful chewiness to every slice. When you’re done here, you can explore some sweet ideas over on my dessert recipes page!
Serving Suggestions for Fresh Baked Bread
Now that you’ve got your incredible, soft whole wheat bread cooling, you need to know how to use it! This loaf truly shines when it’s toasted—get that butter melting right into the nooks and crannies. It makes the most satisfying breakfast toast, but please don’t stop there!
For savory meals, use this bread as the foundation for sturdy roast beef sandwiches. If you need a great spread idea, my recipe for creamy horseradish sauce pairs wonderfully with leftover prime rib on one of these slices!
Storage and Reheating Instructions for Homemade Whole Wheat Bread
Getting that beautiful, soft whole wheat bread fresh is amazing, but keeping it that way is the next challenge! My biggest piece of advice: avoid the refrigerator. Seriously, the fridge dries out bread much faster than leaving it on the counter, and we worked too hard for a dull slice!
For short-term storage (say, 3 days), wrap that cooled loaf tightly in plastic wrap or aluminum foil and keep it on the counter. If you need it to last longer, you absolutely can freeze it. Slice it first! Then, wrap the slices tightly in freezer bags. When you want a piece, just pull one slice out.
Reheating is key, especially for day-old bread. A quick 5 to 10 seconds in the microwave will bring back the softness. Or, for the best toast ever, just pop that slice right into the toaster!
Frequently Asked Questions About Whole Wheat Bread
Can I make this recipe using 100% whole wheat flour?
That’s a really common question when you’re aiming for the most healthy homemade bread! You certainly can try, but you might need to adjust the liquid content up a bit. Whole wheat flour absorbs more water than white flour, so if your dough feels too stiff after mixing in the 3 cups, add water one tablespoon at a time until you get that shaggy dough consistency I described.
Why did my homemade whole wheat bread turn out dense?
Oops, been there! A dense loaf usually comes down to one of three things: your yeast wasn’t active, you didn’t let it rise long enough (especially that second proof!), or you didn’t knead it enough to develop the structure. Don’t let that discourage your Beginner Bread Baking journey! Just make sure your water temperature is spot on next time.
Can I freeze this delicious soft whole wheat loaf?
Yes, absolutely! Freezing is the best way to keep this whole wheat sandwich bread tasting fresh for months. I recommend cooling it completely, slicing it first, and then wrapping those individual slices tightly in plastic wrap before popping them into a sturdy freezer bag. You can toast right from frozen—it’s so handy!
What’s the difference between this and a rustic whole wheat recipe?
This recipe is specifically geared toward that soft, fluffy texture that makes amazing sandwich bread. A truly rustic whole wheat recipe usually skips the all-purpose flour entirely and often bakes free-form right on a stone or sheet instead of a pan. That results in a much crispier crust and a chewier, more open crumb—delicious, but different than this fluffy version!
If you have any other questions about any part of the process, please feel free to reach out through my contact page. Happy baking!
Nutritional Estimate for This Wholesome Wheat Loaf
I always try to give you a general idea of what’s in these lovingly baked goods, though keep in mind that exact values depend on the specific brands of honey and flour you use! These estimates are based on one slice of bread from the final loaf.
- Serving Size: 1 slice
- Calories: 140
- Total Fat: 3g
- Carbohydrates: 25g (Fiber: 4g, Sugar: 4g)
- Protein: 5g
Baking at home lets you control everything, so you know exactly what wholesome ingredients are going into your family’s favorite meals!
PrintSoft Honey Whole Wheat Sandwich Bread
Bake a soft, fluffy, and wholesome loaf of 100% whole wheat bread at home. This easy recipe is perfect for beginners and yields bread ideal for sandwiches and toast.
- Prep Time: 20 min
- Cook Time: 35 min
- Total Time: 2 hr 5 min
- Yield: 1 loaf 1x
- Category: Baking
- Method: Yeast Baking
- Cuisine: American
- Diet: Vegetarian
Ingredients
- 1 cup warm water (105-115°F)
- 2 1/4 teaspoons active dry yeast
- 1/4 cup honey
- 2 tablespoons unsalted butter, melted
- 1 1/2 teaspoons salt
- 3 cups whole wheat flour, plus more for dusting
- 1/2 cup all-purpose flour (optional, for a softer crumb)
Instructions
- In a large bowl, combine the warm water and yeast. Let it sit for 5 minutes until foamy.
- Stir the honey, melted butter, and salt into the yeast mixture.
- Gradually add the whole wheat flour, mixing until a shaggy dough forms. If using, mix in the all-purpose flour now.
- Turn the dough out onto a lightly floured surface. Knead for 5 to 7 minutes until the dough is smooth and elastic. You are looking for a soft, manageable dough.
- Lightly grease a large bowl. Place the dough in the bowl, turning to coat. Cover the bowl with plastic wrap or a clean kitchen towel.
- Let the dough rise in a warm place for 1 to 1.5 hours, or until doubled in size. This long rise time develops flavor.
- Gently punch down the dough. Shape it into a uniform loaf and place it in a greased 9×5 inch loaf pan.
- Cover the pan loosely and let the dough rise again for 30 to 45 minutes, or until it has crowned about 1 inch above the rim of the pan. Preheat your oven to 375°F (190°C) during the last 15 minutes of the second rise.
- Bake for 30 to 35 minutes, or until the top is golden brown and the internal temperature reaches 190°F (88°C).
- Remove the loaf from the pan immediately and let it cool completely on a wire rack before slicing for the best texture.
Notes
- For a crispier crust, brush the top of the loaf with water right before baking.
- If your kitchen is cool, place the covered dough in a turned-off oven with the light on for a consistent rising temperature.
- This **best whole wheat bread recipe** works well for making homemade bread that is perfect for toast.
Nutrition
- Serving Size: 1 slice
- Calories: 140
- Sugar: 4g
- Sodium: 250mg
- Fat: 3g
- Saturated Fat: 1.5g
- Unsaturated Fat: 1.5g
- Trans Fat: 0g
- Carbohydrates: 25g
- Fiber: 4g
- Protein: 5g
- Cholesterol: 5mg