
Sometimes you just need a sweet hit, and you need it fast, right? That’s when I turn to the magic of homemade candy, especially when it involves creamy, dreamy fudge. Forget complicated candy thermometers and hours of stirring; my go-to answer for an impressive, quick treat is this incredible white chocolate fudge. It’s foolproof, ridiculously easy, and always gets rave reviews when I bring it to gatherings. Trust me, I spent years developing reliable recipes professionally, and this simple formula is gold. It provides that rich, melt-in-your-mouth texture everyone craves in just minutes of active work. If you want to whip up something delicious without turning on the oven, you absolutely have to see this recipe. For more on my culinary background and commitment to dependable home cooking, you can always check out my journey over at Cooking by Mia.
- Why This is the Best Easy White Chocolate Fudge Recipe
- Gathering Ingredients for Your Simple White Fudge
- Step-by-Step Instructions for No Bake White Chocolate Fudge
- Tips for Making Perfect Melt in Your Mouth Fudge
- Festive Flavor Variations for Your White Chocolate Fudge
- Storage and Make Ahead Fudge Guidelines
- Serving Suggestions for White Chocolate Dessert Squares
- Frequently Asked Questions About This Sweet Homemade Candy
- Share Your Experience Making This Quick Dessert Recipe
Why This is the Best Easy White Chocolate Fudge Recipe
Honestly, I’m sticking to this recipe for my easy white chocolate fudge forever. Why mess with perfection when you have a method that’s virtually guaranteed to work? This is one of the best no bake fudge recipes out there because it skips all the fussy, tricky bits that make people nervous about candy making.
We’re only using three core ingredients, which means less stress and a super fast assembly time. That’s a win in my book any day, especially when the holidays get hectic.
Foolproof Texture: Achieving Creamy White Chocolate Fudge
The biggest fear everyone has when melting white chocolate is seizing—when it turns grainy and awful. Not here! This secret relies on the sweetened condensed milk. It’s brilliant because it acts as a stabilizer, binding everything together beautifully.
This ingredient mix ensures you get that luxurious, creamy white chocolate fudge texture every single time. It stays smooth, rich, and wonderfully decadent. It’s my expert way of making sure your homemade candy turns out perfectly soft and melt in your mouth!
Gathering Ingredients for Your Simple White Fudge
Okay, let’s talk about what you need to grab for this amazing batch of simple white fudge. Because we are aiming for ease here, the list is delightfully short—only three things you need on hand! Make sure you measure exactly so your candy sets up just right.
- One big (14 ounce) can of sweetened condensed milk
- Two full cups of white chocolate chips
- One tiny teaspoon of vanilla extract
Ingredient Notes and Substitutions for White Chocolate Fudge
A quick word from my professional testing: please, please try to use a fresh bag of white chocolate chips. Older chips just don’t like to melt evenly, and that can cause trouble for us! Also, if your condensed milk has been chilling—warm it up just a touch first.
Warming the milk slightly, or just making sure it’s room temperature, keeps that melted chocolate happy. If you wanted to sneak in some color and tartness later on, imagine how amazing half a cup of dried cranberries would look in here!
Step-by-Step Instructions for No Bake White Chocolate Fudge
Since this is a no bake fudge recipe, we save so much time! We skip the oven entirely, but active prep is still important. First thing, get your 8×8 inch pan ready. Line it with parchment paper and make sure you leave an overhang on those sides—trust me, you’ll thank me later when it’s time to lift this beautiful candy out.
Take your white chocolate chips and place them in a microwave-safe bowl. We are going to melt these very gently to avoid any scorching. Quick tip: if you need some ideas for quick meals while this fudge sets up, check out my thoughts on easy lunch ideas!
Melting the Chocolate Base for Your White Chocolate Fudge
This is where you need patience! Microwave the chips in short bursts—only 30 seconds at a time. After each 30 seconds, pull them out and stir them thoroughly. You might think they aren’t melting, but keep stirring; the residual heat does most of the work toward the end. We want perfectly smooth white chocolate fudge, not a grainy mess!
Once it looks mostly melted, just keep stirring until it’s totally glossy and smooth. Don’t rush this part, or you’ll ruin the texture we worked so hard for.
Setting and Cutting the Easy White Chocolate Fudge
Once that chocolate is smooth, quickly stir in the sweetened condensed milk and vanilla extract until everything is just combined—don’t overmix! Pour that beautiful mixture into your lined pan and smooth the top. Now, the waiting game begins. It needs at least two hours in the fridge to firm up properly.
Once it’s rock solid, use those parchment paper handles to lift the whole slab out. That’s when you slice it into neat, small squares. If you plan on fudge for gifting, neat squares make all the difference!
Tips for Making Perfect Melt in Your Mouth Fudge
Even with a recipe this straightforward, sometimes you’ll run into a snag, so I always keep a few tricks up my sleeve for achieving that perfect melt in your mouth fudge consistency. Remember how I stressed warming up the condensed milk if it’s cold? That’s crucial! If cold milk hits hot chocolate, you risk instant thickness that can make stirring impossible.
I learned this the hard way during a frantic Christmas Eve when I grabbed the milk straight from the back of the fridge. The whole batch seized up instantly into a hard lump! Now, I use a bowl of warm water to gently warm the can for just a minute before I pour, which keeps everything flowing smoothly.
If for some reason your white chocolate fudge ends up a tiny bit too stiff after chilling, don’t panic! Just let it sit on the counter for about 15 minutes before cutting. That slight warming loosens it up just enough to get those incredibly soft squares we’re aiming for.
Festive Flavor Variations for Your White Chocolate Fudge
This basic recipe for white chocolate fudge is seriously wonderful on its own, but where’s the fun in stopping there? This is where you get to play around and make those amazing festive fudge flavors! Because the base is so neutral and sweet, it loves taking on other tastes. Think about adding half a cup of dried cranberries for a tart contrast, or maybe you’re a peppermint fanatic like me—crushed candy canes mixed in right before chilling are heavenly.
Another cool idea is swirling in a thin ribbon of melted caramel sauce. It adds depth and that gooey texture we adore! You can find some great ideas for pairing those additions in my notes section, or just run with what you have in the pantry. If you’re already thinking about fun drink pairings for the holidays, I recently shared a recipe for a cranberry pomegranate margarita that would go perfectly with a slice of this!
Creating a Holiday Fudge Assortment
Because this easy white chocolate fudge sets up so quickly and uses such simple components, it’s the perfect candidate for making a big batch of deliciousness! I love making a holiday fudge assortment every year for neighbors and teachers.
So, instead of keeping it all classic vanilla, try making three small batches: one plain, one with the cranberries, and maybe one with some chopped pecans mixed in. Keep them in separate, small containers wrapped up nicely. That way, when you give someone a little box of sweets, they get to try a few different, wonderful things!
Storage and Make Ahead Fudge Guidelines
One of the biggest perks of this recipe is that it’s fantastic for planning ahead! Since this is a wonderful make ahead fudge treat, you can get it done days before your party and completely forget about it. That’s my favorite kind of kitchen victory.
For storage, you must keep it airtight. I just pop the squares into a sturdy container layered with parchment paper—that prevents them from sticking together, which is important for clean squares.
Refrigeration is best if you need it to last longer than four days, but generally, this fudge keeps beautifully at cool room temperature for about a week. It’s such a reliable sweet treat!
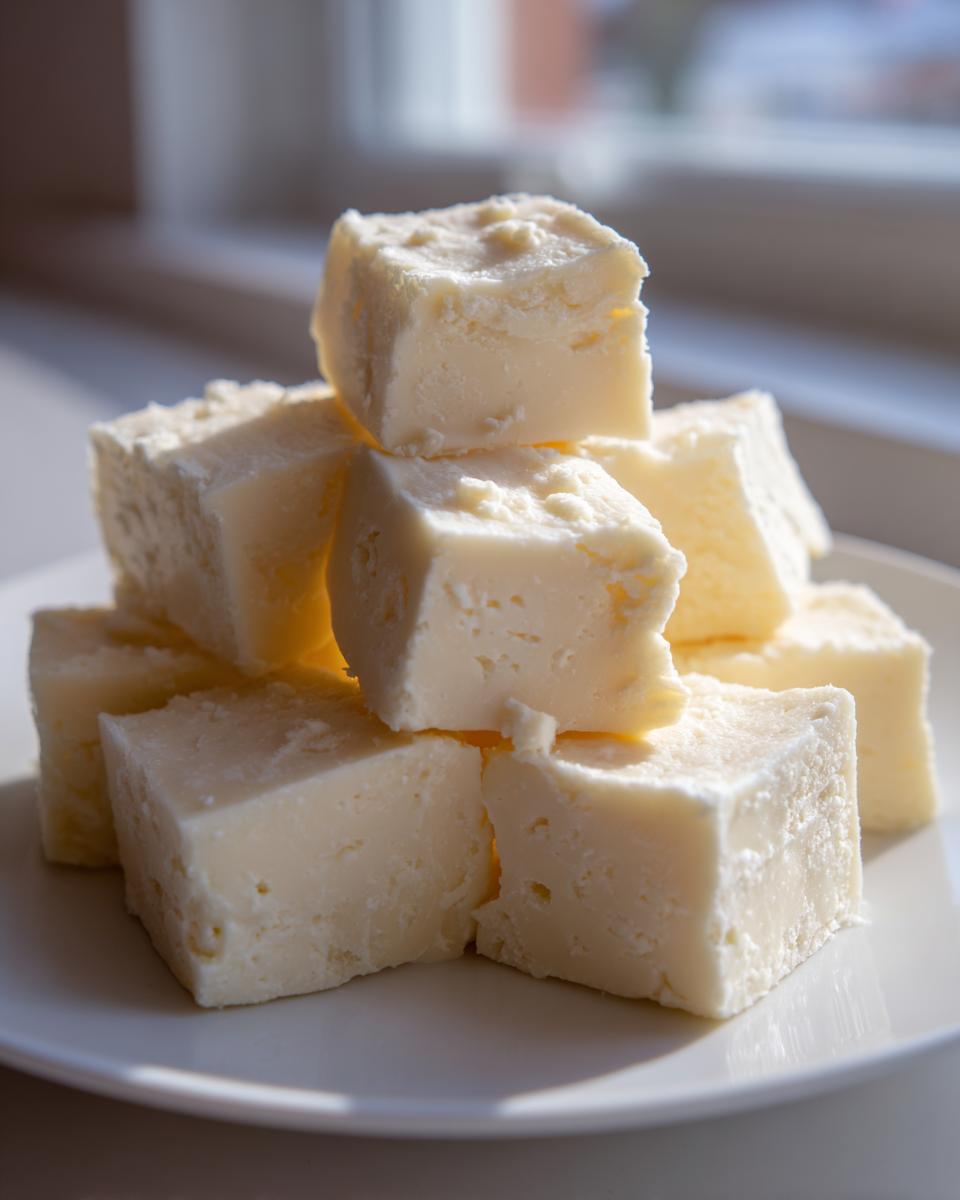
Serving Suggestions for White Chocolate Dessert Squares
These white chocolate dessert squares look gorgeous all on their own, but sometimes you need a little presentation magic, especially when you’re putting them on a platter for guests. My favorite way to serve them when hosting brunch is right alongside a fresh pot of strong coffee or a lovely cup of herbal tea. They cut through the bitterness perfectly!
They are also fantastic as part of a larger dessert spread. Think about piling them onto a tiered stand next to some darker chocolate items or fruit tarts—the contrast is lovely. If you are looking for something savory to balance out all that sweetness, I shared a great recipe for easy garlic breadsticks that makes for a surprisingly good contrast on a party table!
Frequently Asked Questions About This Sweet Homemade Candy
I know you might still have a few little questions bubbling up, because that’s what happens when you experiment with easy confectionery! I tried to write this recipe to be completely clear, but I wanted to address a few things that pop up most often about making this sweet homemade candy.
Can I use milk chocolate instead of white chocolate chips in this recipe?
Oh, you absolutely *can* swap out the chips, but you need to know you are changing the recipe completely! If you use milk chocolate, it will absolutely work with the condensed milk base, but the result won’t be that light, creamy, vanilla-forward flavor we’re aiming for with white chocolate fudge. Milk chocolate will be much sweeter and richer, and the final color will be a light cocoa brown instead of ivory. It’s a great recipe, just a different flavor profile!
How long does this easy confectionery need to set?
When it comes to setting, you really can’t cheat that chilling time too much if you want those nice, clean squares. I tell everyone the bare minimum is two full hours in the refrigerator. That gives the milk solids time to firm up around the melted chocolate structure.
Now, if you are in a real pinch, you can transfer the pan to the freezer for about 30 minutes right at the end. But be careful! If you leave it too long, it might freeze solid and become hard to cut cleanly. Stick to the fridge if you can plan ahead even a little bit!
Share Your Experience Making This Quick Dessert Recipe
That’s it! You now have the keys to making the absolute best, quickest, and creamiest simple white fudge. I really, really want to hear about how it turned out for you! Did you make any of the festive additions, or did you keep it classic vanilla?
Don’t be shy—head down to the comments and let me know!
- Tell me if it set up perfectly for you.
- Let me know what you served it with!
- Rate your success with this no-bake treat!
If you snapped a picture of your finished squares—especially if you made them part of a big holiday baking haul for gifting—please tag me on social media! I love seeing how these recipes come to life in your kitchens. If you have any last-minute questions after trying it out, feel free to reach out to me directly through my contact page. Happy baking!
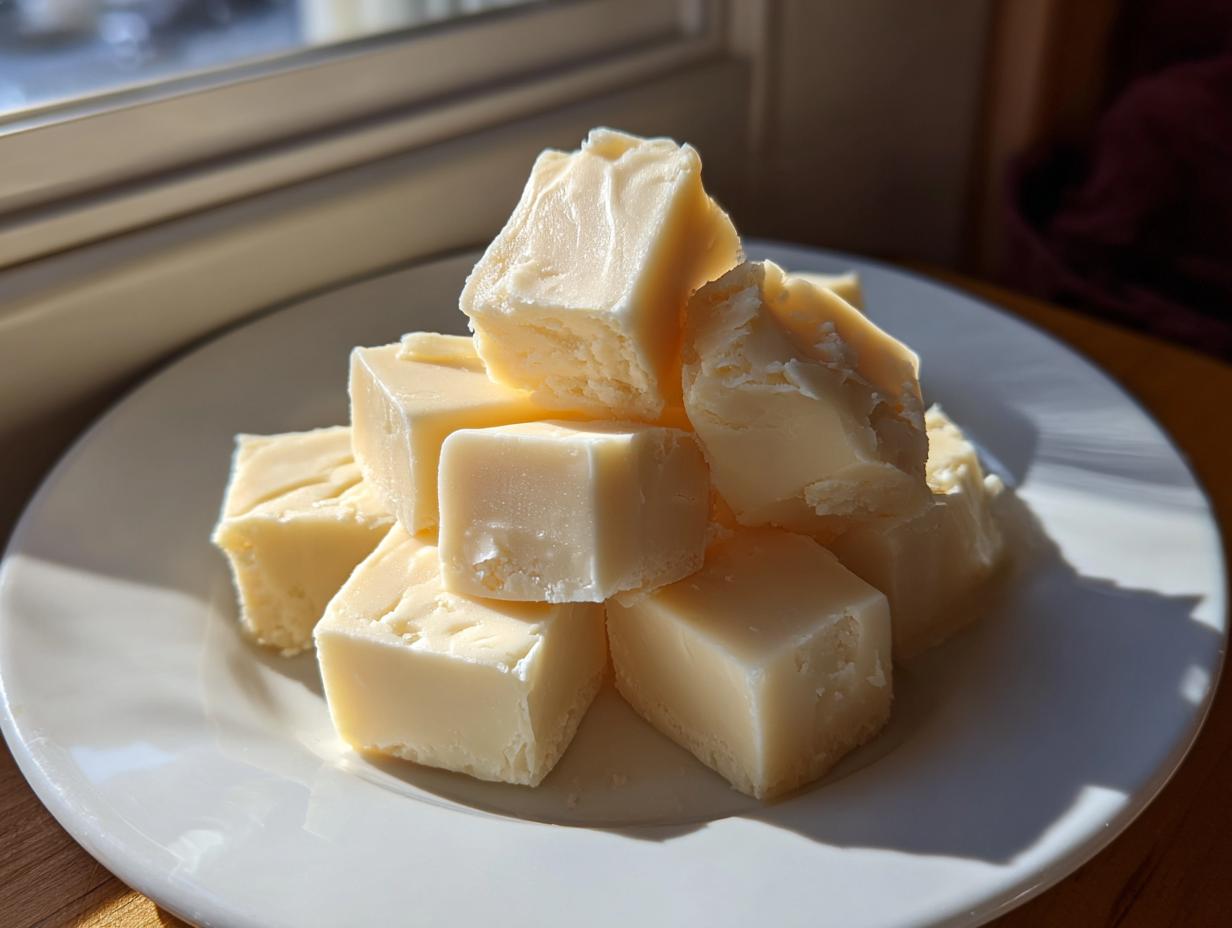
PrintEasy 3-Ingredient White Chocolate Fudge
Make this simple, creamy white chocolate fudge using only three ingredients. This no-bake recipe results in melt-in-your-mouth squares perfect for quick desserts or homemade gifts.
- Prep Time: 10 min
- Cook Time: 0 min
- Total Time: 2 hr 10 min
- Yield: 36 servings 1x
- Category: Dessert
- Method: No-Bake
- Cuisine: American
- Diet: Vegetarian
Ingredients
- 1 (14 ounce) can sweetened condensed milk
- 2 cups white chocolate chips
- 1 teaspoon vanilla extract
Instructions
- Line an 8×8 inch baking pan with parchment paper, leaving an overhang on the sides for easy removal. Lightly grease the paper.
- Place the white chocolate chips in a microwave-safe bowl.
- Microwave the white chocolate chips in 30-second intervals, stirring well after each interval, until the chips are mostly melted. Continue stirring until completely smooth. Do not overheat the chocolate.
- Stir the sweetened condensed milk and vanilla extract into the melted white chocolate until fully combined and smooth.
- Pour the fudge mixture into the prepared baking pan and spread evenly.
- Refrigerate for at least 2 hours, or until the fudge is firm enough to cut.
- Use the parchment overhang to lift the fudge from the pan. Cut into small squares before serving.
Notes
- For the best texture, use a fresh bag of white chocolate chips, as older chips may melt unevenly.
- If you notice the mixture is too thick to stir easily, warm the sweetened condensed milk slightly before adding it to the melted chocolate.
- This recipe is a great base; add 1/2 cup of dried cranberries or crushed peppermint for festive flavor variations.
Nutrition
- Serving Size: 1 square
- Calories: 145
- Sugar: 18g
- Sodium: 35mg
- Fat: 7g
- Saturated Fat: 4g
- Unsaturated Fat: 3g
- Trans Fat: 0g
- Carbohydrates: 20g
- Fiber: 0g
- Protein: 2g
- Cholesterol: 10mg