
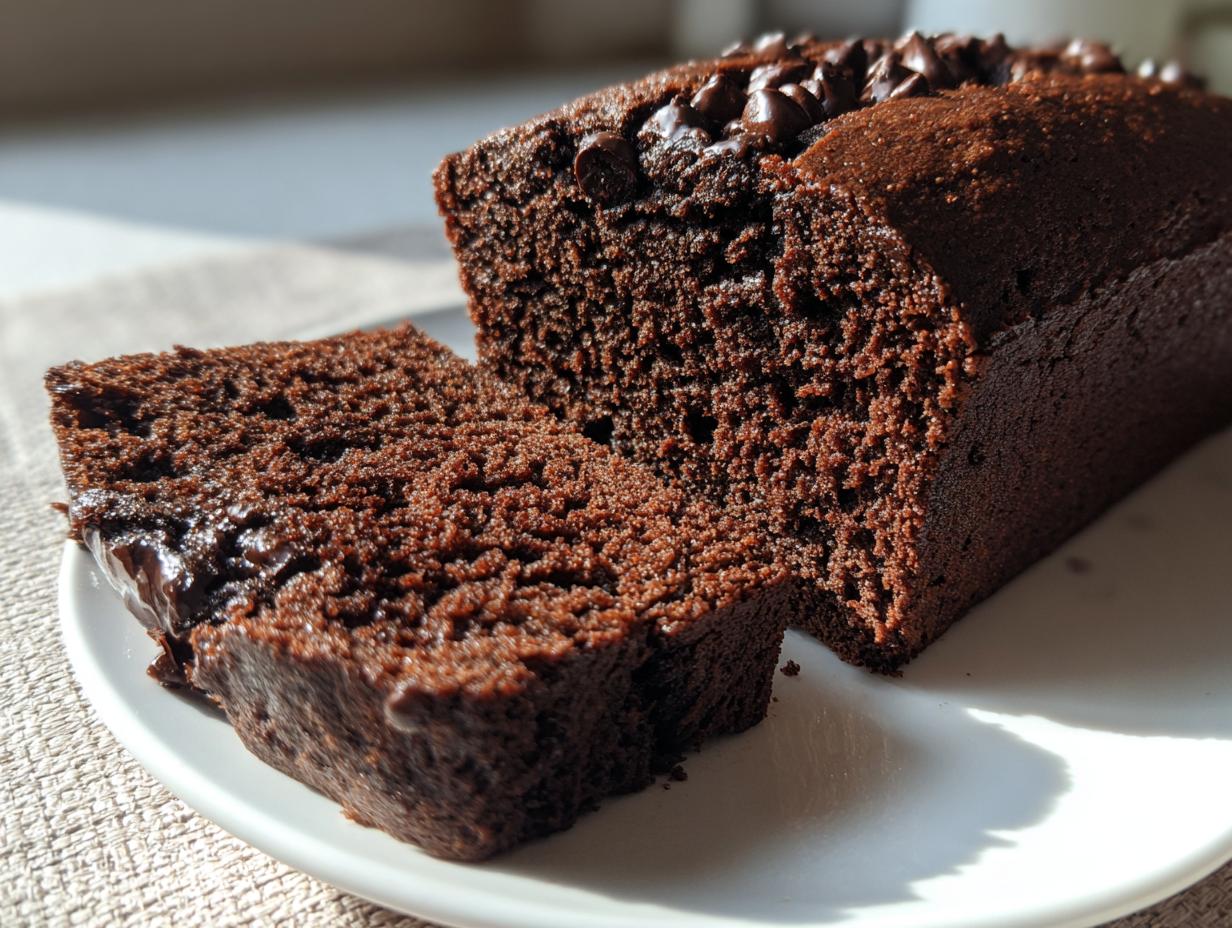
There’s just nothing that beats the smell of a warm, fresh-from-the-oven baked good filling your whole house, is there? If you’re like me and crave that deep, comforting dark chocolate flavor without wanting to spend half your afternoon washing dishes, then you are going to adore this recipe. I’m sharing my absolute favorite chocolate bread: the Ultra-Moist One-Bowl Chocolate Bread. Seriously, it’s fudgy, it’s decadent, and it comes together faster than you can decide what to watch on TV tonight. As someone who has spent years testing recipes professionally, I developed this approach to guarantee reliability—it’s practical cooking at its very best. You might even want to bookmark this right after you check out my best chocolate chip cookie recipe!
- Why This Is the Best Chocolate Bread Recipe You Will Make
- Gathering Ingredients for Your Decadent Chocolate Bread
- Expert Tips for Baking Perfect Chocolate Bread
- Step-by-Step Instructions for Quick Chocolate Bread
- Serving Suggestions for Your Rich Cocoa Bread
- Storage and Reheating Instructions for Chocolate Bread
- Frequently Asked Questions About This Chocolate Bread Recipe
- Estimated Nutrition for Your Homemade Chocolate Loaf
- Share Your Experience Baking This Chocolate Bread
Why This Is the Best Chocolate Bread Recipe You Will Make
I’ve made a lot of baked goods in my life—seriously, mountains of them—but this one really stands out because it manages to be incredibly rich without ever feeling heavy or complicated. If you are looking for the Moist Chocolate Bread Recipe that actually delivers on its promise, this is it. You get the deep satisfaction of a dessert paired with the ease of a simple quick bread.
- It’s always incredibly tender; no dry corners here!
- The cleanup afterwards is almost laughable—just one big bowl!
- It slices beautifully, making it the perfect Easy Chocolate Loaf Cake for gifting or cutting into snack pieces.
It’s truly baked-to-be-delicious every single time you pull it out of the oven. You can even check out my recipe for an easy chocolate yule log cake if you’re feeling festive!
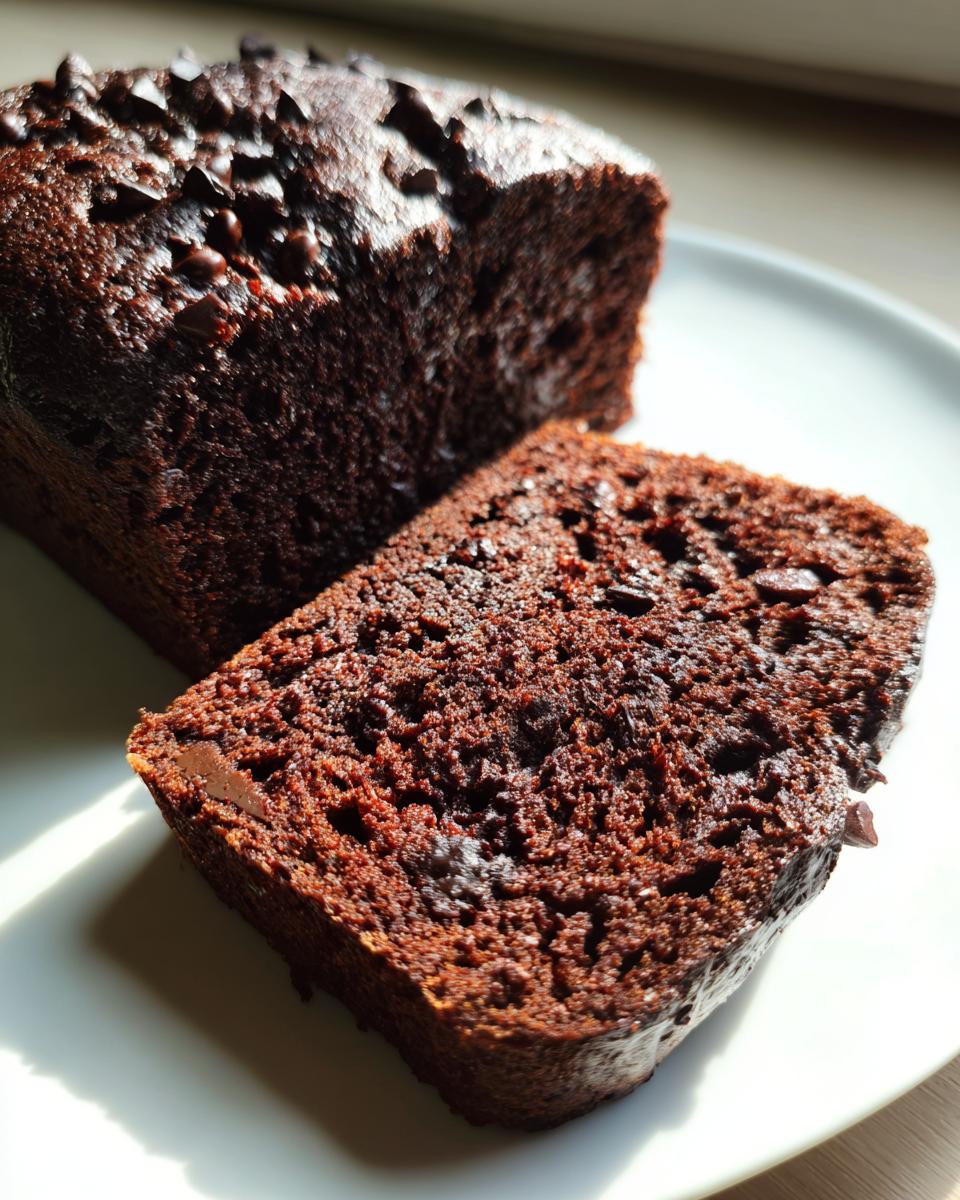
Achieving That Velvety Chocolate Loaf Texture
The secret sauce, literally, is in the liquids! We rely on buttermilk, which is slightly acidic, to react perfectly with the leaveners, giving structure while ensuring tenderness. Then, we introduce a cup of hot liquid—water or coffee—right at the end. This step is crucial because it “blooms” the cocoa powder, making the chocolate flavor really pop and locking in that unbeatable moisture. That’s how you get that super velvety chocolate loaf feeling!
Simple One Bowl Chocolate Bread Preparation
I know how hard it is to face a sink full of mixing bowls after baking something wonderful. That’s why this design is so genius! We mix all the dry ingredients right in one large bowl first. Then, everything else goes in after. You’re mixing everything—wet and dry—in a single, large vessel until it’s just combined. That’s the beauty of a true One Bowl Chocolate Bread recipe; less scrubbing, more enjoying!
Gathering Ingredients for Your Decadent Chocolate Bread
Okay, getting ready to bake this wonderful loaf is super fast, which is why I love it for those last-minute cravings. You’ll use simple pantry staples, but pay close attention to two things: make sure you use unsweetened cocoa powder and grab yourself two large eggs. When you get to the liquid, I always push for hot brewed coffee instead of just hot water—it just wakes up the chocolate flavor wonderfully! Trust me on that one; it makes the difference between good and truly decadent chocolate bread.
- 1 3/4 cups all-purpose flour
- 3/4 cup unsweetened cocoa powder (don’t skimp here!)
- 1 1/2 teaspoons baking soda
- 1 teaspoon baking powder
- 1 teaspoon salt
- 1 3/4 cups granulated sugar
- 2 large eggs
- 1 cup buttermilk
- 1/2 cup vegetable oil
- 2 teaspoons vanilla extract
- 1 cup hot water OR hot brewed coffee (coffee is my expert recommendation!)
- 1 cup semi-sweet chocolate chips (totally optional, but why skip them?)
When you’re ready to bake, you can find my recipe for honey bran muffins if you need another quick bread in your life, but for now, let’s get this chocolate loaf mixed up!
Expert Tips for Baking Perfect Chocolate Bread
I want you to succeed wildly with this recipe, so let’s talk about the little things that make a massive difference when baking this chocolate bread. As a Food Scientist, I know the chemistry behind a great loaf, and when you follow these tips derived from testing batches, you’ll get that bakery-quality result right in your own kitchen. Trust me, these steps prevent the loaf from turning into a disappointing hockey puck!
When you’re done here, you can check out how I make my creamy homemade Alfredo sauce recipe—totally different flavor profile, but the attention to balancing ingredients is the same!
The Role of Hot Liquid in Your Chocolate Bread Recipe
This is non-negotiable for deep flavor! When you add that cup of hot water or coffee, you are doing something called ‘blooming.’ Heat forces the cocoa powder particles to release their full, rich flavor compounds. Lukewarm or cold liquid just clumps the cocoa up. When you mix this hot liquid into the batter, you’ll notice it gets thin—that’s exactly right! Don’t panic; this thin batter is what ensures you get that unbelievably moist texture we are aiming for.
Avoiding Overmixing for a Tender Homemade Chocolate Loaf
Because this is a quick bread made with flour and baking soda, overmixing is your biggest enemy! When you mix the flour in too much, you develop the gluten strands too aggressively. This creates tough, chewy bread, which is the opposite of what we want in a soft dessert loaf. Once you add those dry ingredients—especially after that hot liquid goes in—mix only until you see the last streak of flour disappear. A few lumps are fine. You are aiming for a soft, tender Homemade Chocolate Loaf.
Step-by-Step Instructions for Quick Chocolate Bread
This is where the magic happens! Because we’re going the one-bowl route, the process moves along really quickly. I always tell everyone that if you can stir ingredients together, you can master this Quick Chocolate Bread recipe. First things first: get that oven heating up to 350°F (175°C) right away. While it’s preheating, prep your 9×5 inch loaf pan by greasing it well and giving it a good dusting of flour so your loaf releases perfectly later on.
Now, stick to the order we outlined! We put all the dry stuff in the big bowl first—flour, cocoa, leaveners, and salt. Then, toss in the sugar and whisk it around so it’s completely incorporated with the dry team. When you add the eggs, oil, buttermilk, and vanilla, mix only on low speed, or just use a whisk, until it looks *just* combined. Seriously, stop mixing as soon as you see the flour streaks vanish.
The big moment: pour in that hot water or coffee! Mix briefly until it’s smooth—it will look very thin, and that’s okay! If you’re folding in those tempting chocolate chips, do that gently by hand. Pour that glorious, thin batter into your ready pan.
Bake time is usually around 50 to 60 minutes. You are looking for a wooden skewer coming out with moist crumbs attached—not wet batter! After it’s baked, let it chill out in the pan for about 15 minutes before turning it out onto a wire rack to cool. If you need some great ideas for things to bake alongside this loaf, check out my easy garlic breadsticks recipe for a savory contrast!
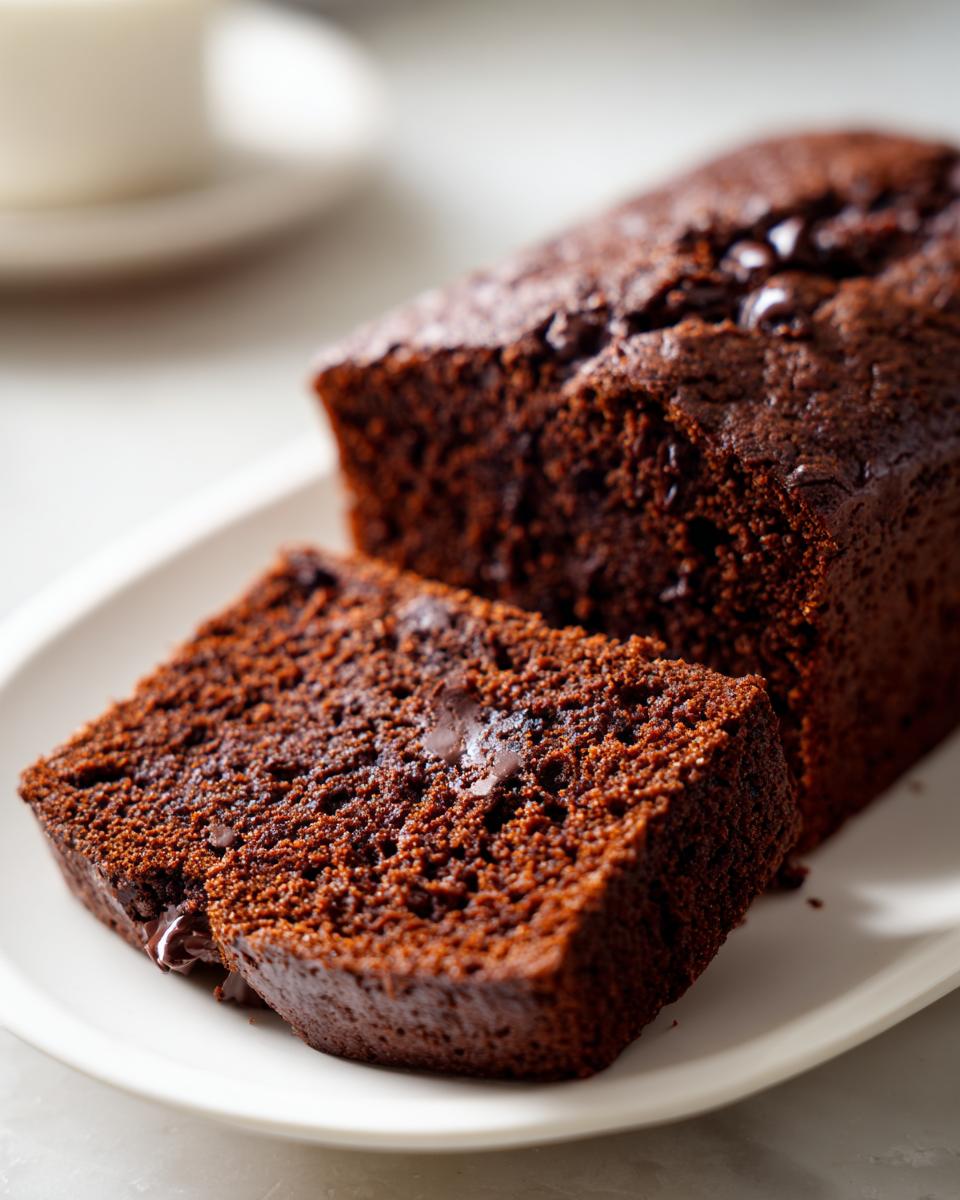
Serving Suggestions for Your Rich Cocoa Bread
This is honestly the most versatile loaf I’ve ever created. Because the texture is so wonderfully moist and dense, it doesn’t just work as a stand-alone treat; it dresses up beautifully for different times of the day. Don’t just think of this as a simple dessert! I use this Rich Cocoa Bread for everything.
For breakfast, it’s killer when served slightly warm with a decent smear of salted butter—the salt really cuts the deep sweetness of the chocolate perfectly. If you want something a little heartier in the morning, try using a slice as the base for a sweet toast! It pairs beautifully with my base for creamy overnight oats if you need something cold on the side.
When it comes to snacking, I just cut thick planks and eat them plain while I’m recipe testing. It needs no fanfare! But if you’re serving this up for a dessert gathering, you gotta level it up a bit. A scoop of vanilla bean ice cream is amazing, or a drizzle of caramel sauce makes it feel instantly elegant. You could even turn it into a quick bread pudding if you have leftovers, though honestly, I rarely have any leftovers!
It’s wonderful any way you slice it, but if you’re ever looking for something savory to balance out all that chocolate goodness, make sure you keep my recipe for caramelized onion dip on hand too. Sweet and savory is a great party spread!
Storage and Reheating Instructions for Chocolate Bread
The one thing I absolutely hate is a dry baked good the next day, especially when I’ve gone to the trouble of making something this rich. Since this loaf already has oil and buttermilk, it’s naturally forgiving, but treating it right will keep it soft for days. My biggest rule here is to keep air away from it! You want to store this loaf tightly wrapped.
Wait until the loaf is completely cool—and I mean stone cold—before wrapping it up. If you wrap it warm, steam gets trapped, and you end up with a gummy texture, which is just gross. Once it’s cool, wrap the whole loaf tightly in plastic wrap, and then maybe wrap that entire bundle in a layer of foil. That double layer keeps everything locked in.
Countertop storage is perfectly fine for up to four days when wrapped this securely. It stays nice and tender out of the fridge. If you know you won’t finish it within four days, I recommend slicing it first, wrapping the slices individually, and popping them into a freezer-safe bag. It freezes beautifully!
When you’re craving a slice later, don’t just eat it cold from the fridge! Reheating is key to getting that just-baked texture back. A quick 10-15 seconds in the microwave will bring the chocolate chips back to soft-gooey perfection. If you’re looking for a lovely upgrade for your morning routine, try reheating a warm slice alongside a piece of my creamy ricotta egg toast for a perfect sweet and savory breakfast balance!
Frequently Asked Questions About This Chocolate Bread Recipe
I get so many questions about baking, and honestly, that’s fantastic! It means you’re excited to get this Moist Chocolate Bread Recipe into your oven. Since I love helping you succeed, I pulled together the most common things folks ask when they try this easy dessert bread for the first time. Let’s troubleshoot together!
Can I substitute the buttermilk in this chocolate bread?
Yes, absolutely, you can! Buttermilk is great for that tender crumb, but if you’re suddenly out, don’t fret. The easiest kitchen hack is to “sour” your own milk. Just take one cup of regular whole or 2% milk and stir in one tablespoon of white vinegar or fresh lemon juice. Let that sit on the counter for about five to ten minutes until it curdles slightly and looks a bit messy. That’s your substitute, and it works perfectly in place of the buttermilk in this recipe!
What is the best way to store leftover chocolate bread?
This is so important for keeping that melt-in-your-mouth quality! Remember what I said about keeping the air out? You want this Homemade Chocolate Loaf wrapped up tight. Use plastic wrap, then maybe a layer of foil, and keep it right on your counter. If you put it in the fridge, it tends to firm up too much, and we want to keep it nice and soft for up to four days. If you need longer, definitely slice and freeze it!
If you’re looking for another comforting drink to pair with your leftovers, check out my recipe for creamy homemade eggnog! It’s unexpectedly delicious with a slice of rich cocoa bread.
How do I get that perfect crack right down the middle?
That classic crack down the top of a quick bread loaf actually happens when the outside of the bread sets its structure before the inside is finished rising. For this already thin batter, you don’t have to do much! However, if you really want that visual cue, make sure your oven temperature is spot-on before you bake. Also, using slightly less liquid—maybe use ¾ cup of hot coffee instead of a full cup—can sometimes encourage a stronger top crust to form first, leading to a better crack. But honestly, for this recipe, I usually focus more on the ultimate moisture than the crack!
Estimated Nutrition for Your Homemade Chocolate Loaf
Now, I know some of you are trying to keep track of macros or calories, and I totally get that! Getting an idea of what’s in your food is part of cooking thoughtfully, right? I had my background in Food Science help me pull together an estimate for this Homemade Chocolate Loaf based on the ingredients you see listed above.
It’s really important for me to say this upfront: these numbers are calculated estimates based on standard brand ingredients. If you use extra-rich buttermilk, a different brand of oil, or decide to use a ton of premium chocolate chips, your final nutrition will definitely change! Think of this as a helpful guideline, not a hard and fast rule. You can always check out my posts on healthy breakfast options if you are trying to make daily swaps!
Here is the breakdown per slice (assuming 10 slices per loaf):
- Serving Size: 1 slice
- Calories: 320
- Sugar: 35g
- Sodium: 280mg
- Fat: 16g
- Saturated Fat: 4g
- Carbohydrates: 45g
- Protein: 4g
It’s a rich bread, so naturally, it has a good bit of sugar, but wow, is it worth it when paired with your morning coffee. Enjoy that slice, knowing exactly what you’re diving into!
Share Your Experience Baking This Chocolate Bread
Now that you’ve pulled this gorgeous, dark loaf out of the oven, I truly want to hear all about it! Developing recipes like this rich cocoa bread takes a lot of love and testing here in my kitchen, but the real fun starts when you bring it home and share it at your table. Did you follow my little tip and use hot coffee? Was the texture exactly as moist and velvety as you hoped it would be?
Please, take just a moment to leave a star rating right here below the recipe card. That feedback helps other home cooks trust that this is the chocolate bread they need to bake next!
More importantly, drop a comment below! Tell me how you enjoyed it. Did you eat it warm with ice cream like a proper dessert, or did you save a slice for breakfast the next morning? Did you have any fun additions, like maybe a swirl of peanut butter? I read every single note and it helps me refine my approach even further for all of you. You can also reach out directly via my contact page if you have something tricky you want to ask!
Happy baking, and I can’t wait to see how yours turned out!
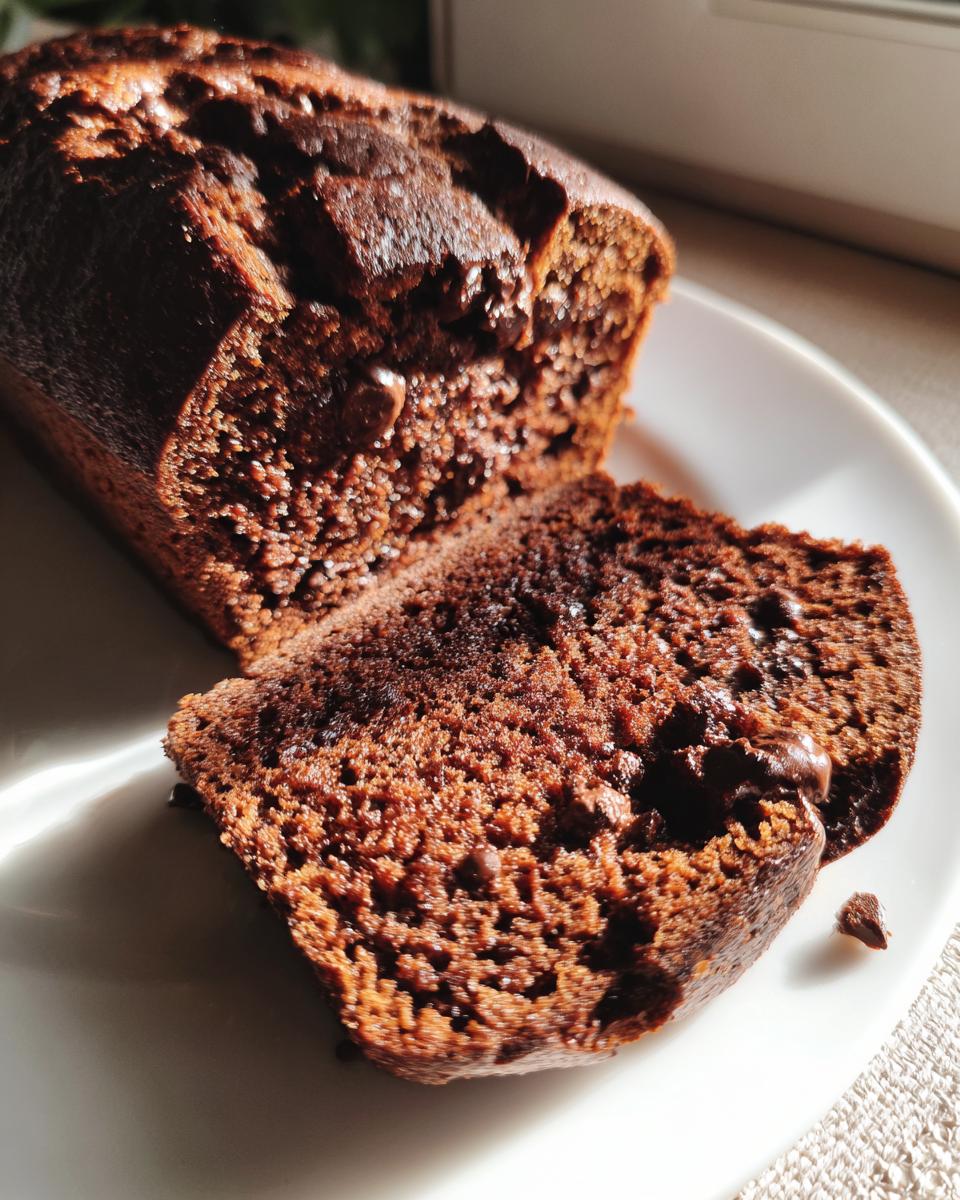
PrintUltra-Moist One-Bowl Chocolate Bread
Bake this ultra-moist chocolate bread using a simple one-bowl method. This quick bread delivers a rich, velvety texture perfect for breakfast, dessert, or a satisfying snack.
- Prep Time: 15 min
- Cook Time: 60 min
- Total Time: 75 min
- Yield: 1 loaf (about 10 servings) 1x
- Category: Dessert
- Method: Baking
- Cuisine: American
- Diet: Vegetarian
Ingredients
- 1 3/4 cups all-purpose flour
- 3/4 cup unsweetened cocoa powder
- 1 1/2 teaspoons baking soda
- 1 teaspoon baking powder
- 1 teaspoon salt
- 1 3/4 cups granulated sugar
- 2 large eggs
- 1 cup buttermilk
- 1/2 cup vegetable oil
- 2 teaspoons vanilla extract
- 1 cup hot water or hot brewed coffee
- 1 cup semi-sweet chocolate chips (optional)
Instructions
- Preheat your oven to 350°F (175°C). Grease and flour a 9×5 inch loaf pan.
- In a large bowl, whisk together the flour, cocoa powder, baking soda, baking powder, and salt.
- Add the sugar to the dry ingredients and whisk again to combine thoroughly.
- Add the eggs, buttermilk, vegetable oil, and vanilla extract to the dry mixture. Mix with a whisk or electric mixer on low speed until just combined. Do not overmix.
- Carefully pour the hot water or hot coffee into the batter. Mix on low speed until the batter is smooth. The batter will be thin.
- If using, gently fold in the chocolate chips.
- Pour the batter into the prepared loaf pan.
- Bake for 50 to 60 minutes, or until a wooden skewer inserted into the center comes out with moist crumbs attached.
- Let the chocolate bread cool in the pan for 15 minutes before carefully turning it out onto a wire rack to cool completely.
Notes
- Using hot coffee instead of hot water deepens the chocolate flavor without making the bread taste like coffee.
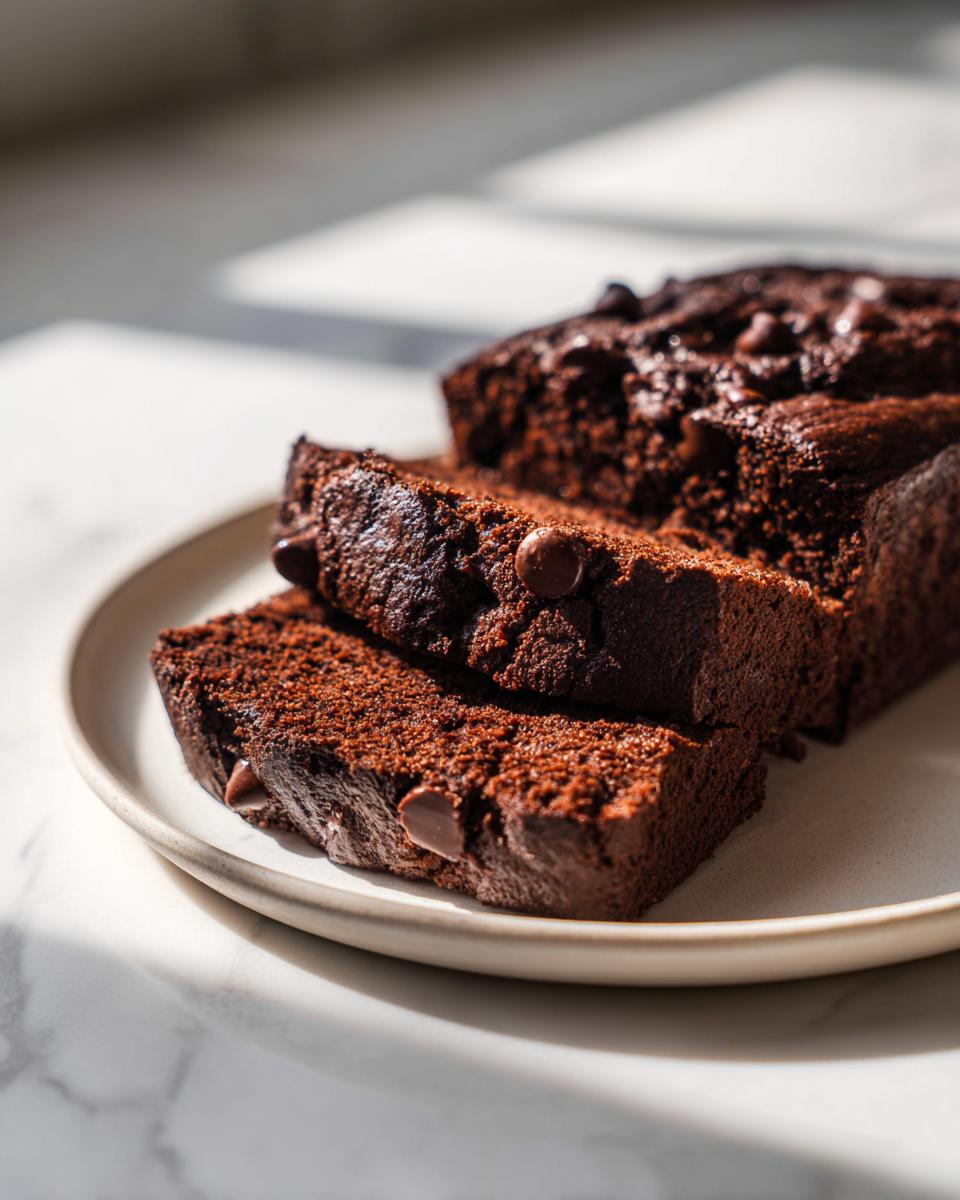
- For an extra fudgy texture, fold in 1/2 cup of chocolate chips into the batter and sprinkle another 1/4 cup on top before baking.
- This recipe makes a decadent chocolate loaf cake style bread that is excellent served slightly warm.
Nutrition
- Serving Size: 1 slice
- Calories: 320
- Sugar: 35
- Sodium: 280
- Fat: 16
- Saturated Fat: 4
- Unsaturated Fat: 12
- Trans Fat: 0
- Carbohydrates: 45
- Fiber: 3
- Protein: 4
- Cholesterol: 45