
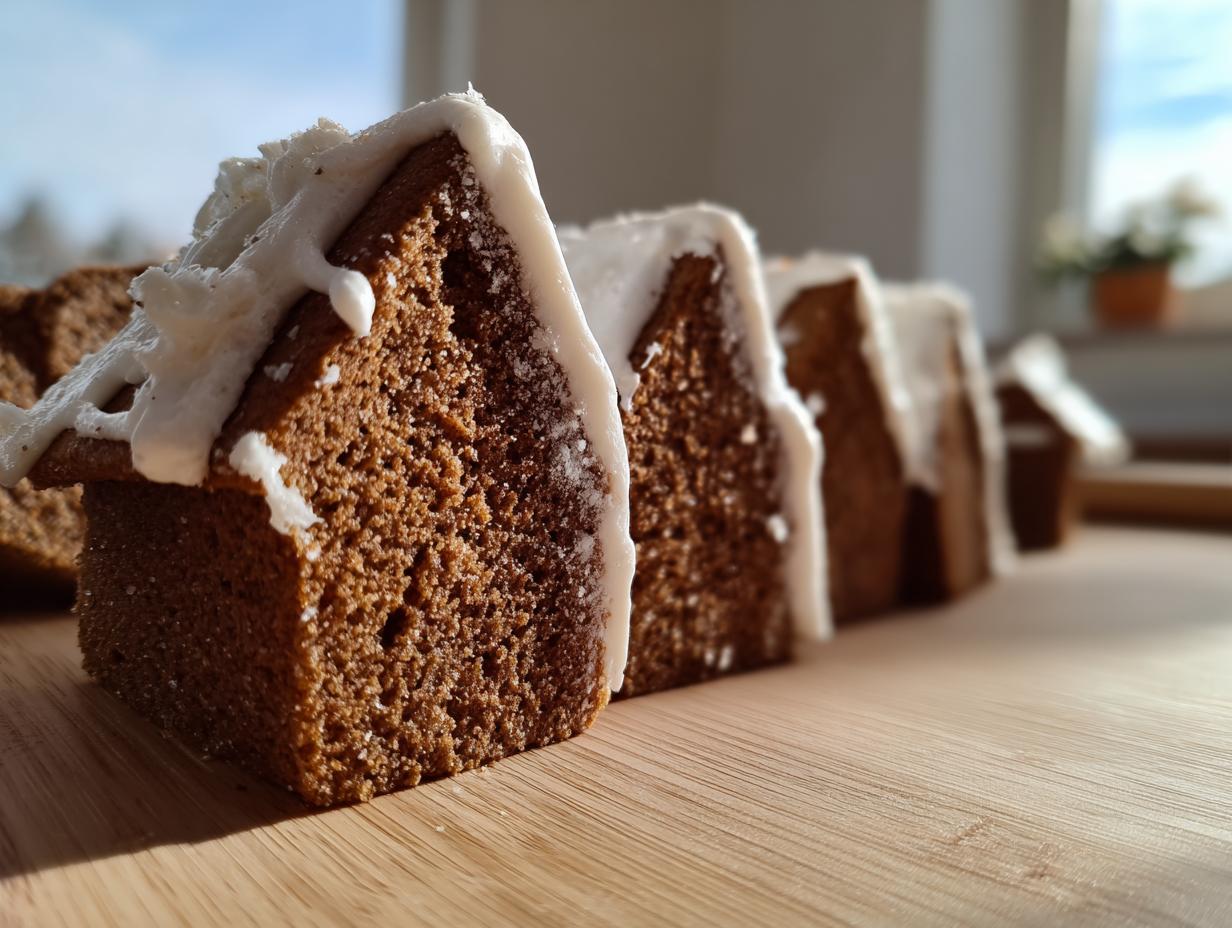
Oh, the holidays just aren’t the holidays without a magnificent, slightly wonky, but entirely glorious gingerbread house sitting front and center! For me, this tradition—making and decorating these little edible mansions—is what truly kicks off the festive season. But let’s be honest, the biggest drama isn’t usually about which gumdrop goes where; it’s about keeping the walls from collapsing by Christmas Eve!
If you’ve ever wrestled with flimsy dough that spreads out flat in the oven or watched your carefully constructed roof sag sadly in the middle, I totally get it. That’s why the gingerbread house recipe you need isn’t the soft, chewy cookie recipe; it’s a solid, reliable blueprint for construction. This is my go-to sturdy gingerbread house recipe, developed from my background in food science, meant specifically to bake up firm, straight, and ready to support your entire candy village. Trust me, we are building skyscrapers here, not flimsy cardboard cutouts!
- Why This Sturdy Gingerbread House Recipe Works for Construction
- Ingredients for Your Sturdy Gingerbread House Recipe
- How to Prepare the Gingerbread Construction Dough
- Baking and Trimming Your Gingerbread House Recipe Pieces
- Mixing the Strong Royal Icing for Assembly
- How to Build a Gingerbread House Step-by-Step
- Tips for Success with Your Gingerbread House Recipe
- Storage and Making Ahead for This Holiday Baking Project
- Frequently Asked Questions About Sturdy Gingerbread
Why This Sturdy Gingerbread House Recipe Works for Construction
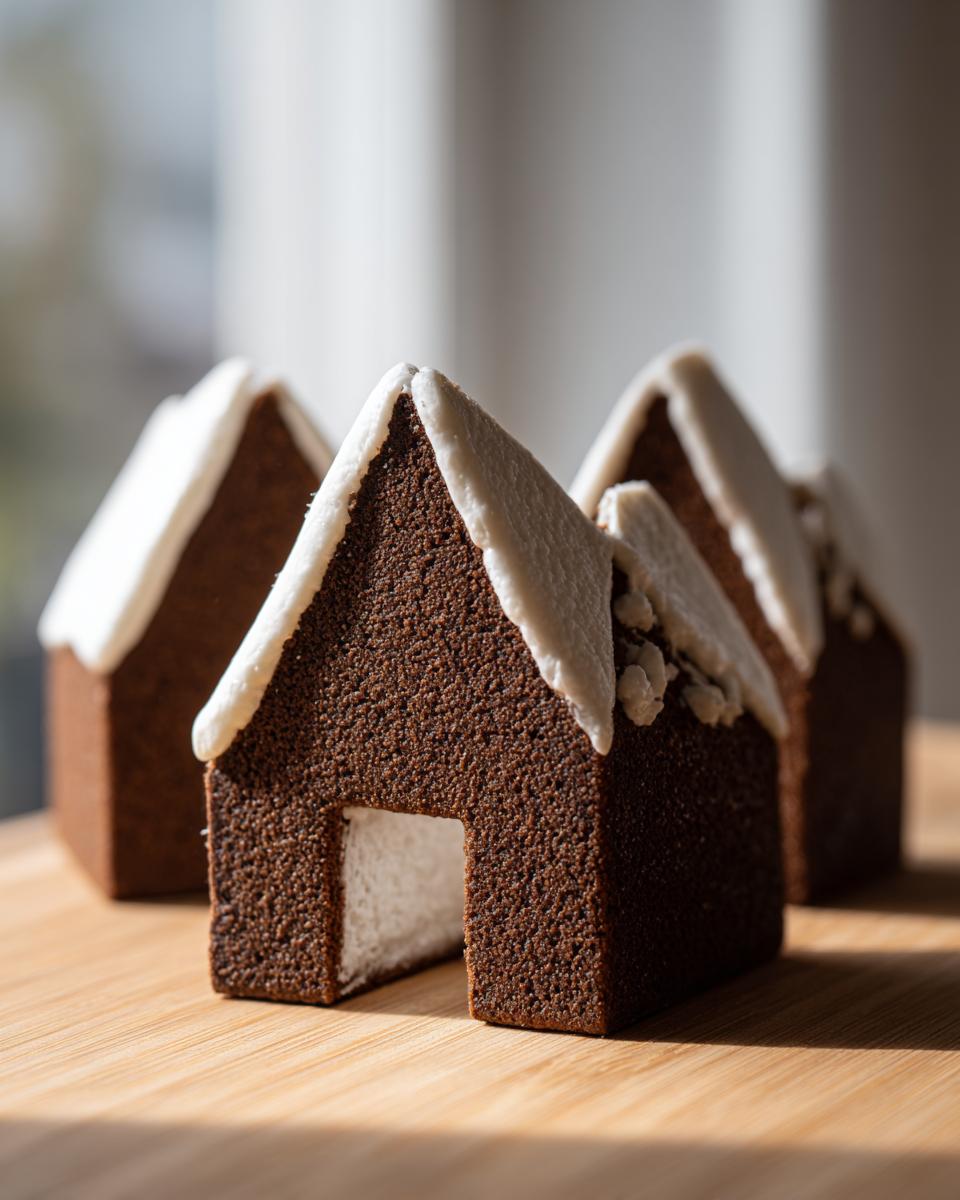
When you’re building something meant to last through the whole season, you can’t mess around with soft dough. That’s the difference between a sweet holiday treat and a genuine Gingerbread Construction Dough. This Sturdy Gingerbread House Recipe is designed to bake up totally flat and incredibly firm. My training in food science really came into play here; we’re aiming for strength, not chewiness, so the pieces stand proudly without warping under the weight of the royal icing mortar. You can check out my easy sugar cookie truffles recipe for a non-building treat, but for this project, we need structure!
This dough relies on the perfect balance of fat, sugar, and spices to prevent that dreaded spread. Unlike softer cookie recipes, everything in this mix has a job to create dense, stable walls. You’ll be amazed at how straight these pieces come out of the oven—perfect for that professional, clean look we all strive for in our holiday centerpiece. Honestly, getting those walls perfectly straight is half the battle! Check out some other great tips for keeping things flat here.
The Secret to No Spread Gingerbread Dough
If I could stress one thing about making sure your house doesn’t turn into a gingerbread puddle, it’s the chilling time. Seriously, don’t even think about skimping here. We need this dough to chill for a minimum of two hours, but honestly, four hours or even overnight is where the magic happens. This resting period lets that flour fully hydrate and the fat solidifies. When the dough is properly cold, it simply refuses to spread when it hits the hot oven. It’s a non-negotiable step for achieving true No Spread Gingerbread Dough, and it’s what separates the sturdy houses from the sad, leaning towers.
Ingredients for Your Sturdy Gingerbread House Recipe
Okay, now that we’ve locked down the science of structure, let’s talk about what goes into the dough itself. Since this is a construction project, we need ingredients that build character—and hold their shape! Everything listed here is vital for getting that perfect, spiced cookie that bakes up firm and ready to assemble. I’ve broken them down so you can shop easily. You’ll notice we use granulated sugar in the dough for crispness, but the molasses brings that deep, classic gingerbread flavor.
For the Gingerbread Construction Dough
- 3 cups all-purpose flour
- 1 teaspoon ground ginger
- 1 teaspoon ground cinnamon
- 1/2 teaspoon ground cloves
- 1/2 teaspoon salt
- 1/2 cup (1 stick) unsalted butter, softened
- 1/2 cup granulated sugar
- 1 large egg
- 1/2 cup molasses
- 1 teaspoon vanilla extract
For the Best Royal Icing for Gingerbread
This icing is less of a sweet fluffy topping and more of a powerful cement. The ratio here is key to making the Best Royal Icing for Gingerbread that dries rock-hard. Don’t skimp on the sifted powdered sugar!
- 3 large egg whites (Make sure these are fresh, or use meringue powder if you prefer!)
- 4 cups powdered sugar, sifted
- 1/2 teaspoon cream of tartar
How to Prepare the Gingerbread Construction Dough
Alright, you have your ingredients—now let’s get into the actual process of how we Make Gingerbread House From Scratch! This isn’t just mixing; it’s about building the right foundation. First up, we combine those dry spices with the flour. Make sure you whisk them well, just like I do when developing any good recipe. We want those spices evenly distributed so every wall has the same wonderfully warm flavor profile. Then we move to the wet ingredients, creaming that softened butter and sugar until it’s light and fluffy. Remember, this aerates the dough slightly, which is important, but we stop short of making it *too* airy since we want density.
When you add the flour mixture back into the wet ingredients, you must go slow. This is where I always stop and talk to myself in the kitchen—don’t overdo it! My biggest pitfall when I was first learning was mixing everything until it looked completely smooth. With this construction dough, you want to mix it just until a stiff dough forms. Stop the mixer the second you see the flour streak disappear. Seriously, overmixing at this stage develops too much gluten, and that can lead to chewy pieces instead of the stiff planks we need for our house. Once it comes together, divide it up, wrap those disks tight, and get ready for the most important part. You can see a similar approach to keeping things solid in this homemade gingerbread recipe I admire.
Chilling the Gingerbread House Recipe Dough
If you skip chilling, you are inviting disaster, I’m telling you. This step is absolutely non-negotiable for this gingerbread house recipe. You need a minimum of two hours in the fridge, but if you can manage it, let it chill for four hours, or even better, let it sit overnight. Why? Because chilling allows the flour to fully absorb all that wet goodness from the molasses and egg, and it solidifies the butter. When the dough hits a 350°F oven, that solid fat slowly melts, rather than rushing out and spreading the dough everywhere. Cold dough bakes exactly where you cut it! Trust me on this one; I learned the hard way about using warm dough when I developed these 3-ingredient butter cookies and rushed the chill time!
Baking and Trimming Your Gingerbread House Recipe Pieces
Okay, the dough is chilled solid, and that’s half the battle won! Now comes the fun part: getting those pieces baked. Preheat your oven to 350°F (175°C) and line those baking sheets with parchment paper. This parchment is your best friend; it makes transferring the hot, delicate pieces so much easier later on. Roll your dough out evenly to about 1/4-inch thickness. Thinner than that, and they might be too fragile; thicker, and they might puff up a bit too much, even with our sturdy gingerbread house recipe dough.
Bake the pieces for about 12 to 15 minutes total. You want the edges to look dark brown and really firm—this is how you know they’ll hold up. But here’s the secret trick that ensures perfect seams: as soon as they come out of the oven, while they are still piping hot, place your paper template right back on top of the cookie piece. Use a pizza cutter or a sharp knife to trim off any slight puffing around the edges. You have to work quickly! Once they cool down on the sheet, they harden, and trimming becomes way too difficult. This immediate trimming guarantees those perfectly straight walls you need for assembly later. Check out this guide on the gingerbread house process for visual help!
Tips for an Easy Gingerbread House Template Fit
For the best fit, you absolutely must use parchment paper when rolling and baking. This prevents sticking and makes setting your Easy Gingerbread House Template pieces down so simple. Remember that 1/4-inch thickness? That’s the sweet spot for durability without creating a cookie so thick it throws off your roof angles.
When you trim those hot pieces, you aren’t just cleaning up the edges; you are finalizing the angles! If you cut a slight angle on the roof eaves and the wall tops while they are soft, the roof pieces will sit flush together perfectly when you go to glue them up later. It takes practice, but that precision earned from trimming hot gingerbread is what makes the final structure look professionally built.
Mixing the Strong Royal Icing for Assembly
Okay, the gingerbread walls are baked, trimmed, and cooling down. Now we move to the most critical part of construction: the mortar! If you use simple powdered sugar glaze, your house is going to end up looking like a melted snowman by boxing day. We need that rock-solid adhesive, which means we are making royal icing. This isn’t the fluffy stuff you put on a birthday cake; this icing needs to become structurally sound once it dries.
The key performance indicator here is stiffness. You are aiming for ‘very stiff peaks.’ When you whip the egg whites with the powdered sugar and cream of tartar, you need to beat it until it looks almost like white grout. If you lift the whisk, the icing should stand straight up without flopping over at all. That stiffness is what keeps your roof from sliding off when you are trying to join the walls in this gingerbread house recipe.
I always start the mixer on low speed because, honestly, beating dry sugar into wet egg whites is a recipe for a powdered sugar explosion across your entire kitchen! Once it starts to come together, ramp it up to high speed and let it run until it’s glossy and supremely stiff. If you feel like you’re fighting the mixer, you’re doing it right! Don’t forget that if you are struggling with your icing consistency later during decorating, a few errant drops of water can loosen it up, but for building sturdy seams, keep it thick. For more stable frosting ideas, check out my vanilla buttercream recipe, though always remember this royal icing is much stronger for structural needs!
If you want to see a fantastic demonstration of how thick this icing needs to be for building, this guide on royal icing consistency shows exactly what I mean by ‘holding its shape’ under pressure.
How to Build a Gingerbread House Step-by-Step
Now for the moment of truth! You have perfectly baked, straight walls, and you have stiff, strong royal icing mortar loaded into your piping bag. This is where we execute How to Build a Gingerbread House, and much like any construction project, patience is everything. If you rush the assembly, you’ll end up with a leaning tower, no matter how good your gingerbread house recipe was!
Start by piping a generous bead of the stiff royal icing along the bottom edge of one wall piece. Press it firmly onto your base (a sturdy cutting board or serving tray works well for this initial stage). Hold it steady for a good minute to let the icing grab hold. Immediately pipe icing along the vertical edge of that wall and butt the next wall piece right up against it. You are essentially creating the corner joints.
Work systematically around the base, joining all four walls. Don’t try to add windows or candy during this phase—that’s decorating! We need structural time. Once all four walls are standing, I pipe an extra thick line of icing right along the inside seams of the corners as extra support. This is my secret method for ensuring stability. I learned early on that reinforcing the joints makes all the difference, just like when I perfected these cinnamon roll muffins—reinforcement always pays off!
The most important step after joining the four walls is to just *stop*. You have to let the walls dry. I usually let the four walls sit alone for at least an hour, sometimes two, depending on how humid it is in my kitchen. The icing has to harden enough so that when you put the weight of the roof on top, the walls don’t bow inward. Seriously, walk away and go wrap some presents!
Once your walls feel rock-solid, you can tackle the roof. Pipe icing along the top edges of the walls where the roof will sit, and then carefully angle your two roof panels into place. Hold them together at the peak, piping a thick seam right along that top line. Again, let this dry completely—ideally overnight—before you even think about adding any heavy candy decorations. You can find great inspiration for assembly from pros like this Gingerbread House Tutorial.
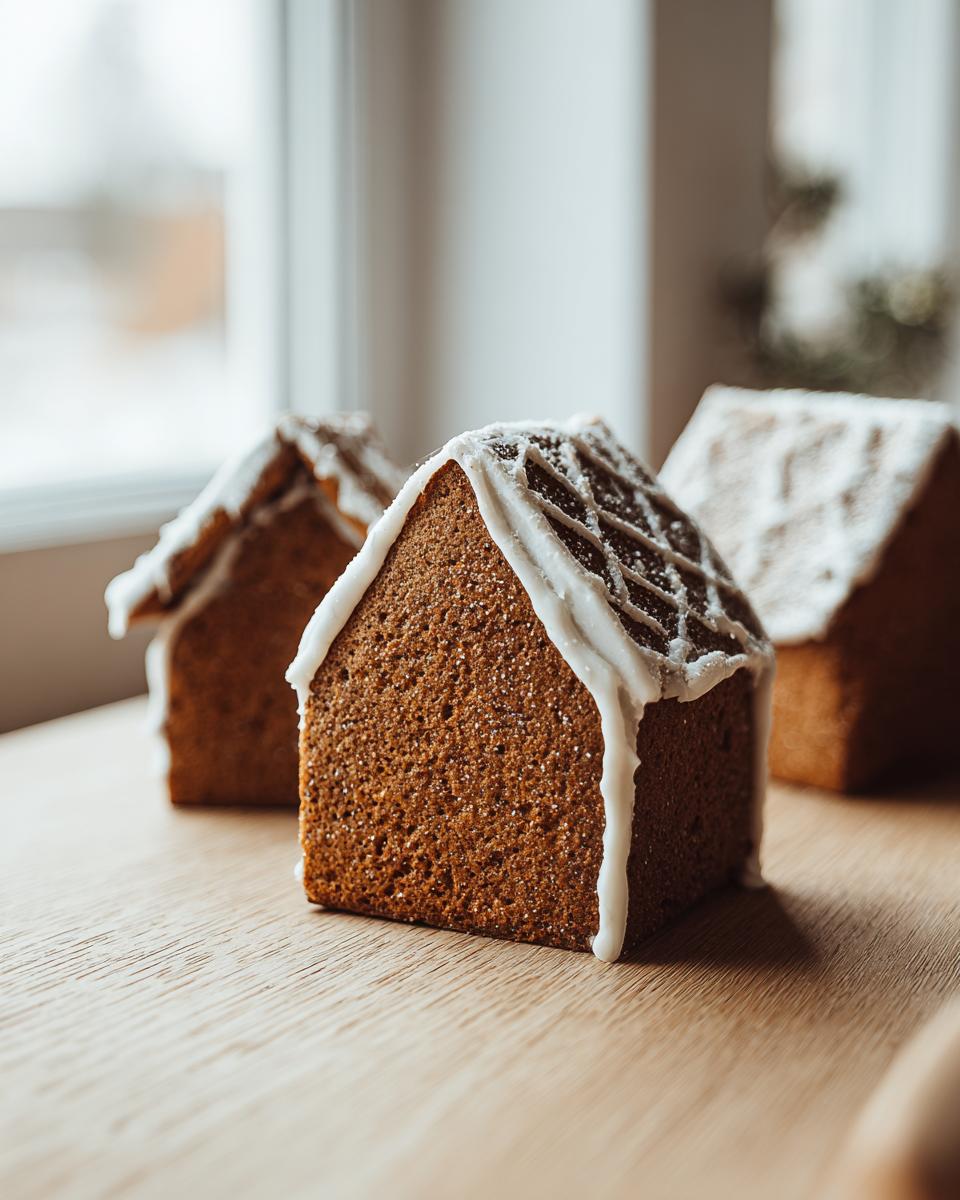
Decorating Your Festive Christmas Centerpiece
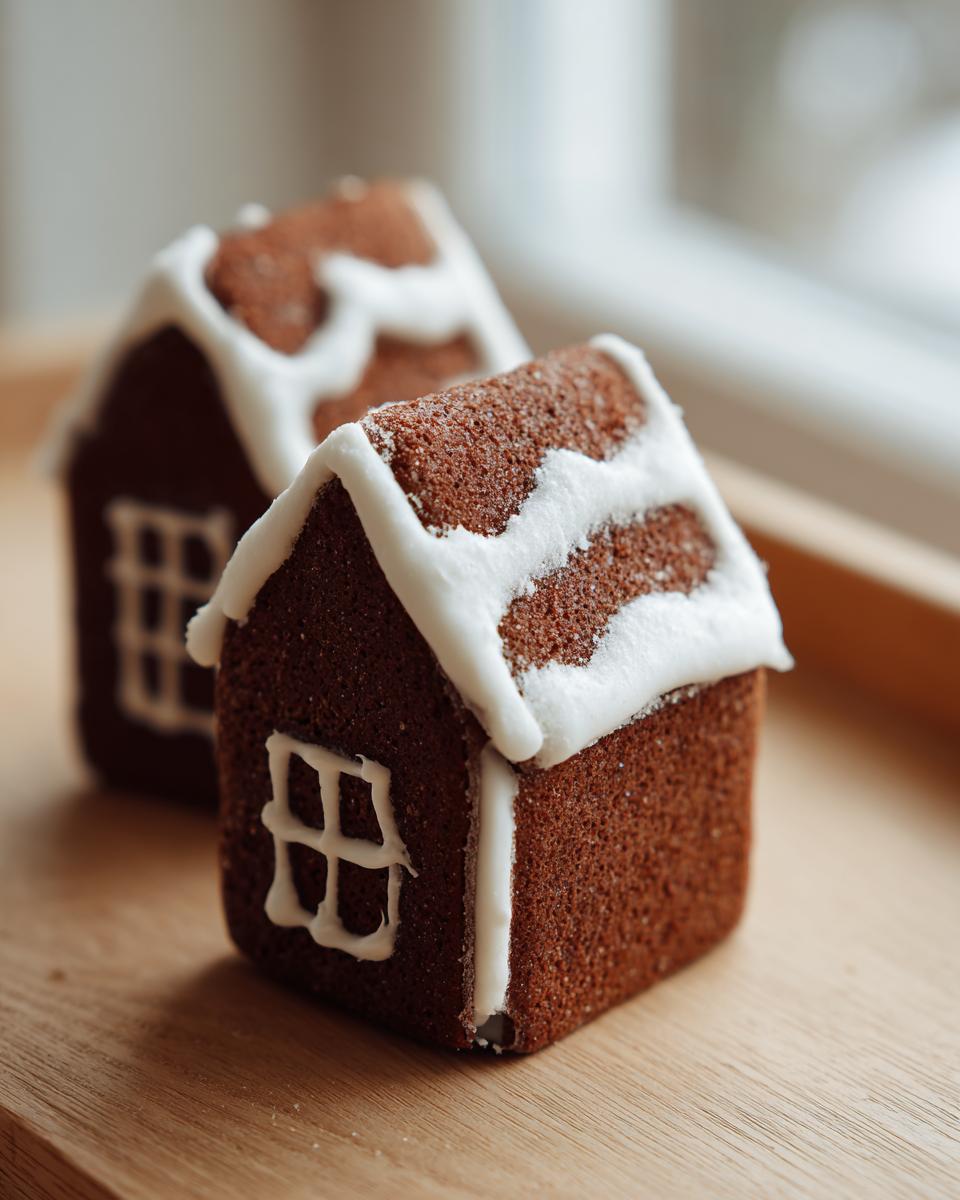
Once your house is structurally sound and fully dry (give it a good 8-12 hours if you can!), you can finally move on to making it a true Festive Christmas Centerpiece! This is where you use the rest of your royal icing, perhaps thinned just a tiny bit with a few drops of water, to pipe snow, icicles, and window frames. Use the thickest icing you have left to glue on your heavier candies like gumdrops or peppermint swirls.
Don’t forget the landscape! A little icing spread around the base makes a perfect snowy foundation for positioning your candy canes, silver dragées, or crushed hard candies to look like ice or glittering paths. Have fun with it! This is the part that lets your creativity shine after all that hard structural work.
Tips for Success with Your Gingerbread House Recipe
Even with this super sturdy gingerbread house recipe, building can still have little hiccups, right? That’s totally normal, especially when working with dough that needs to stay firm. I’ve gathered a few of the most important pointers I’ve learned over the years—these are the things that make the difference between a masterpiece and a minor holiday disaster involving leaning walls.
First and foremost, I cannot stress enough the importance of chilling time. I mentioned it before, but I’ll say it again: if your dough starts feeling soft or sticky while you’re rolling it out, stop immediately! Put it back in the fridge for 15 or 20 minutes. Warm dough leads to spreading in the oven, and spreading means uneven pieces that won’t fit together right. That deep chill is your insurance policy against warping.
Secondly, when testing for doneness, don’t just rely on color. You need to make sure the internal structure is set. If a piece feels squishy or bends easily when you pick it up, give it another two minutes in the oven. These pieces need to be strong enough to handle the weight we’re about to put on them later!
And finally, let’s talk icing consistency in the piping bag. For construction, you want it thick—stiff enough to stand up on its own when piped. But if you leave that icing out while you’re decorating for too long, it can start to seize up and get crumbly. If you notice your piping suddenly getting difficult or cracking instead of flowing smoothly, just stir in a few drops of water—literally a few drops—to loosen it up just enough so it flows smoothly for the decoration part. My chocolate banana bread recipe handles moisture so differently, but for baking architectural marvels, icing consistency is everything!
Storage and Making Ahead for This Holiday Baking Project
One of the best things about this strong gingerbread house recipe is that you don’t have to do everything in one chaotic baking day! Seriously, planning ahead is the secret weapon for any successful Holiday Baking Project Ideas. You can totally break this down into manageable steps over a few days, which takes a lot of stress out of the final assembly.
For the baked pieces—the walls, the roof, the little gingerbread chimney—the storage is super simple but important. Once those pieces are completely cool—and I mean totally room temperature, not even a hint of warmth—you need to seal them up tight. I place mine in a large, airtight container. You can layer them carefully with parchment paper in between if you’re worried about scratching, but honestly, since this dough bakes so flat, they usually stack neatly. Keep that container someplace cool and dry, and they will stay perfectly crisp and ready for assembly for a good two weeks, easily!
Now, once the house is assembled and fully decorated with that rock-solid royal icing, its needs change slightly. You still want cool and dry, but avoid the refrigerator! Fridges are humid environments, and moisture is the real enemy of royal icing long-term. Place your finished centerpiece somewhere cool—like a basement pantry or a stable corner of your living room—away from direct heat sources like vents or fireplaces. If you keep it dry, your completed masterpiece should last beautifully right up until New Year’s Day. It’s so nice to have that beautiful focal point ready to go weeks before Christmas Day! Speaking of setting things ahead, have you ever made my graham cracker toffee ahead of time? It’s the perfect cookie tray companion!
Frequently Asked Questions About Sturdy Gingerbread
I totally get it—sometimes you just need a quick answer when you’re in the middle of a big holiday baking project. Building a gingerbread house is fun, but you spend so much time stressing about whether it will stand up or if your dough will spread! Here are the questions I get asked most often about making sure this gingerbread house recipe holds together perfectly.
Q: Can I skip chilling the dough for my Gingerbread Construction Dough?
Oh, please don’t tempt fate! If you skip the chilling step, you are making gingerbread cookies, not structural pieces. The dough will inevitably relax in the oven, and you’ll end up with soft, curved pieces that absolutely will not line up for assembly. For the Gingerbread Construction Dough to work, you need that minimum two-hour chill, but four hours is my professional recommendation. It’s the secret sauce for that **no-spread** result.
Q: How long does the Best Royal Icing for Gingerbread take to dry completely?
This is crucial for assembly! The royal icing needs to dry hard enough to support weight—especially the roof. If the outside looks dry but the inside is still gummy, you’ll have a collapse. For joining the main wall seems, wait at least an hour between steps. But for placing the roof and letting the whole structure set before you start decorating, you really need to play it safe and give it 8 to 12 hours, preferably overnight. The humidity impacts this, but being patient here prevents hours of frustration later!
Q: Can I use brown sugar instead of granulated sugar in this recipe?
That’s a great question, as molasses already brings a lot of rich flavor! While you *could* swap some of the granulated sugar for brown sugar, I strongly advise against replacing all of it in this specific Sturdy Gingerbread House Recipe. Granulated sugar helps the dough bake up crisper and flatter, which is key for straight edges. Brown sugar has more moisture, which can risk a slightly softer final bake. Stick to the granulated sugar for the main bulk of the sweetener to maintain that necessary structural strength.
Q: My baked pieces aren’t perfectly straight. Can I still use them?
Yes, absolutely! That’s why we do the trimming trick right out of the oven while they are still hot. But if you didn’t trim or the pieces cooled slightly unevenly, don’t worry. Remember that royal icing is your best friend here. If you have a corner gap that’s too wide, pipe a thicker layer of the Best Royal Icing for Gingerbread into the seam—think of it as filling in the foundation. Hold it steady and let that layer dry completely before proceeding to the next wall. It’s all about compensating with extra strong mortar!
Q: How do I keep my finished gingerbread house from getting soggy?
My banana bread brownies sometimes suffer from fridge condensation, but the gingerbread house needs the opposite treatment! Once assembled and decorated, keep the house in a cool, dry place. Avoid putting it anywhere near the refrigerator, as that moisture is what makes the gingerbread soften and the icing weep. A dry shelf or a cool mantelpiece is perfect for keeping your Festive Christmas Centerpiece looking sharp all season long.
Print
Sturdy Gingerbread House Recipe for Construction and Decoration
Follow this guide to make a sturdy gingerbread dough that resists spreading, perfect for building a reliable holiday centerpiece. This recipe includes instructions for strong royal icing to hold your festive decorations in place.
- Prep Time: 45 min
- Cook Time: 30 min
- Total Time: 5 hours
- Yield: 1 standard house 1x
- Category: Dessert
- Method: Baking
- Cuisine: American
- Diet: Vegetarian
Ingredients
- 3 cups all-purpose flour
- 1 teaspoon ground ginger
- 1 teaspoon ground cinnamon
- 1/2 teaspoon ground cloves
- 1/2 teaspoon salt
- 1/2 cup (1 stick) unsalted butter, softened
- 1/2 cup granulated sugar
- 1 large egg
- 1/2 cup molasses
- 1 teaspoon vanilla extract
- For Royal Icing: 3 large egg whites
- 4 cups powdered sugar, sifted
- 1/2 teaspoon cream of tartar
Instructions
- Combine flour, ginger, cinnamon, cloves, and salt in a medium bowl. Whisk to mix dry ingredients.
- In a large bowl, cream the softened butter and sugar until light and fluffy. Beat in the egg, molasses, and vanilla extract until combined.
- Gradually add the dry ingredient mixture to the wet ingredients, mixing on low speed until a stiff dough forms. Do not overmix.
- Divide the dough in half, flatten each half into a disk, wrap in plastic wrap, and chill for at least 2 hours. This chilling step is key for a no-spread cookie.
- Preheat your oven to 350°F (175°C). Line baking sheets with parchment paper.
- Roll out one dough disk on parchment paper to 1/4-inch thickness. Cut out your desired house pieces using templates.
- Bake pieces for 12 to 15 minutes, depending on thickness. The edges should be firm and dark brown.
- Immediately after removing from the oven, place templates over the hot pieces and trim the edges with a sharp knife or pizza cutter to ensure straight walls. Let pieces cool completely on the baking sheet before moving.
- To make the royal icing, beat the egg whites until foamy. Gradually add the sifted powdered sugar and cream of tartar. Beat on high speed until the icing is very stiff and holds stiff peaks.
- Use the stiff royal icing as your construction adhesive. Pipe seams to join walls and roof pieces. Allow the structure to dry completely, usually several hours or overnight, before decorating.
- Decorate the fully assembled and set house with remaining icing and your choice of candies.
Notes
- For the best structural integrity, chill the dough for a minimum of 4 hours, or even overnight.
- If the dough warms up while rolling, return it to the refrigerator briefly.
- When trimming hot gingerbread pieces, work quickly before the cookies cool and harden.
- If your royal icing becomes too thick while decorating, add a few drops of water at a time until you reach a pipeable consistency.
Nutrition
- Serving Size: 1 wall piece
- Calories: 180
- Sugar: 25g
- Sodium: 150mg
- Fat: 8g
- Saturated Fat: 4g
- Unsaturated Fat: 4g
- Trans Fat: 0g
- Carbohydrates: 26g
- Fiber: 1g
- Protein: 2g
- Cholesterol: 30mg