
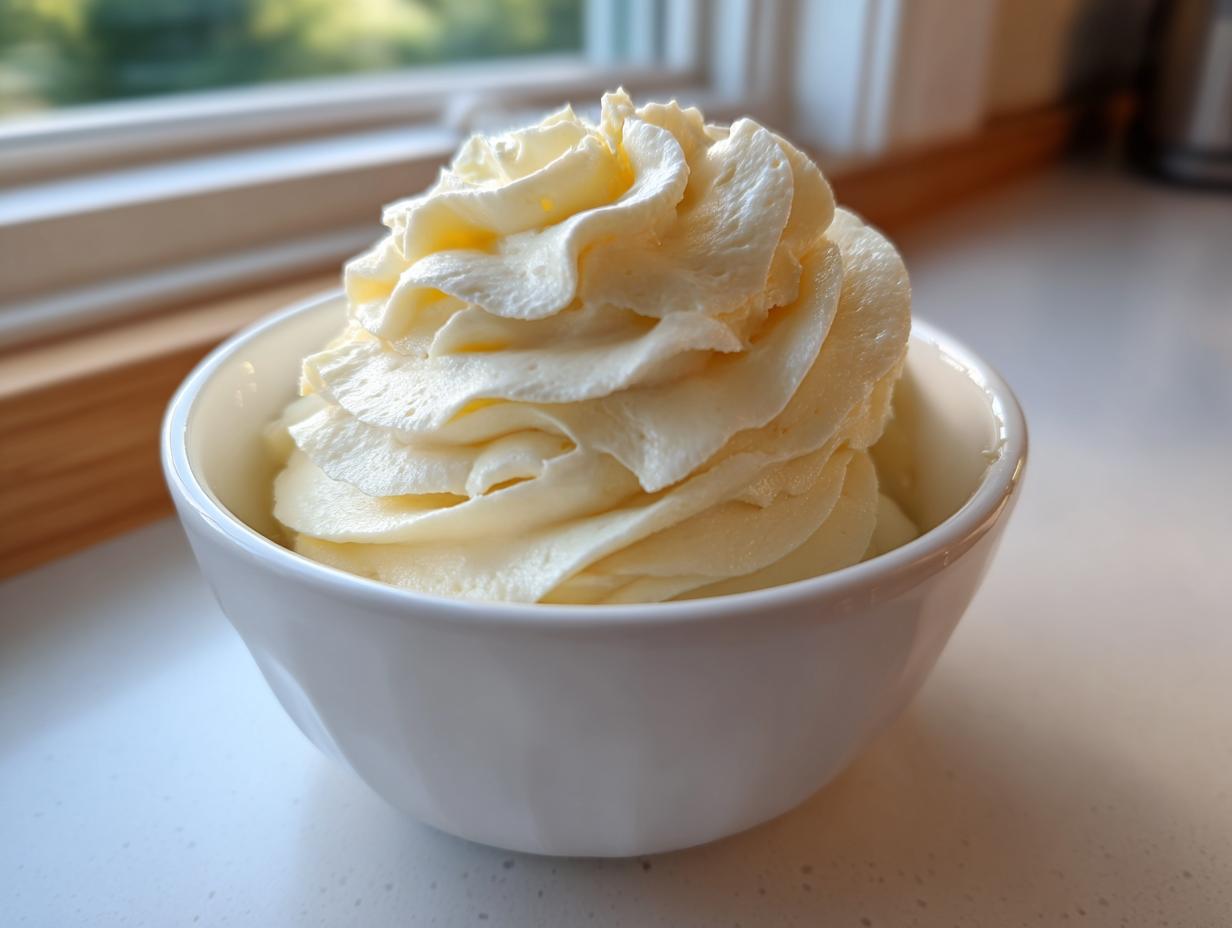
Oh, I know the frustration! You spend hours on a perfect cake, only to have the frosting melt, refuse to hold a swirl, or taste overwhelmingly sugary. It’s enough to make you want to just eat the cake plain, isn’t it? Well, those days are over, my friends. Today, I’m sharing my absolute winner for the vanilla buttercream frosting recipe: it’s fluffy, incredibly creamy, stable enough for serious decorating, and ready in just 10 minutes. This is the recipe that became my kitchen staple when I was working in those fast-paced restaurants. Trust me, the foundation of a great dessert is a reliable icing, and this one never lets me down. You can learn more about my philosophy on reliable home cooking over at Cooking by Mia!
- Why This Classic Vanilla Buttercream Frosting is Your New Go-To Recipe
- Ingredients for Perfect Vanilla Buttercream Frosting
- How to Make Vanilla Buttercream Frosting: Step-by-Step Tutorial
- Tips for Perfect Vanilla Buttercream Frosting Texture
- Storage and Reheating Vanilla Buttercream Frosting
- Serving Suggestions for Your Classic Vanilla Icing
- Frequently Asked Questions About This Vanilla Buttercream Frosting
- Nutritional Data for Classic Vanilla Buttercream Frosting
- Share Your Simple Homemade Vanilla Cake Topping Creations
Why This Classic Vanilla Buttercream Frosting is Your New Go-To Recipe
I put this recipe through its paces back when I was developing content for that food magazine, and what sold me—and what I know will sell you—is the combination of speed and stability. We’re aiming for that sweet spot where flavor isn’t sacrificed for performance. This creation delivers truly **fluffy vanilla frosting** that tastes rich without being too sweet like some powdered sugar bombs.
If you’re looking for more classics like this that always work, check out my collection of favorites over at my dessert recipe index!
Achieving the Best Frosting Texture in Under 15 Minutes
Seriously, ten minutes is all you need! This is a total game-changer when you realize you forgot to make icing for those surprise guests. Because this is an American buttercream, it doesn’t require any cooking or cooling down like Italian types. You just mix, whip, and you’re ready to go. It’s what I call a truly **quick frosting recipe**.
Stable Piping Frosting for Professional Decorating
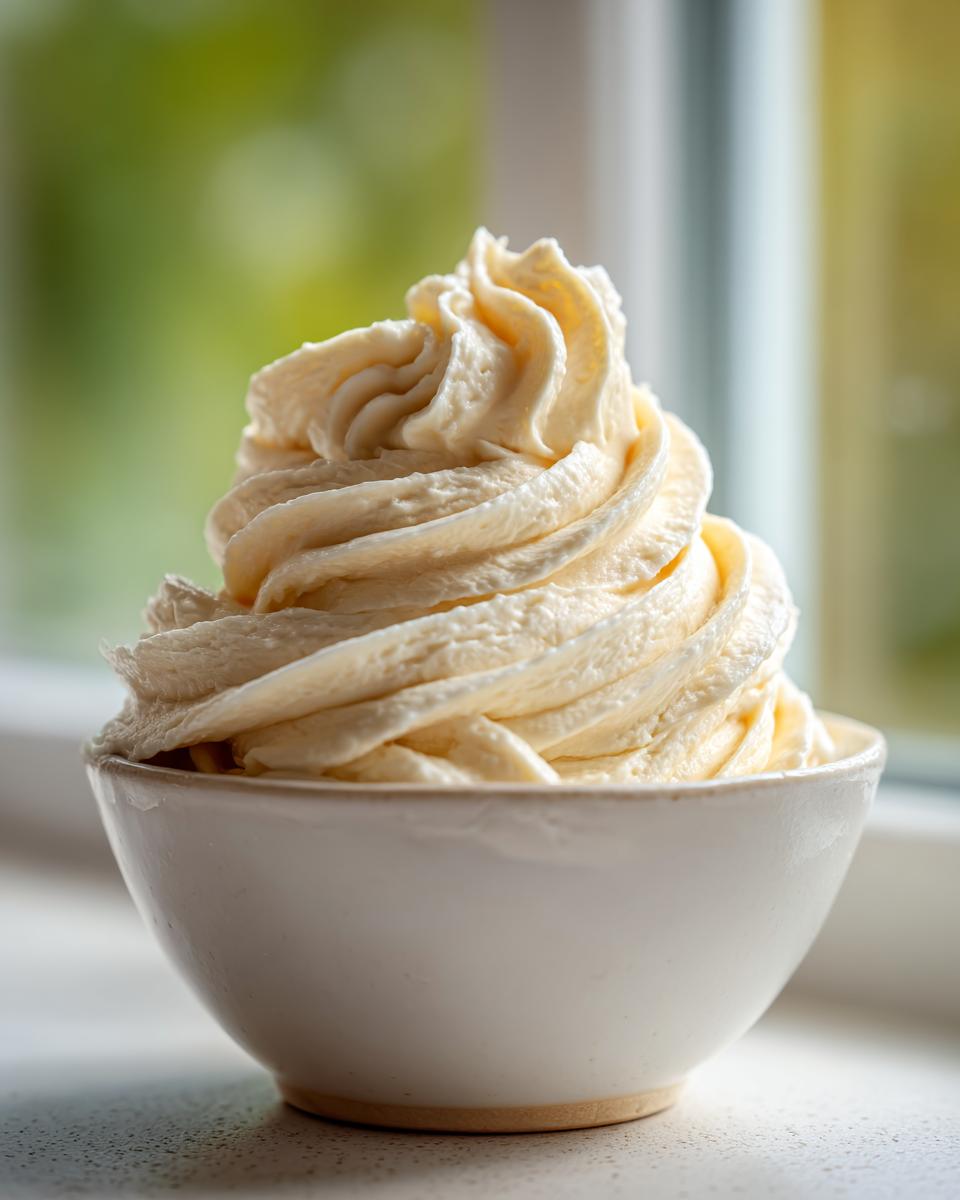
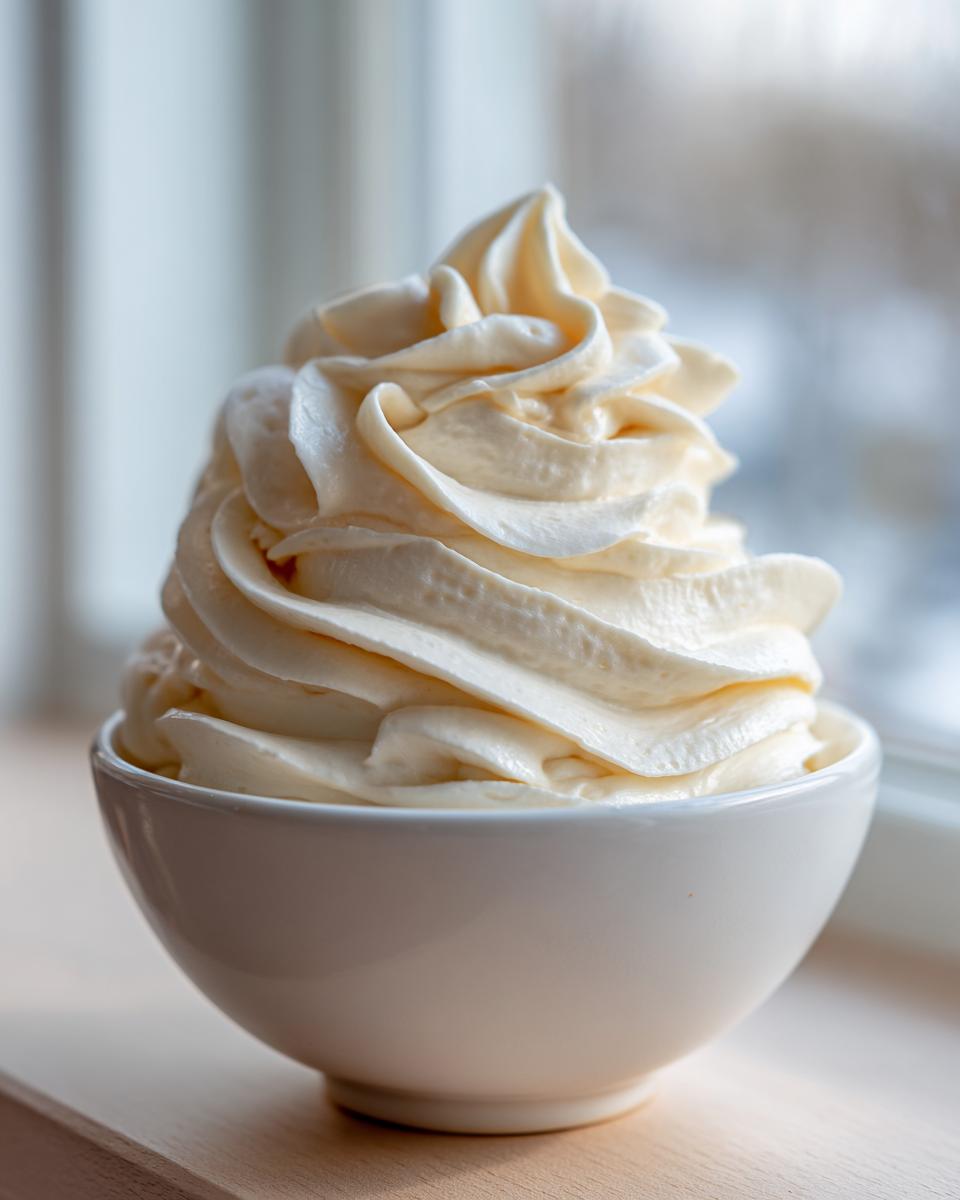
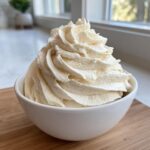
Here’s the secret handshake for getting that gorgeous height on your swirls: the temperature of your butter and the whipping time. When you beat that cream and sugar mixture long enough in step four, you incorporate tons of air. That air is what transforms it from a dense paste into a gorgeous, **stable piping frosting** that won’t slump off your layer cakes halfway through the party. It looks professional, but you didn’t need a pastry degree to make it!
Ingredients for Perfect Vanilla Buttercream Frosting
Before we get mixing—because this is where the magic starts—we have to talk about precision. This recipe is deceptively simple, using just five core components, but if you don’t treat those ingredients right, you end up with lumpy or greasy icing. Remember my background in food science? It comes into play right here! We are looking for about 3 cups of topping, which is usually enough to generously frost a two-layer 8-inch cake or about two dozen average-sized cupcakes. Keep your measuring cups ready!
- 1 cup unsalted butter, softened to room temperature (This is non-negotiable!)
- 4 cups powdered sugar, sifted (Don’t skip the sifting!)
- 1 teaspoon pure vanilla extract
- 1/4 cup heavy cream or whole milk (You choose the fluidity)
- 1/4 teaspoon salt (Just a tiny pinch to balance the sweet)
Ingredient Notes and Substitutions for Creamy Buttercream Recipe
The success of this **creamy buttercream recipe** hinges on a couple of details. First, that butter needs to be perfectly softened. I mean truly soft, like it oozes just a little when pressed, but it absolutely cannot be melted or greasy. Cold butter equals grainy icing, and we simply won’t stand for that texture!
When it comes to flavor, please reach for the real stuff. Imitation vanilla extract just won’t cut it here. You want a **rich vanilla flavor frosting**, and that comes from using pure vanilla extract. If you are worried about the color, sometimes pure vanilla can give the frosting a slight tan hue, so some folks reach for clear vanilla extract, though I personally love the depth the brown color adds.
For the liquid, heavy cream gives you a richer, denser result which is great for piping stability. If you want something a little lighter, whole milk works just fine. Just remember the golden rule: always start with less liquid than you think you need. You can always add more cream, one teaspoon at a time, if the mixture seems too stiff to spread easily.
How to Make Vanilla Buttercream Frosting: Step-by-Step Tutorial
Alright, let’s get our hands dirty! This entire process, from start to finish, is why I call this the ultimate **american buttercream tutorial**. It’s so fast that you can whip this up while your cake cools on the rack. The key here is patience in the mixing stage, even though the total time is short. We need time for the ingredients to emulsify properly, which is fancy talk for making sure everything stays friends and doesn’t turn into a greasy mess. If you are looking for quick ideas for pairing with this icing, check out some easy mains over at my lunch section!
Creaming the Butter for a Smooth Dessert Topping
We start with that perfectly room-temperature butter in your stand mixer—paddle attachment only, please! You need about three solid minutes beating that butter alone until it looks pale, almost whipped, and completely lump-free. This is Step 1, and it sets the entire mood for your **smooth dessert topping**. Don’t rush this! Stop the mixer, grab your spatula, and scrape down the sides and the bottom of that bowl. You’d be shocked how much butter sticks where the paddle doesn’t quite reach!
Whipping Time: The Secret to Fluffy Vanilla Frosting
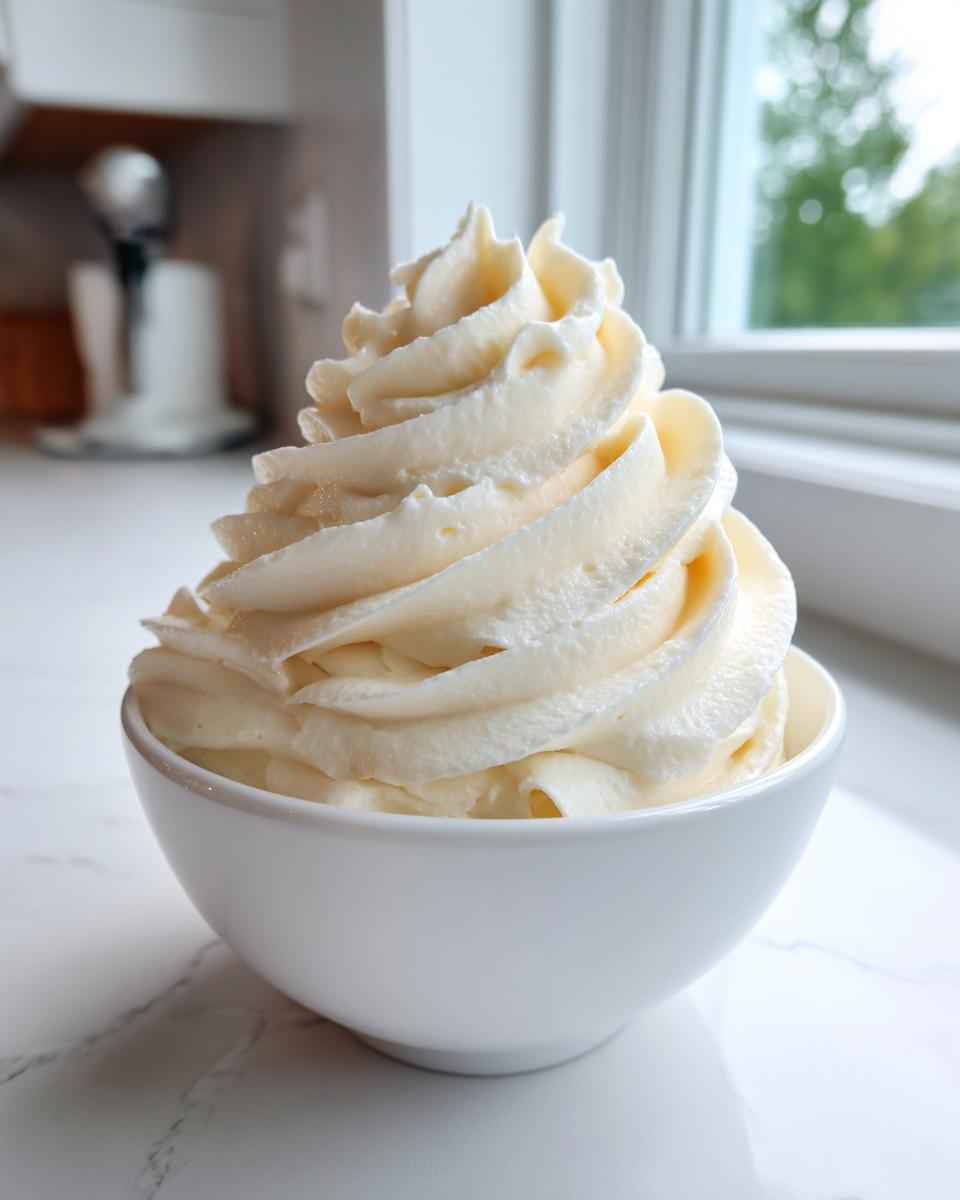
Once you’ve incorporated all that sugar slowly, it’s time for the transformation. Once the vanilla and salt are in, bump that speed up to medium-high. This is the most important part for achieving that light, gorgeous structure. You must beat this for a solid three to five minutes straight. That whipping action forces air into the mixture, which is exactly how we go from heavy cream and sugar to that iconic, **fluffy vanilla frosting** that holds its shape perfectly on a cupcake swirl. It should lighten significantly in color—that’s your sign it’s ready to decorate with! This long whip is key to that E-E-A-T consistency.
Tips for Perfect Vanilla Buttercream Frosting Texture
So, you’ve whipped it, and it’s looking… a little grainy? Or maybe it’s soft and you need it to pipe taller? Don’t panic! Even though this is my **no-fail buttercream**, sometimes the kitchen environment or ingredient temperature throws us a curveball. Getting that magnificent, melt-in-your-mouth **best frosting texture** is all about knowing how to adjust things at the last minute. If you want to learn more about my baking chemistry background, you can always peek at my About Mia page!
The biggest rookie mistake is usually the butter temperature. If you used butter straight from the fridge, even a little bit, the sugar crystals don’t dissolve properly into the fat, and you’re stuck with that sandy texture. The fix? Turn the mixer speed low and slowly drizzle in one extra tablespoon of warm water or milk. Let it mix for a minute. If it looks slightly better, continue mixing on high for another minute to whip the air back in. It buys you a little salvation!
Now, let’s talk stability. If you need the icing to be stiffer for those tall swirls or borders, don’t just throw in more powdered sugar right away. That can make it stiff but also heavy, which leads to sinking later. Instead, try this trick I learned working banquets: chill the entire bowl of frosting for ten minutes in the freezer! Seriously, just ten minutes. Then, bring it back to the mixer, give it a quick scrape, and beat it on high speed for another full minute. The cold temperature solidifies the fat slightly, giving you the structure you need, and whipping it again reincorporates the air.
Conversely, if it’s too thick—maybe you used colder heavy cream than I recommended—you just need a touch more liquid. Add cream, just one teaspoon at a time, beating well after each addition until it spreads like luxurious velvet. This patience ensures you get that perfect **creamy buttercream recipe** result every single time.
Storage and Reheating Vanilla Buttercream Frosting
Okay, so you made a gigantic batch because you couldn’t help yourself—I totally get it! This **vanilla buttercream frosting** holds up beautifully, but we still need to treat it right so it doesn’t get weird on us. The good news is that because this is a classic American buttercream, it’s quite stable at room temperature, which is fantastic if you’re using it over a few days for day-to-day decorating.
If you cover your bowl tightly with plastic wrap pressed directly onto the surface of the frosting (that’s key to keep air out!) or put it in an airtight container, it should be perfectly fine sitting out on your counter for about three days. Remember that temperature affects stability. If your kitchen is super hot, maybe keep it to two days max.
If you have leftovers that you know you won’t use within three days, pop it in the fridge. It lasts up to a week in an airtight container there. But listen closely—this is crucial for bringing it back to life! When you pull that refrigerated container out, don’t just start beating it. The butter will be rock hard, and you’ll end up with that grainy texture we tried so hard to avoid. You must let it come fully to room temperature first. This might take an hour or two on the counter.
Once it’s soft again, you absolutely have to re-whip it! Put it back in your mixing bowl, start on a low speed, and then beat it on medium-high for a good minute or two. This brings all that trapped air back in, reviving its original lightness and that perfect **creamy buttercream recipe** consistency so it pipes just as beautifully as when you first made it. It’s like magic how whipping it again restores the fluff!
Serving Suggestions for Your Classic Vanilla Icing
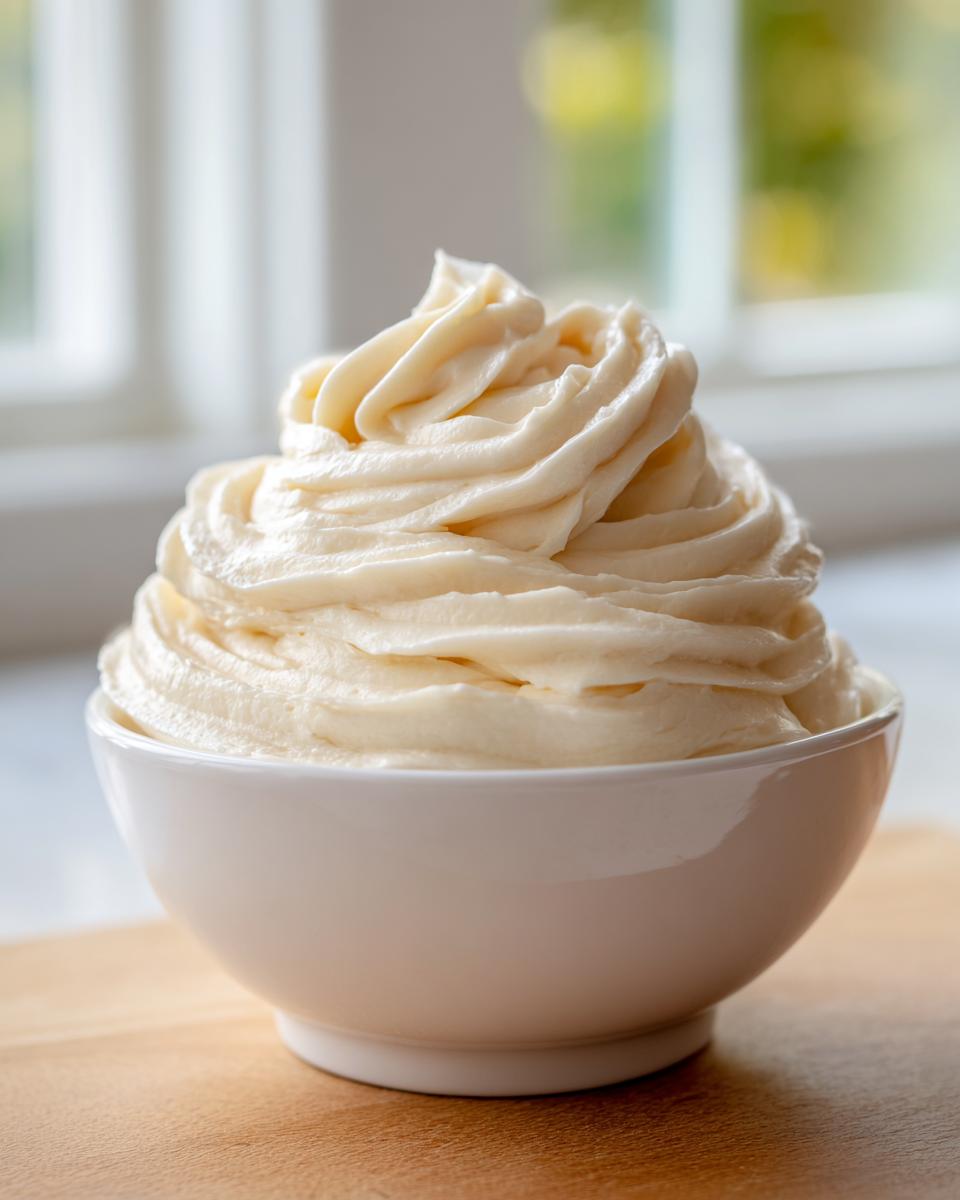
Now that you have this magnificent, foolproof **vanilla buttercream frosting**, you might be wondering, what should I put it on first? Honestly, you could eat this straight with a spoon—I won’t tell a soul! But if you’re feeling charitable toward your friends and family, this **classic vanilla icing** shines in so many ways. Because it sets up so nicely, it’s truly the best topping for stability.
For layer cakes, this is exactly what you need. Since it’s sturdy, it’s perfect for filling between layers of something rich, like a chocolate fudge cake or even one of my favorite simple recipes. If you are looking for a cake that lets this vanilla shine, you have to try my recipe for tender, buttery yellow bake; the pairing is heavenly.
Of course, no birthday is complete without cupcakes! This frosting pipes like a dream. Load it into a piping bag fitted with a star tip, and you can create those beautiful, tall swirls that look like they came straight from a professional bakery display case. It holds its edges beautifully, so you don’t have to worry about them melting down under the party lights.
Don’t forget cookies either! This frosting is thick enough to spread evenly on sugar cookies without running everywhere, and it hardens slightly when it sets, giving you that satisfying classic finish that cracks just a little when you bite into it. It’s honestly the only **buttercream for layer cakes** and small treats that I keep stocked in my rotation!
Frequently Asked Questions About This Vanilla Buttercream Frosting
Because this recipe is such a core staple in my kitchen, people always have some great questions about tweaking it or fixing common kitchen mishaps. I’ve gathered the most common things folks ask me when they are aiming for that perfect finish! If you have technical questions or just want to chat about baking disasters, feel free to drop me a line over at the contact page!
Can I use salted butter in this homemade vanilla frosting?
You absolutely can! I prefer unsalted butter because it lets me control the exact amount of salt—that tiny 1/4 teaspoon is crucial for cutting the sweetness. If you use salted butter in this **homemade vanilla frosting**, just taste the butter first. If it tastes noticeably salty, cut out the 1/4 teaspoon of added salt entirely. If it’s only mildly salty, you might leave in just a pinch, but definitely taste it before you dump in that full measure!
How do I make this a rich vanilla flavor frosting?
This is easy, but relies on quality! To get that truly **rich vanilla flavor frosting** that tastes complex and warm, you must use 100% pure vanilla extract. Imitation vanilla just tastes synthetic and flat when baked in high quantities like this icing requires. If you are trying to make a snowy white **best cake icing**—say, for coloring techniques—and you don’t want the slight beige tint that pure vanilla can bring, you can opt for clear vanilla extract. It has a nearly identical flavor profile but keeps the color pristine.
What is the difference between this and bakery style frosting?
That’s a fantastic distinction! What we are making here is the classic American buttercream—it’s simple, relying on butter and powdered sugar. That’s why it’s so quick and easy for home bakers! Most large commercial bakeries use meringue-based frostings, like Swiss or Italian buttercream. Those use cooked sugar syrups and egg whites, making them less sweet and often lighter in texture, but they take way longer to make.
However, I promise you, when you nail the whipping time on this recipe, you absolutely achieve that gorgeous, stiff final look that reads as **bakery style frosting**. It pipes beautifully and sets up firm enough that it won’t sag or melt quickly, which is why it’s my go-to for cupcakes destined for an afternoon picnic!
Nutritional Data for Classic Vanilla Buttercream Frosting
Now, I always caution people that frosting isn’t exactly health food—it’s a treat, meant to celebrate, remember? But since I have a background in Food Science, I know you’re curious about what exactly goes into that deliciousness! Since this recipe is made with standard ratios, these figures are very good estimates for what you’re consuming. Remember, home baking can vary wildly based on the exact brand of butter or type of cream you use, so take these numbers as a helpful guideline, not a strict guarantee!
This calculation is based on dividing the total recipe yield (about 3 cups) into 12 equal servings, making our serving size 1/4 cup. When you’re making something this good, it’s important to be honest about the indulgence!
- Serving Size: 1/4 cup
- Calories: 380
- Total Fat: 19g
- Saturated Fat: 11g
- Cholesterol: 55mg
- Sodium: 55mg
- Total Carbohydrates: 53g
- Sugars: 52g
- Protein: 1g
As you can see, the fat comes mostly from that beautiful unsalted butter, and the rest is sugar—pure energy for celebrating! We keep the sodium low by controlling the salt, which helps keep the entire flavor profile balanced and prevents your **classic vanilla icing** from tasting sharp or metallic. Enjoy every single bite guilt-free, because you made it! That’s why homemade is always better than anything store-bought.
Share Your Simple Homemade Vanilla Cake Topping Creations
Well, that’s it! Now you have the reliable, perfectly **stable piping frosting** recipe that I rely on whenever I need a beautiful finish fast. I genuinely hope you found this guide helpful in mastering the art of the American buttercream—it’s just so satisfying when you pull that piping bag out and the swirls hold their shape perfectly, right?
Now it’s your turn! I want to hear all about what you used this **simple homemade vanilla cake topping** on. Did you spread it over my yellow cake? Did you use a special piping tip? Please don’t be shy! Head down to the comments section below and give this recipe a star rating if it made your baking life easier. That feedback genuinely helps other bakers know they can trust this method.
And if you took a picture of your finished creation—I absolutely insist on seeing it! Tag me on social media so I can share your gorgeous work. Seeing your successes is the reason I love sharing these recipes passed down through my family and honed in my professional kitchen.
If you need something savory to balance out all that sweet frosting, I’ve got you covered—take a peek at some of my favorite easy starters over on my Appetizers & Snacks page! Thanks so much for baking with me today, and I hope to see you back at Cooking by Mia very soon. If you want to see another fluffy frosting classic, check out this recipe for a similar classic from a friend’s site: The Ultimate 10-Minute Fluffy Vanilla Buttercream Frosting Recipe!
PrintThe Best Fluffy, American Vanilla Buttercream Frosting (Stable for Piping)
Make this classic American vanilla buttercream frosting for a creamy, smooth, and stable topping perfect for decorating cakes, cupcakes, and cookies. This no-fail recipe delivers rich vanilla flavor and pipes beautifully.
- Prep Time: 10 min
- Cook Time: 0 min
- Total Time: 10 min
- Yield: About 3 cups 1x
- Category: Dessert Topping
- Method: Mixing
- Cuisine: American
- Diet: Vegetarian
Ingredients
- 1 cup unsalted butter, softened to room temperature
- 4 cups powdered sugar, sifted
- 1 teaspoon pure vanilla extract
- 1/4 cup heavy cream or milk (use more or less for consistency)
- 1/4 teaspoon salt
Instructions
- Place the softened butter in the bowl of a stand mixer fitted with the paddle attachment. Beat the butter on medium speed until it is completely smooth and creamy, about 3 minutes. Scrape down the sides of the bowl.
- Gradually add the sifted powdered sugar, one cup at a time, mixing on low speed until fully incorporated after each addition.
- Add the vanilla extract and salt. Mix on low speed until combined.
- Increase the mixer speed to medium-high. Slowly drizzle in the heavy cream or milk. Beat the frosting for 3 to 5 minutes until it becomes light, fluffy, and pale in color. This whipping time is key for achieving a stable, smooth texture.
- If the frosting is too thick for spreading, add more cream, one teaspoon at a time. If it is too thin for piping, add more powdered sugar, one tablespoon at a time.
- Use immediately to frost your favorite desserts.
Notes
- For the smoothest texture, ensure your butter is truly room temperature, not melted. Cold butter results in grainy frosting.
- Use high-quality pure vanilla extract to achieve a rich vanilla flavor.
- If you are making this frosting ahead of time, store it in an airtight container at room temperature for up to 3 days or refrigerate for up to one week. Bring to room temperature and re-whip before using.
Nutrition
- Serving Size: 1/4 cup
- Calories: 380
- Sugar: 52
- Sodium: 55
- Fat: 19
- Saturated Fat: 11
- Unsaturated Fat: 8
- Trans Fat: 0
- Carbohydrates: 53
- Fiber: 0
- Protein: 1
- Cholesterol: 55