
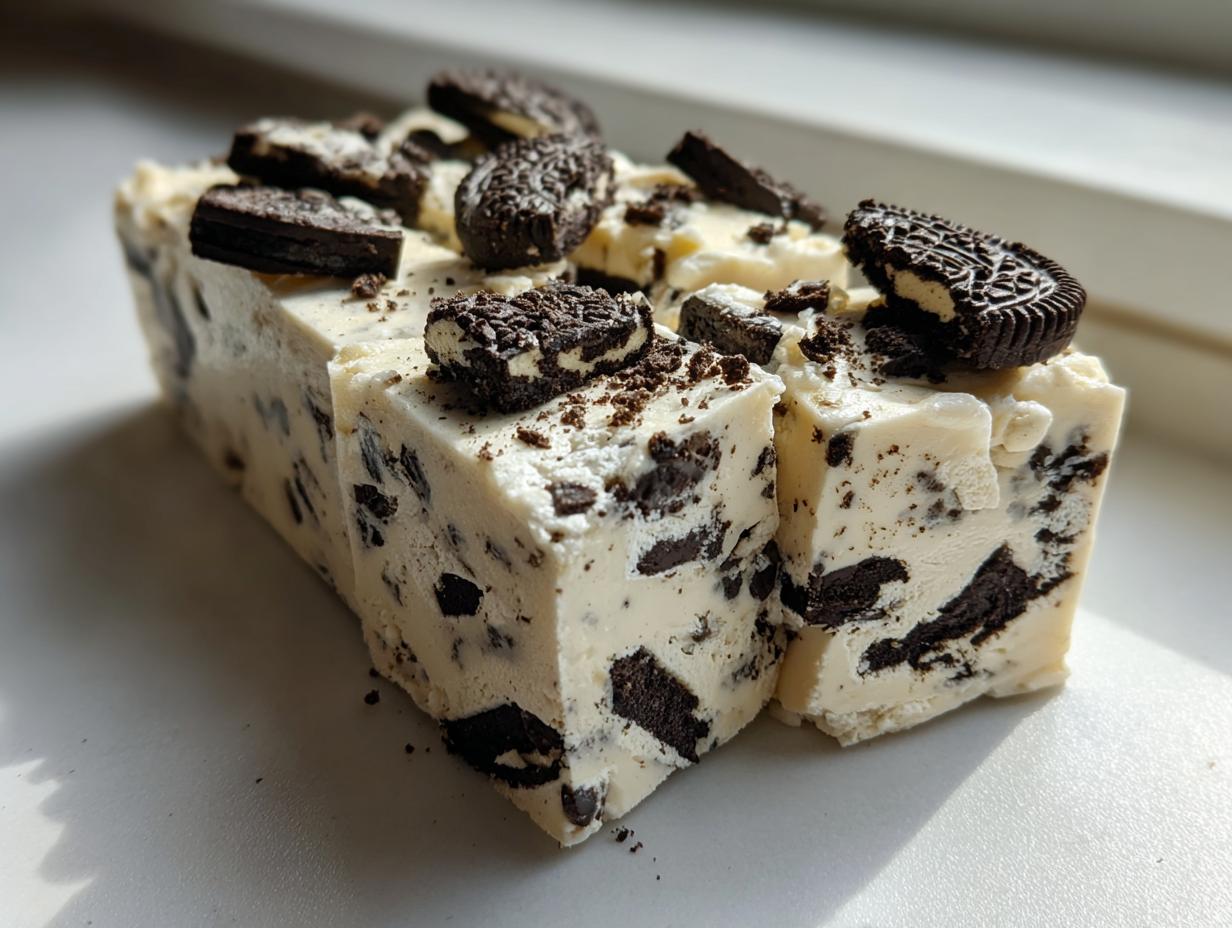
When that sweet craving hits—the one that demands something ridiculously decadent but you absolutely refuse to preheat the oven—I have your answer. Forget complicated candy thermometers and long stirring times! I’m showing you my absolute favorite shortcut for making the most satisfying **oreo fudge** you have ever tasted. Trust me, as someone who spent years perfecting reliable recipes in professional kitchens, I keep coming back to this one because it just *works*. This isn’t just any dessert; it’s the easiest, fastest 3-ingredient no-bake treat that delivers pure, crunchy, creamy joy every single time. If you love simple desserts that look like you spent hours on them, you’re going to want to bookmark this incredibly delicious white chocolate base recipe!
- Why This 3-Ingredient Oreo Fudge Recipe Works (Expert Tips)
- Gathering Ingredients for Your Oreo Fudge Recipe
- How to Prepare Easy Oreo Fudge Step-by-Step
- Tips for Success Making Perfect Cookies and Cream Fudge
- Variations on the Classic Oreo Fudge Recipe
- Serving Suggestions for Your Party Fudge Recipe
- Storage and Reheating Instructions for Simple Oreo Treats
- Frequently Asked Questions About This Decadent Fudge
- Nutritional Estimates for This Easy Fudge
Why This 3-Ingredient Oreo Fudge Recipe Works (Expert Tips)
When you see recipes calling for just three ingredients, you might be skeptical, but trust me on this one! This particular combination—white chocolate, sweetened condensed milk, and Oreos—is foolproof. It hits that sweet spot between being incredibly fast and delivering a truly decadent result. As someone with a background in food science, I can tell you that the chemistry here is sound, which is why we get that perfect, creamy fudge texture without any fuss. It’s the ideal quick Candy Recipe when you need a satisfying dessert fast.
This formula bypasses the crystallization stages of traditional candy making. It’s the ultimate **3 Ingredient Dessert** that truly saves the day when company suddenly shows up. It’s the secret to easy **No Bake Fudge** that somehow tastes like it took hours to perfect.
Achieving Creamy Fudge Texture with Sweetened Condensed Milk Fudge
The star stabilizer here is the sweetened condensed milk. Unlike recipes that rely on boiling sugar to a specific stage, the condensed milk is already heavily concentrated with sugar and milk solids. When melted gently with the white chocolate, it creates a stable, smooth base that sets up beautifully in the fridge. It acts as an instant emulsifier, giving you that incredibly rich, **creamy fudge** mouthfeel right away instead of relying on high heat or complicated stirring.
Gathering Ingredients for Your Oreo Fudge Recipe
Let’s talk about what you need! Honestly, having these three elements on hand means you can whip up this Party Fudge Recipe at a moment’s notice. The beauty of this **shortcut fudge** is its simplicity; there are no strange items hiding in the back of your pantry. You’ll be amazed that something so rich comes from just these basic components. Clarity in measuring is key here, even in a recipe this easy, so have your tools ready to go!
Ingredient Clarity and Preparation Notes
For the best result, especially for that perfect **Cookies and Cream Fudge** taste, you want to use the standard Oreo—cream filling and all! We aren’t measuring by the crust alone here; we want that sweet, creamy center in every bite. Here is exactly what you need to pull this off:
- 1 (14 ounce) can sweetened condensed milk
- 2 cups white chocolate chips (Don’t substitute this for melting wafers, trust me!)
- 3 cups crushed Oreo cookies (This usually means about 25 cookies, give or take a few depending on how finely you crush them.)
How to Prepare Easy Oreo Fudge Step-by-Step
Alright, this is where the magic really happens, and I promise you, it’s so quick you’ll wonder why you ever tried making traditional fudge! Before you even grab your bowl, make sure you’ve lined your 8×8 inch pan with parchment paper, leaving those nice little overhangs on two sides. That parchment paper is your best friend for getting the **oreo fudge** out in one perfect slab later on. Then, get those Oreos crushed up! While you’re thinking about snacking, remember to check out my favorite easy appetizers and snacks collection for party planning, but for now, focus on these cookies!
Melting the White Chocolate Fudge Base
Grab your white chocolate chips and the entire can of sweetened condensed milk and pop them into a microwave-safe bowl. Now, here’s my huge warning: White chocolate burns if you look at it wrong! Only microwave it in 30-second bursts. After each 30 seconds, take it out and stir vigorously. You have to stir completely to redistribute the heat. Keep doing this—it usually takes about a minute and a half total—until it’s perfectly smooth. If you see any lumps, keep microwaving in very short bursts, stirring well between each one. We want silky, not gritty!
Mixing and Setting the No Bake Fudge
Once that base is perfectly smooth and gorgeous, gently fold in those crushed Oreos. You want them distributed evenly, but don’t over-mix once the cookies are in, or you’ll break up the cookie pieces too much. Just enough stirring to see black specks everywhere! Then, press that whole glorious mess into your prepared pan, making sure it’s level. Now, the hardest part: patience! This **No Oven Dessert** needs at least two hours chilling in the refrigerator to set up firm enough to slice. If you’re itching to cut it sooner, you risk a gooey disaster on your knife!
Tips for Success Making Perfect Cookies and Cream Fudge
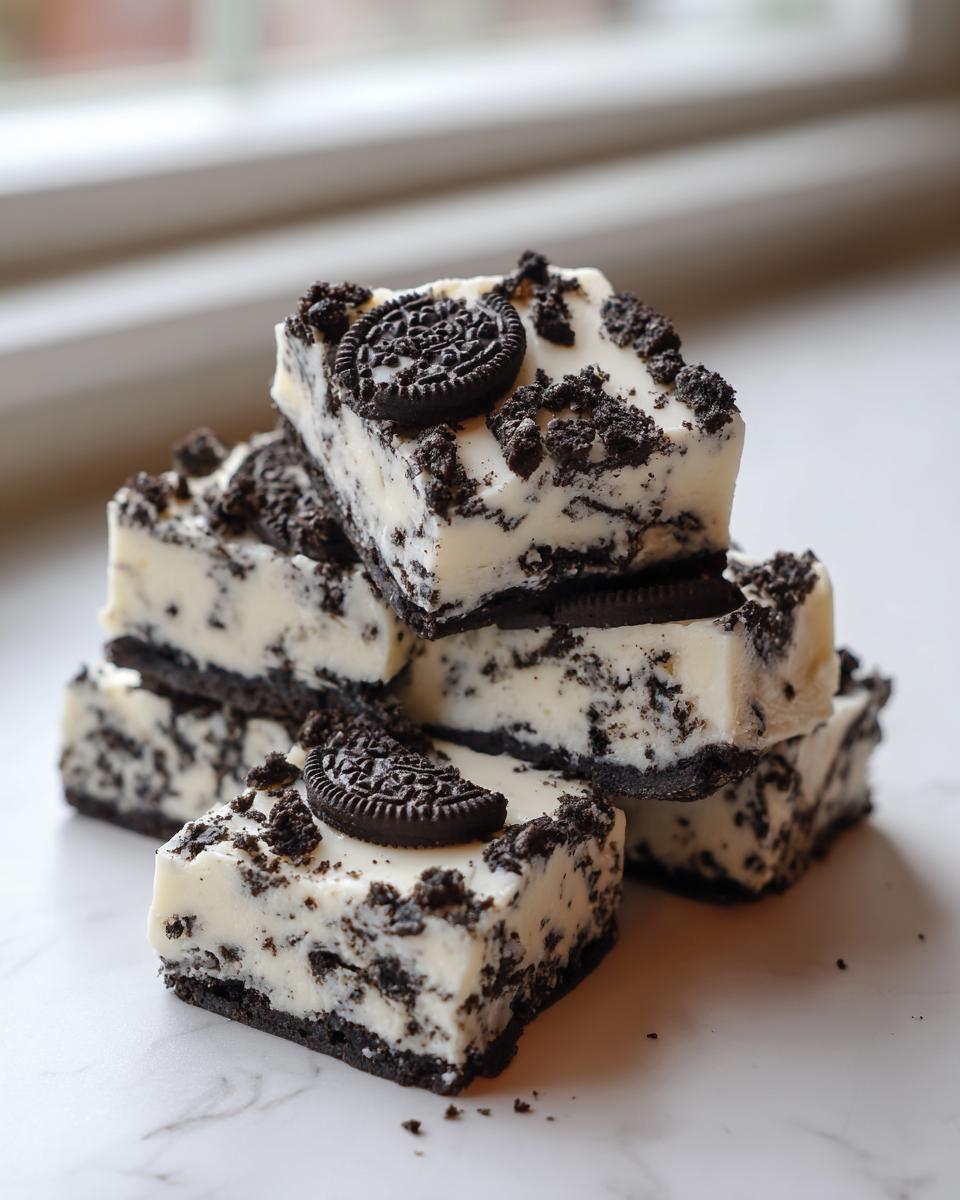
Making this **Cookies and Cream Fudge** is incredibly straightforward, but when you want those perfect, clean squares for gifting or serving, a couple of little tricks really bring the aesthetic home. I’ve tested this recipe so many times, and I’ve learned a few things along the way that make the difference between a rustic slab and beautiful dessert bites. If you want that super **creamy fudge** texture to shine through visually, pay attention to the chilling and cutting process. This is where that professional touch really comes into play without adding any extra cooking time to your day!
If you’re feeling adventurous and want to deepen the chocolate notes a bit, remember what I mentioned: you can swap out half of the white chocolate chips for semi-sweet chocolate chips. It changes the color slightly, but the flavor contrast against the creamy center is fantastic. Now, let’s talk about achieving those neat edges; that’s crucial for making your fudge look as good as it tastes. You can check out some other decadent chocolate ideas over in my collection of chocolate baking!
Expert Advice for Cutting Your Homemade Fudge
This is my number one pro tip for presentation, especially when you’re packaging this up for **Holiday Fudge Gifts**. Because this is no-bake and sets up quite hard in the fridge, cutting it right out of the cold can cause it to crack or crumble messily. After you’ve chilled the fudge, don’t cut it immediately! Use the parchment overhang to lift the whole slab onto a clean cutting board. Let it sit there on the counter at room temperature for about 10 minutes. This slight tempering softens the edge just enough. When you slice it with a large, sharp knife, the cuts will be so much cleaner, and you won’t compromise that gorgeous, creamy structure we worked so hard to achieve.

Variations on the Classic Oreo Fudge Recipe
While I maintain that this simple combination of three ingredients creates the ultimate **oreo fudge**, I totally get that sometimes you want to put your own little spin on things! The good news is that this base recipe is incredibly accommodating. You don’t have to abandon the speed or the no-bake nature to make it your own. If you’re headed toward the holidays or just feeling extra creative, you can introduce flavors easily.
My favorite way to jazz this up without making it messy is by adding extract right after the white chocolate melts. A half teaspoon of peppermint extract, for instance, turns this into a fantastic holiday treat! If you do that, maybe save some of those Oreos for topping instead of mixing them all in, just so the peppermint really shines through. These little twists let you deliver a brand new candy without breaking a sweat. If you love fudgy textures but want to move away from chocolate entirely sometimes, check out my recipe for sweet potato brownies—it’s a different kind of decadence!
And as I mentioned before, switching out half the white chocolate for semi-sweet chips gives you a deeper initial chocolate hit while still maintaining that sweet, rich set from the condensed milk. No matter what you choose, you’re still dealing with an incredibly easy dessert that tastes amazing!
Serving Suggestions for Your Party Fudge Recipe
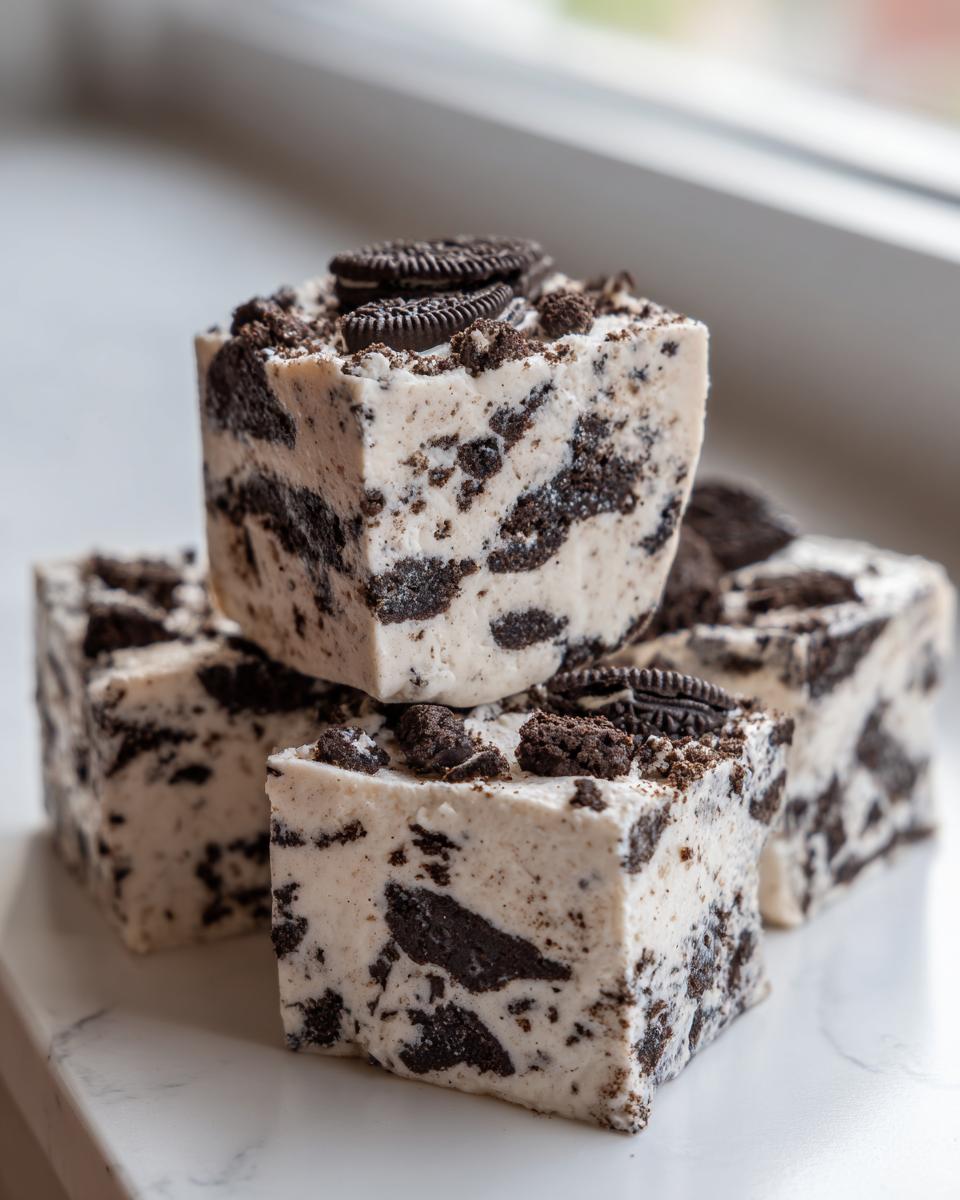
Because this **oreo fudge** is so rich, a little bit goes a long way! For parties or just for easy snacking, I always recommend cutting these into small, bite-sized squares—you’ll get way more servings that way, which is great for budgeting your homemade treats. If you are making this for **Holiday Fudge Gifts**, try wrapping those neat little squares in small cellophane bags tied with a festive ribbon; they look incredibly professional!
When it comes time to serve them up at home, they are simply divine alongside a hot cup of strong coffee; the bitterness cuts through the sweetness perfectly. Or, if the kids are enjoying them, a tall glass of cold milk is the absolute classic pairing. If you need more ideas for entertaining, don’t forget to look over my collection of easy party appetizers!
Storage and Reheating Instructions for Simple Oreo Treats
One of the absolute best things about making this **Quick Candy Recipe** is that it stores like a dream! Unlike baked goods that go stale, this **Simple Oreo Treat** actually benefits from sitting for a day so the flavors can really meld together. This means you can totally make it ahead of time for a party or stack up those **Holiday Fudge Gifts** without worrying about freshness.
For short-term storage, keeping the fudge at room temperature is actually fine, provided your kitchen isn’t scorching hot. If you cut it and store the squares in an airtight container layered between small pieces of wax paper, they should stay perfectly fantastic for up to three days. The goal is to keep air away from them so they don’t try to absorb any smells from the fridge.
However, because we used sweetened condensed milk, the refrigerator gives you the longest shelf life. Pop those airtight containers in the fridge, and your homemade fudge stays fresh and firm for up to two full weeks. If you chill them, just remember the trick I shared earlier: pull them out about 10 minutes before you plan to serve or slice them for the best texture. And nope, you don’t need to reheat this at all—it’s meant to be enjoyed cold or slightly tempered!
Frequently Asked Questions About This Decadent Fudge
I know you’re probably just as excited as I am to make this **Decadent Fudge**, but sometimes little questions pop up before you even start mixing. That’s totally normal! Since this is such a popular **Easy Fudge** recipe, I’ve gathered the questions I get asked most often about ingredients and the process. If you’re wondering about anything else once you finish, please don’t hesitate to reach out; you can always ask me directly on my contact page!
Can I use different cookies instead of Oreos in this oreo fudge?
You absolutely can, but I need to be honest with you: the result will taste different! This recipe thrives on the specific chocolate/cream dynamic of the Oreo, which makes it such a fantastic **Cookies and Cream Fudge**. If you substitute, make sure the cookie you choose is sturdy enough. Something too delicate might just turn to dust when you fold it into the warm white chocolate mixture. A crisp chocolate wafer or even shortbread can work in a pinch, but for the true experience, stick to the classic!
Is this truly a no oven dessert?
Yes! That’s one of the major reasons I love this **Easy Dessert Idea** so much. We aren’t baking anything at all. The heat comes entirely from the microwave used to melt the white chocolate and condensed milk. It’s a pure stovetop-free (or oven-free!) candy recipe from start to finish. It sets up completely in the refrigerator. It really is the ultimate **No Oven Dessert** for hot days or when your oven is already in use.
What is the best way to crush the cookies?
This is a great question because you want a nice mix of textures—some fine crumbs and some chunkier bits for that perfect crunch. My favorite, most reliable method is tossing the Oreos right into a sturdy zip-top bag, pressing out the air, and then just going at them with a rolling pin until they are broken down to your liking. If you have a food processor, that works like a charm too, but be careful not to pulse it too many times, or you’ll end up with just black powder instead of exciting cookie pieces!
Nutritional Estimates for This Easy Fudge
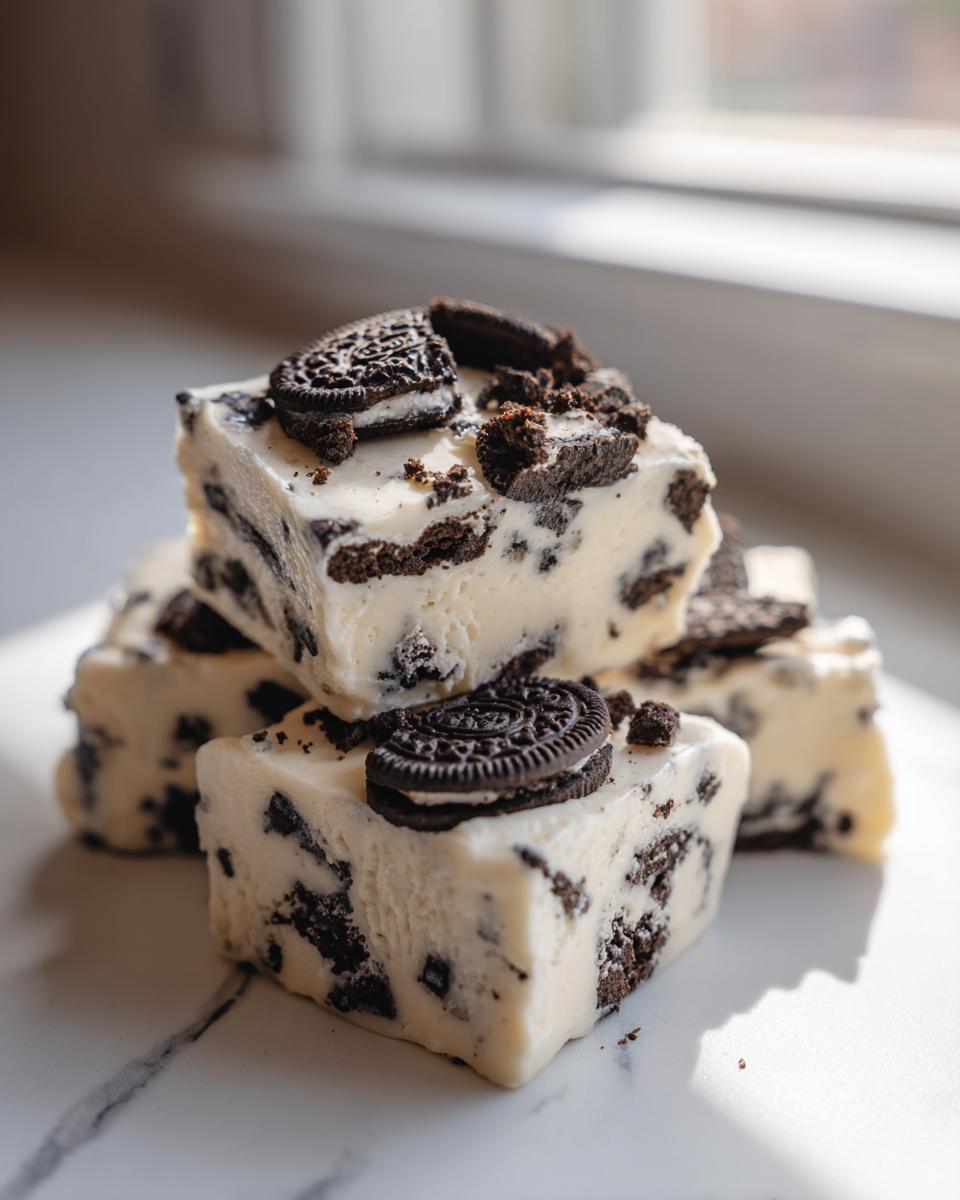
Here is a quick look at what goes into these incredibly satisfying squares of **oreo fudge**. Since this recipe is really simple, it’s easy to track the macros, which is helpful if you’re mindful of sugar intake! Just remember, these numbers are estimates based on the ingredients I use (standard Oreos, semi-sweet chips, etc.) and the recipe yielding about 36 small squares. Every time you cut differently, the numbers change slightly, so treat this as a helpful guide rather than a strict label.
It’s wild to me that something this decadent only clocks in around 185 calories per piece! We rely on the fat content from the chocolate and the condensed milk, of course, but getting that much flavor for so few ingredients is what makes this a winner.
- Serving Size: 1 square
- Calories: 185
- Sugar: 22g (This is a sweet treat, so watch that!)
- Fat: 9g
- Protein: 3g
- Carbohydrates: 25g
This **quick candy recipe** is definitely a splurge, but knowing the core components makes it feel much less guilty than a store-bought candy bar, don’t you think? When you’re making this for a bake sale or as **Holiday Fudge Gifts**, people will truly appreciate the rich flavor packed into these little bites.
PrintEasiest 3-Ingredient Oreo Fudge Recipe

Make this simple, no-bake Oreo fudge using only three ingredients: white chocolate, sweetened condensed milk, and crushed Oreos. This quick candy recipe creates creamy, decadent cookies and cream fudge perfect for parties or gifting.
- Prep Time: 10 min
- Cook Time: 0 min
- Total Time: 2 hours 10 min
- Yield: About 36 small squares 1x
- Category: Dessert
- Method: No-Bake
- Cuisine: American
- Diet: Vegetarian
Ingredients
- 1 (14 ounce) can sweetened condensed milk
- 2 cups white chocolate chips
- 3 cups crushed Oreo cookies (about 25 cookies)
Instructions
- Line an 8×8 inch baking pan with parchment paper, leaving an overhang on two sides for easy removal. Lightly grease the paper.
- Place the white chocolate chips and sweetened condensed milk in a microwave-safe bowl.
- Microwave in 30-second intervals, stirring well after each interval, until the mixture is completely smooth and melted. This usually takes 1 to 1.5 minutes total. Do not overheat.
- Gently fold in the crushed Oreo cookies until they are evenly distributed throughout the white chocolate mixture.
- Press the fudge mixture evenly into the prepared baking pan.
- Refrigerate for at least 2 hours, or until the fudge is firm enough to slice.
- Use the parchment paper overhang to lift the fudge from the pan. Cut into small squares.
- Store the homemade fudge in an airtight container.
Notes
- For a cleaner cut, chill the fudge for a few hours, then let it sit at room temperature for 10 minutes before slicing.
- If you prefer a richer chocolate flavor, substitute half of the white chocolate chips with semi-sweet chocolate chips.
- Crush the Oreos in a food processor or by placing them in a sealed plastic bag and crushing them with a rolling pin.
Nutrition
- Serving Size: 1 square
- Calories: 185
- Sugar: 22g
- Sodium: 110mg
- Fat: 9g
- Saturated Fat: 6g
- Unsaturated Fat: 3g
- Trans Fat: 0g
- Carbohydrates: 25g
- Fiber: 0g
- Protein: 3g
- Cholesterol: 10mg