
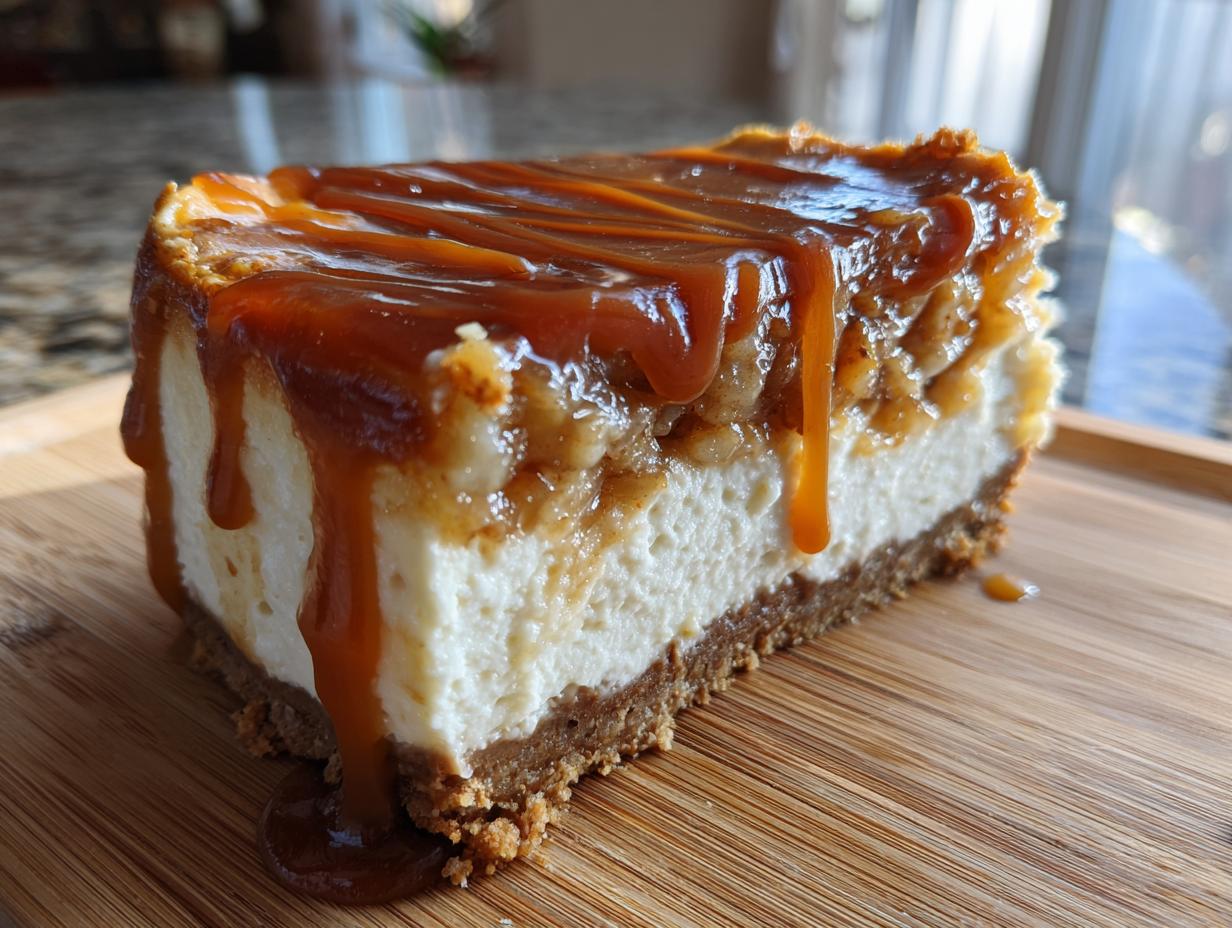
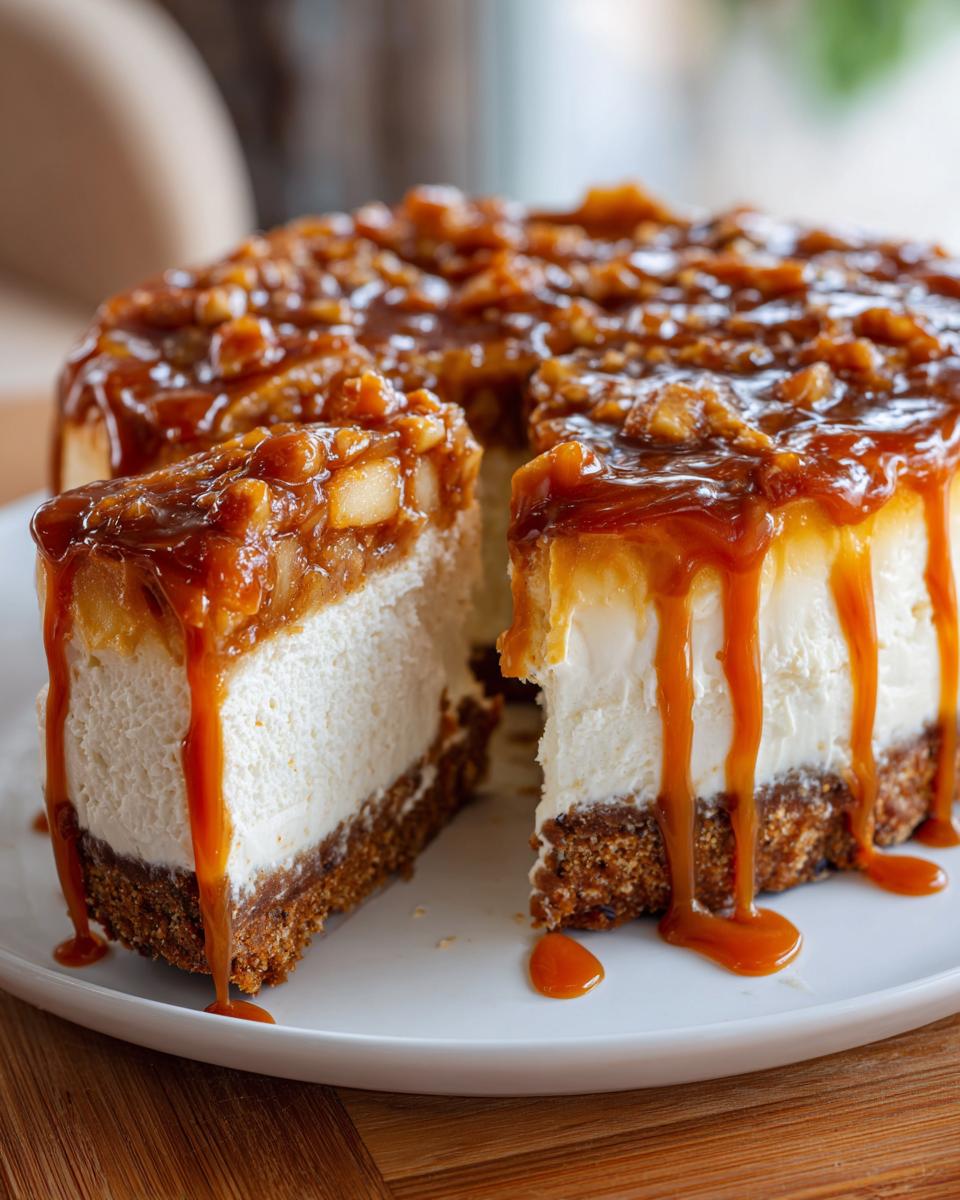
Oh, when two of the best things in life decide to join forces, you know you’re in for a treat! If you’ve been looking for that ultimate show-stopping dessert for Thanksgiving or just a cozy fall evening, stop your search right now. We are diving headfirst into the most decadent dessert fusion possible: the Salted Caramel Apple Pie Cheesecake. As someone who grew up blending comforting Mexican spices with my Mom’s Southern classics, I live for these flavor mashups! I’ve spent years tweaking cheesecake recipes to get that perfect creamy bite, and combining it with warm, spiced apples and a salty-sweet drizzle? It’s pure magic. Trust me, this apple pie cheesecake is going to be the star of your holiday table. Ready to make some magic? Check out all my favorite dessert recipes too!
- Why This Salted Caramel Apple Pie Cheesecake Recipe Works (Expert Tips)
- Gathering Ingredients for the Ultimate Apple Pie Cheesecake
- Step-by-Step Instructions for Baked Apple Pie Cheesecake
- Making This Apple Pie Cheesecake Recipe Your Own (Variations)
- Tips for Success with Your Easy Apple Pie Cheesecake
- Serving Suggestions for This Decadent Dessert Fusion
- Storing and Reheating Your Apple Pie Cheesecake
- Frequently Asked Questions About Apple Pie Cheesecake
- Share Your Apple Pie Cheesecake Experience
Why This Salted Caramel Apple Pie Cheesecake Recipe Works (Expert Tips)
Making a showstopper like this isn’t just about mixing things; it’s about respecting the physics of baking! When you combine that airy, light filling from an apple pie swirl with the density of a classic cheesecake, you need specific techniques to keep things gorgeous and from cracking. This recipe is intentionally structured to deliver that fantastic textural contrast. It ensures every slice gives you that smooth, creamy cheesecake dessert next to tender, spiced fruit.
Achieving the Perfect Creamy Cheesecake Dessert Texture
- Patience with Temperature: I cannot stress this enough! Your cream cheese and those four large eggs must be completely at room temperature. Cold ingredients just won’t mix into that silky batter we want, leading to lumps instead of that beautiful, smooth cheesecake.
- Hands Off the Eggs: Once the eggs go in, you switch to the lowest speed or even hand mixing. Overmixing the eggs incorporates too much air, which causes the cheesecake to rise too fast in the oven and then collapse and crack dramatically when it cools. We want happy, gentle incorporation here.
- The Water Bath is Your Friend: Baking the cheesecake nestled in hot water—that’s the barrier that keeps the edges from setting too quickly while the center cooks. This gentle, steamy environment guarantees that incredibly smooth texture we are aiming for, guaranteeing no cracks on top!
Gathering Ingredients for the Ultimate Apple Pie Cheesecake
Alright, let’s get down to business! Every great dessert fusion starts with ingredients you trust. Since we are combining a classic pie structure with a rich cheesecake base, the quality of what goes into each layer really matters. You’ll notice the measurements are pretty precise here—that’s because we need that perfect balance so the apples don’t make the crust soggy or the filling too runny. Pay close attention to the texture notes I’ve added to the ingredient list itself, like ensuring your cream cheese is perfectly softened. If you love testing out different flavor combinations, check out my recipe for maple brown sugar cookies for inspiration!
For the Buttery Graham Cracker Crust
- 1 1/2 cups graham cracker crumbs
- 1/4 cup granulated sugar (for crust)
- 6 tablespoons unsalted butter, melted
For the Smooth Cheesecake Filling
- 3 (8 ounce) packages cream cheese, softened to room temperature—this is non-negotiable!
- 1 1/2 cups granulated sugar (for filling)
- 1 teaspoon vanilla extract
- 1/4 teaspoon salt
- 4 large eggs—remember, room temperature!
For the Spiced Apple Topping and Drizzle
- 2 cups spiced apple filling (use your favorite store-bought brand, or feel free to whip up your own homemade spiced apple topping recipe for extra depth!)
- 1/2 cup salted caramel sauce, for topping (the good, thick stuff!)
Step-by-Step Instructions for Baked Apple Pie Cheesecake
Okay, here is where the real magic happens! Don’t let the water bath scare you. It’s the secret sauce that guarantees this apple pie cheesecake recipe comes out looking like the picture every single time. We are building layers of flavor and texture here, so take your time, especially when mixing the batter. Baking a cheesecake isn’t a race; it’s a meditative process. Once it’s baked, the cooling part is just as important as the mixing itself. You’re going to love the results, just like I do when I nail a tough recipe like this! If you are interested in other pie secrets, check out my great tip for banana cream pie.
Preparing the Crust and Pan Setup
First things first: we need to get that oven humming at 325°F (160°C). Now, grab your 9-inch springform pan. This is key: wrap the entire outside bottom and sides tightly with heavy-duty aluminum foil. I mean *tightly*—we are making a boat to protect it from the water bath later! Once wrapped, mix those graham cracker crumbs, the crust sugar, and melted butter until everything is evenly moistened. Press that mixture firmly and evenly into the bottom of your prepared pan. Pop that crust into the oven for exactly 10 minutes. Let it cool down just a touch before moving on.
Mixing the Cheesecake Filling Components
Remember what I said about room temperature ingredients? Now is the moment to put that advice into practice! Get your softened cream cheese into a big bowl and beat it until it’s completely smooth and fluffy. You shouldn’t see any lumps lingering there. Next, gradually incorporate that 1 1/2 cups of sugar. Mix in the vanilla extract and salt until they vanish. Now, the eggs go in one at a time. Mix very gently after each addition—just until the yolk disappears into the batter. Seriously, stop mixing once it’s combined! We want smooth, not airy.
Layering and Baking the Cheesecake with Apple Filling
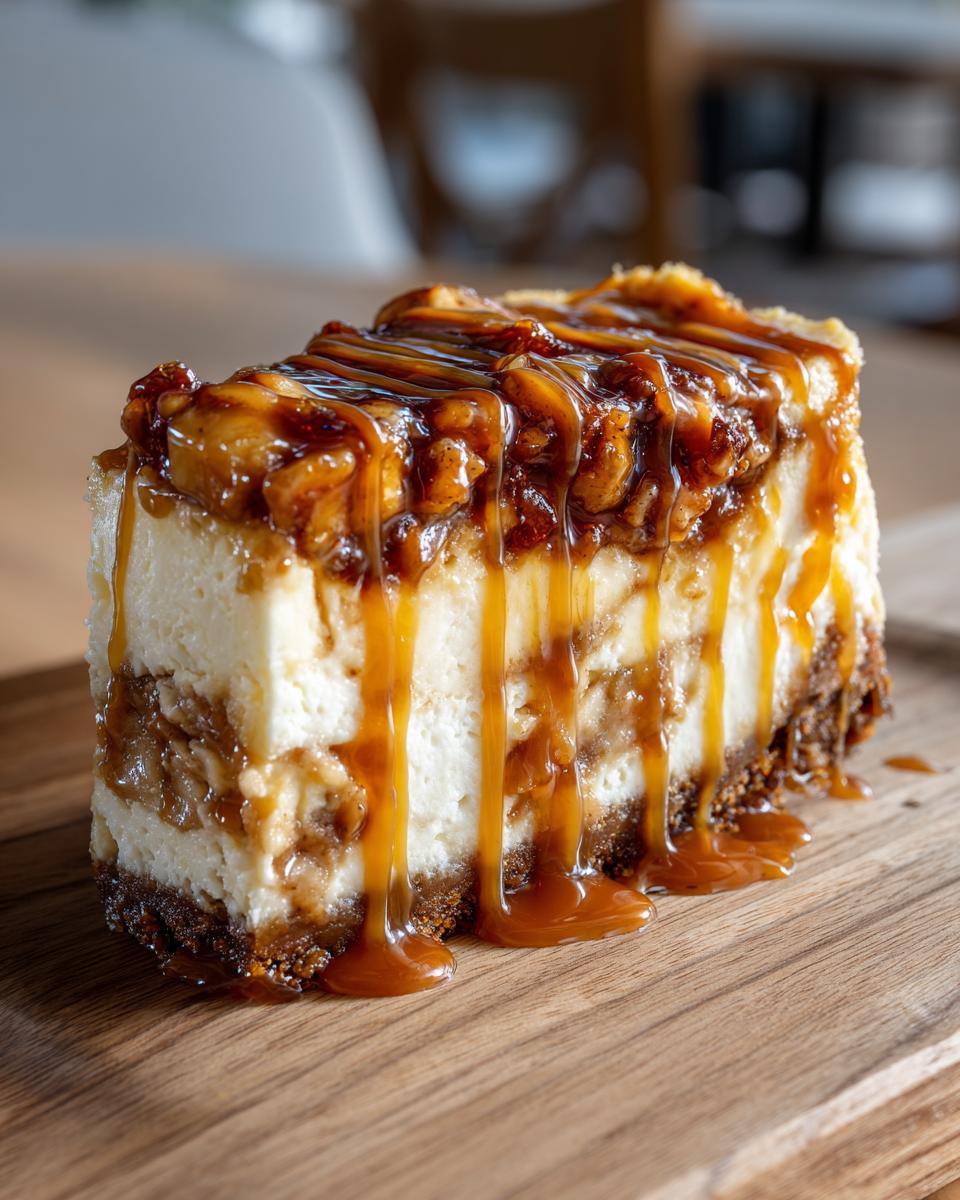
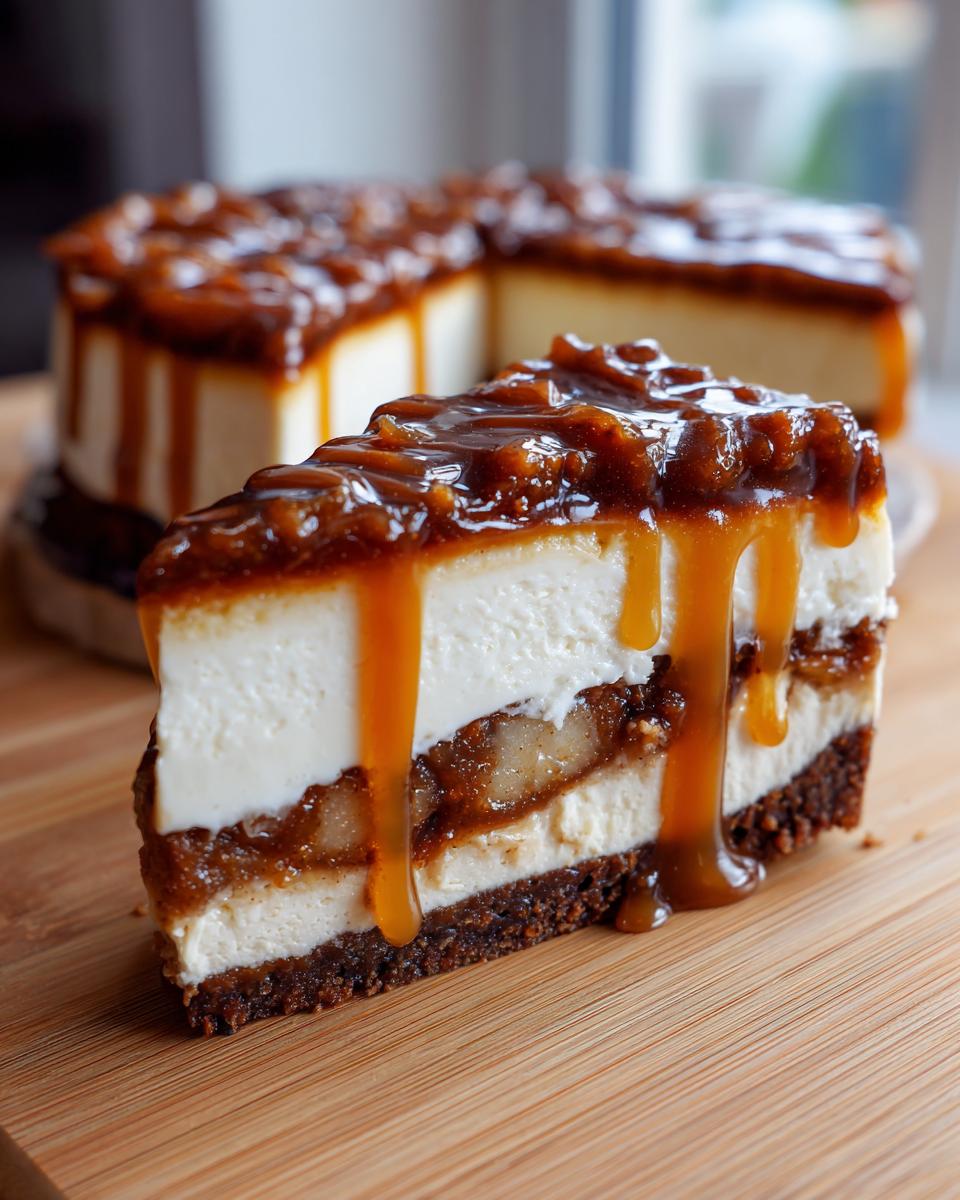
Time to assemble this beauty! Pour half of your smooth cheesecake batter right over that cooled crust. Now, take your 2 cups of spiced apple filling and dollop it gently over the batter layer. Don’t stress about perfect coverage; it will spread a bit while baking. Once the apples are spread out, carefully pour the *remaining* cheesecake batter right over the top. Pour some hot water into a larger roasting pan, place your foil-wrapped cheesecake inside that water, and put the whole setup into the oven. Bake for 60 to 75 minutes. You’re looking for edges that look set, but the very center should still have a slight wobble, like soft gelatin.
Cooling and Chilling for the Best Results
This cooling period is vital if you want to avoid cracks! When that baking time is up, turn the oven completely off. Do not open the door yet! Just crack the door open slightly—just a tiny bit—and just let the cheesecake sit in that warming oven for a full hour. This slow transition is what builds trust between the hot oven and the cool cheesecake. After the hour, take it out of the water bath, remove the foil, and let it cool on a wire rack until it hits room temperature. Then, cover it loosely and move it to the fridge. I say chill for at least 6 hours, but honestly, if you can wait overnight, you’ll get the absolute best texture!
Making This Apple Pie Cheesecake Recipe Your Own (Variations)
While this baked recipe is my absolute favorite—a true powerhouse among fall cheesecake desserts—I know sometimes you just need something different, or maybe you’re short on time! Don’t worry, this base is versatile. You can take these core flavors and adapt them to other wonderful apple dessert ideas. Being a recipe tinkerer like my mother taught me, I love making small swaps to keep things fresh!
Swapping the Crust for a No Bake Apple Pie Cheesecake Feel
If you skip the oven entirely in your mind, you can easily change up the crust texture. Instead of the baked graham cracker base, try pulsing vanilla wafers or even gingersnap cookies into fine crumbs along with the butter. If you use gingersnaps, you get a lovely little spicy kick right at the bottom that complements the apple filling perfectly! Just press that mixture firmly into the base of your chilled pan—no bake needed for the crust.
Incorporating Other Fall Dessert Ideas
If you’re going for maximum decadence, you absolutely have to lean into that caramel! Try drizzling your salted caramel sauce not just on top, but swirling a tablespoon of it right into the filling layer before you add the final layer of batter. It melts down beautifully during the bake. Also, for a textural bonus, try skipping the caramel drizzle and adding a simple pecan crumble topping—it gives you that **apple crisp cheesecake** element everyone loves. For more apple inspiration, make sure you check out my apple dapple cake!
Tips for Success with Your Easy Apple Pie Cheesecake
Baking a cheesecake feels intimidating, I know! But honestly, most of the issues people run into—like cracking or a grainy texture—are totally manageable if you follow a couple of Mia’s golden rules. Think of these as little insurance policies for your beautiful dessert. My food science background taught me how small changes make a huge difference, but I also learned the shortcuts from my mom!
If you are worried about getting those creamy salted caramel apple pie cheesecake layers perfectly smooth, the ingredient temperature is your number one focus. Remember, cold cream cheese equals lumps; it just won’t blend right! Also, if you’ve ever felt stressed about assembling a proper water bath, please know there’s an easier way. You can skip the hassle of perfectly wrapping your pan by simply placing a shallow pan filled with hot water on the rack *below* your cheesecake. It won’t be quite as steamy as a full immersion bath, but it adds just enough moisture to the oven air to help prevent those dreaded surface fractures. It’s a great trick when you’re moving fast!
For more baking tips, especially around working with cream cheese, take a peek at my cream cheese chocolate chip cookies recipe—the mixing principles are very similar!
Serving Suggestions for This Decadent Dessert Fusion
This massive flavor experience needs the right stage! Since this is the ultimate in Thanksgiving cheesecake recipes, you want to serve it when everyone is ready to slow down. The richness of the cheesecake and the caramel are beautifully cut by a simple, hot cup of coffee. That’s my go-to pairing, hands down!
Pairing with Holiday Baking Sweets
If you’re putting this on a dessert buffet alongside other holiday baking sweets, make sure it has a spot of honor—it deserves it! It stands up perfectly next to sharper, fruitier items, or even something nutty. For something truly special, try serving a tiny slice next to one of my pecan pie muffins. The textural difference is incredible. Seriously, this cheesecake is hearty enough to be its own event, but it plays well with strong, dark drinks. Don’t even think about anything too light!
Storing and Reheating Your Apple Pie Cheesecake
This magnificent dessert is just as good—if not *better*—the next day, which is fantastic news when you’re planning a big holiday spread like for Thanksgiving. Because this is a dense, rich baked dessert, wrapping it properly is half the battle against drying it out!
Once it’s completely chilled (and seriously, try to let it sit overnight!), carefully remove that springform ring. You want to keep the caramel drizzle off the main body of the cake until serving time if you can, otherwise, the caramel can sometimes weep a little. Cover the entire cheesecake tightly with plastic wrap, but make sure the wrap isn’t actually touching the top surface if you left the drizzle on. If you didn’t drizzle it yet, you can wrap it just a bit looser.
It will keep beautifully in the refrigerator for up to five days. When you are ready to serve a slice later in the week, pull it out of the fridge about 30 minutes before serving. I find that letting it sit on the counter just long enough to take the icy chill off really allows the cream cheese flavor to bloom—it tastes much closer to freshly made!
As for reheating? Don’t even think about it! Cheesecake is not meant to be warmed up like a slice of apple pie. You risk melting the beautifully set cream cheese structure. Keep it cool, keep it covered, and enjoy that perfect chilled texture!
Frequently Asked Questions About Apple Pie Cheesecake
Can I make a no bake apple pie cheesecake instead of baking?
That’s a common question, especially when the weather makes you want to avoid turning on the oven! This specific recipe is designed to be baked. That step is what creates that dense, velvety texture we love, and it helps set the layers securely around the apples. If you wanted a true no-bake version, you would need to swap out the eggs for ingredients like powdered gelatin or stabilizers used in whipped cream toppings to get that structure to hold up once it chills. For the creamy results in this recipe, baking is definitely the way to go!
What is the best way to prevent cracks in my apple pie cheesecake?
Trust me, nobody likes a cracked top, especially when you’ve gone to the trouble of making such a decadent dessert fusion! The water bath is your golden ticket here. It shields the cheesecake from harsh, direct heat. After baking, the *second* most important step is the slow cooling process: turning the oven off and letting it sit inside with the door cracked for a full hour. These two steps combined manage the temperature change so gently that the cheesecake barely shrinks, leaving you with a smooth, gorgeous top ready for that caramel drizzle.
How far in advance can I prepare this cheesecake with apple filling?
This is fantastic news for your holiday schedule! This cheesecake actually *wants* to be made ahead. While the minimum chill time is 6 hours, I highly recommend preparing the entire apple pie cheesecake recipe, chilling it overnight, and then adding the salted caramel drizzle right before you serve it. The flavors—the spice from the apples, the tang from the cheese, the salt in the caramel—all meld together beautifully during that long, cold rest. You can easily prep this the day before your big event!
If you have any other questions about ingredients or substitutions, please don’t hesitate to reach out via my contact page. Happy baking!
Share Your Apple Pie Cheesecake Experience
Now that you’ve conquered the water bath, layered the cheesecake, and drizzled that gorgeous salted caramel, the best part is sharing the joy! Honestly, seeing your bakes makes my whole week. I pour my heart and professional knowledge into testing these recipes, making sure they are reliable for home cooks like you visiting Cooking by Mia.
So please, when you pull that stunning apple pie cheesecake out of the springform pan, snap a picture! If you loved the textures, if your guests raved about the fusion of flavors, or if you discovered a clever trick while making it, I want to hear all about it. Leaving a star rating and a comment below is the best way to let me know I succeeded in bringing you an exceptional holiday dessert. It helps our community grow and lets me keep developing amazing recipes!
If you want to learn more about the philosophy behind blending tradition and science in my kitchen, check out my About Page—it’s all about bringing confident, delicious food to your table!
PrintSalted Caramel Apple Pie Cheesecake: A Show-Stopping Fall Dessert
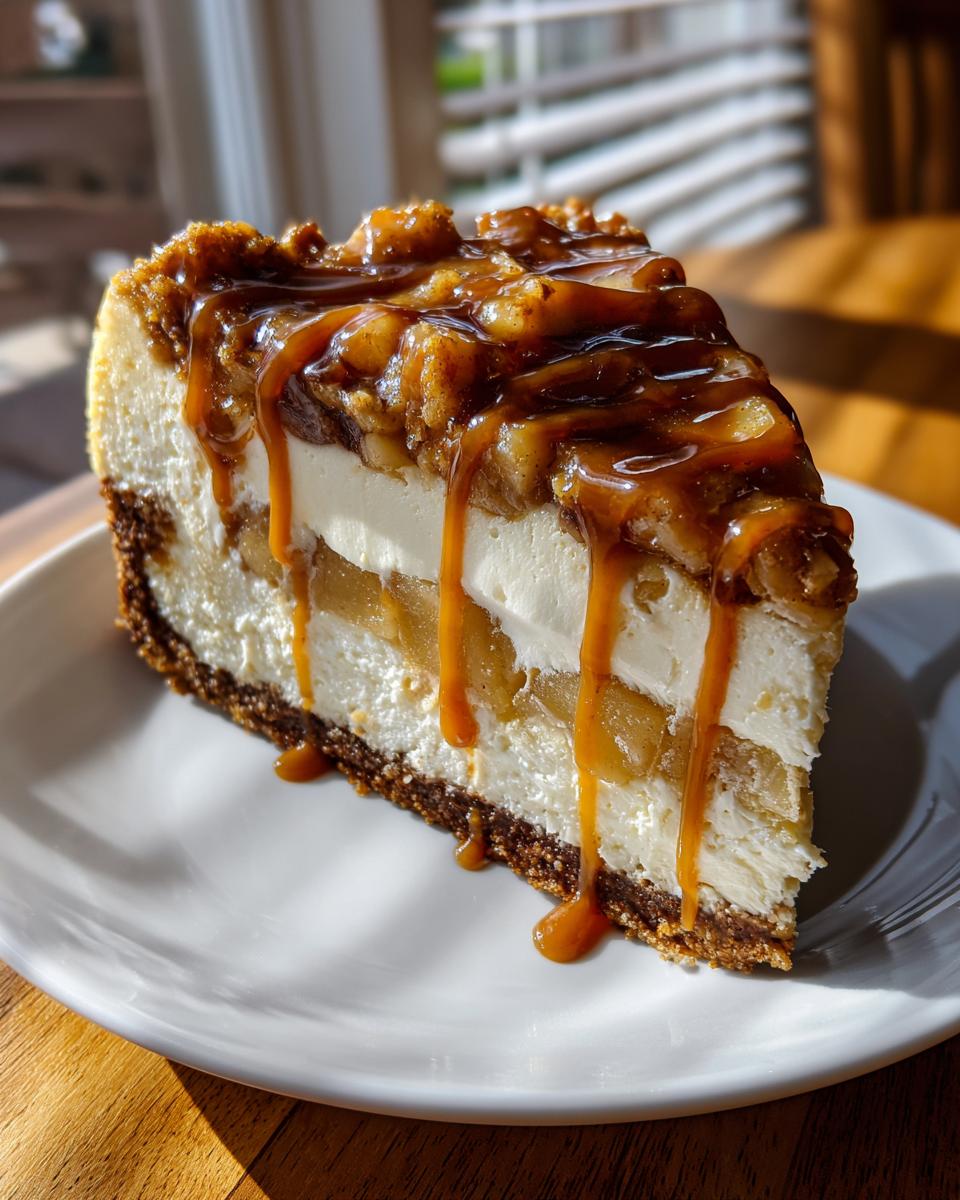
Combine the creamy texture of cheesecake with the warm spices of apple pie. This baked dessert features a buttery crust, spiced apple filling, smooth cheesecake, and a rich salted caramel drizzle. It is perfect for holiday gatherings and special occasions.
- Prep Time: 30 min
- Cook Time: 75 min
- Total Time: 115 min
- Yield: 12 servings 1x
- Category: Dessert
- Method: Baking
- Cuisine: American
- Diet: Vegetarian
Ingredients
- 1 1/2 cups graham cracker crumbs
- 1/4 cup granulated sugar (for crust)
- 6 tablespoons unsalted butter, melted
- 3 (8 ounce) packages cream cheese, softened
- 1 1/2 cups granulated sugar (for filling)
- 1 teaspoon vanilla extract
- 1/4 teaspoon salt
- 4 large eggs
- 2 cups spiced apple filling (store-bought or homemade)
- 1/2 cup salted caramel sauce, for topping
Instructions
- Preheat your oven to 325°F (160°C). Wrap the outside of a 9-inch springform pan tightly with heavy-duty aluminum foil to prepare for a water bath.
- Make the crust: Mix graham cracker crumbs, 1/4 cup sugar, and melted butter until combined. Press the mixture firmly into the bottom of the prepared springform pan. Bake for 10 minutes. Let cool slightly.
- Prepare the cheesecake filling: In a large bowl, beat the softened cream cheese with 1 1/2 cups sugar until smooth. Beat in the vanilla extract and salt. Add the eggs one at a time, mixing just until combined after each addition. Do not overmix.
- Assemble the layers: Pour half of the cheesecake batter over the cooled crust. Spoon the spiced apple filling evenly over the batter. Carefully pour the remaining cheesecake batter over the apples.
- Bake in a water bath: Place the foil-wrapped springform pan into a larger roasting pan. Pour hot water into the roasting pan until it reaches halfway up the sides of the springform pan. Bake for 60 to 75 minutes, or until the edges are set and the center has a slight jiggle.
- Cool the cheesecake: Turn off the oven, crack the oven door open, and let the cheesecake cool inside the oven for 1 hour. Remove from the water bath and let it cool completely on a wire rack.
- Chill: Refrigerate the cheesecake for at least 6 hours, or preferably overnight, before serving.
- Serve: Before serving, remove the springform ring. Drizzle generously with salted caramel sauce.
Notes
- For a silky texture, bring your cream cheese and eggs to room temperature before mixing.
- If you do not have a water bath, place a shallow pan of water on the rack below the cheesecake while baking to help prevent cracking.
- You can substitute the apple filling with homemade spiced apples cooked with cinnamon and nutmeg.
Nutrition
- Serving Size: 1 slice
- Calories: 450
- Sugar: 45g
- Sodium: 250mg
- Fat: 28g
- Saturated Fat: 17g
- Unsaturated Fat: 11g
- Trans Fat: 0.5g
- Carbohydrates: 48g
- Fiber: 1g
- Protein: 7g
- Cholesterol: 110mg