
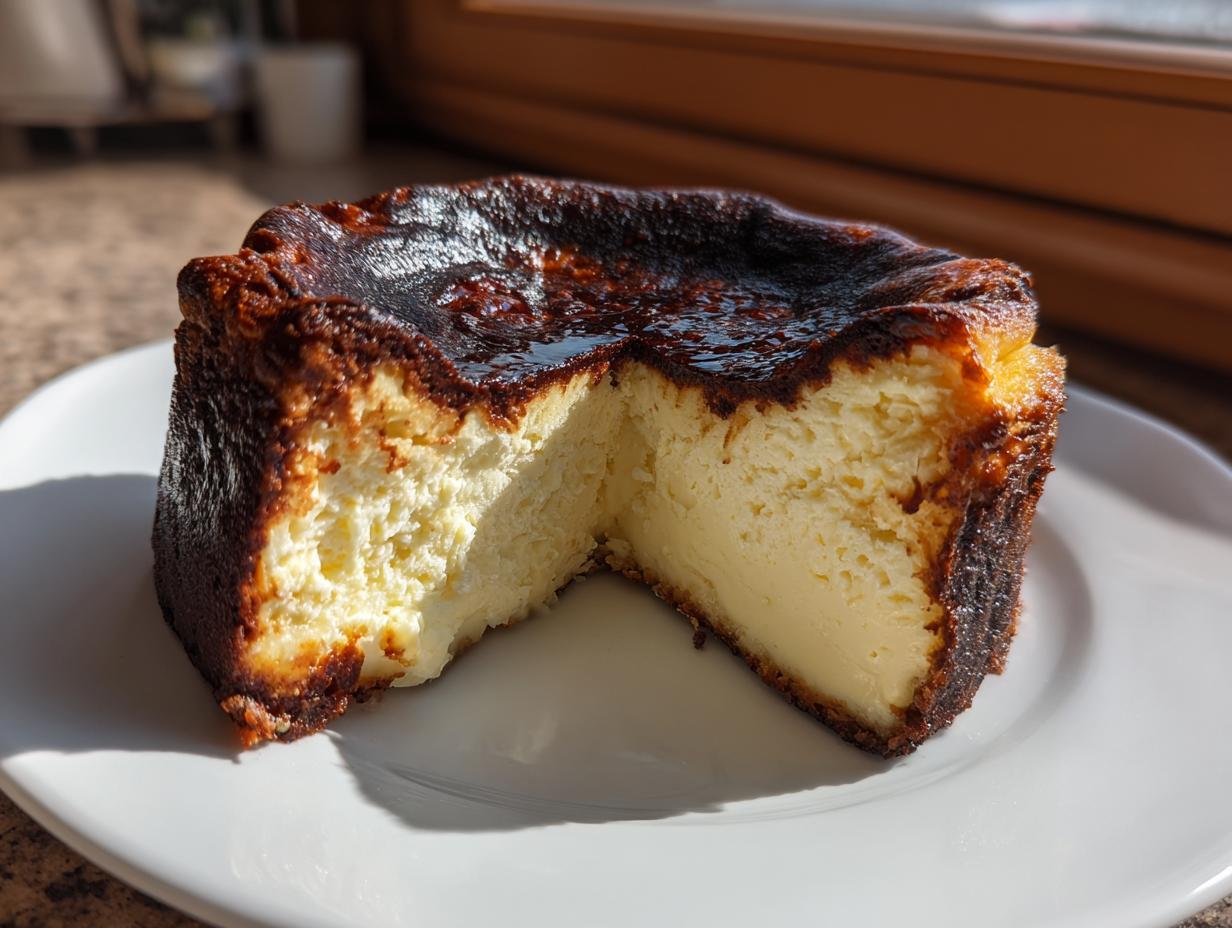
Every few years, a dessert explodes across the internet, convincing everyone they have to try it immediately. Right now, that star is definitely the Basque burnt cheesecake. And I get it! It looks dramatic, rustic, and almost impossible, but trust me, it’s the opposite.
As someone who spent years developing recipes professionally, blending my food science background with family traditions, I’ve perfected this San Sebastian style cake. Forget those fussy water baths and complicated crusts. This recipe is designed to give you that incredibly rich, mousse-like interior and the deep, smoky, perfectly caramelized top every single time. It’s my go-to recipe for an impressive dinner party dessert that requires minimum hands-on fuss.
If you’re ready to create the best cheesecake ever without breaking a sweat, stick with me. We’ll revolutionize the dessert that’s taking over every feed. For other low-effort, high-reward treats, you might want to check out my easy chocolate mousse recipe sometime too!
- Why This is the Best Basque Burnt Cheesecake Recipe
- Ingredients for Your Basque Burnt Cheesecake
- Step-by-Step Instructions for the Easy Basque Burnt Cheesecake Recipe
- Cheesecake Baking Tips for a Perfect Basque Burnt Cheesecake
- Variations: Making a Basque Style Cake in a Loaf Pan
- Serving Suggestions for Your Decadent Spanish Dessert
- Storage and Reheating for the Basque Burnt Cheesecake
- Frequently Asked Questions About Basque Burnt Cheesecake
- Nutritional Snapshot of This Rich Cream Cheese Dessert
Why This is the Best Basque Burnt Cheesecake Recipe
If you’ve ever been intimidated by homemade cheesecake, get ready to feel totally confident. This Basque Burnt Cheesecake Recipe cuts right to the good stuff. We skip all the drama—no fiddly crust, and absolutely no water bath needed. That’s right, ditch the roasting pan and the fear of cracking!
- It’s genuinely Crustless Cheesecake, putting 100% focus on that glorious filling.
- The high oven temperature creates that signature look without needing a No Water Bath Cheesecake setup.
- The texture is pure decadence; it sets up like a rich, velvety dream.
Achieving the Signature Creamy Dessert Texture
The magic here is really simple science, my friends. We use high heat and lots of heavy cream. This combination lets the edges set quickly while the interior stays lush. Because this dairy-heavy mixture is sensitive, you absolutely *must* use room temperature cream cheese and eggs. If your cream cheese is cold, you will get lumps, and lumps spoil that smooth, Creamy Dessert vibe we’re aiming for. Trust me on this step!
The Secret to a Perfectly Burnt Top
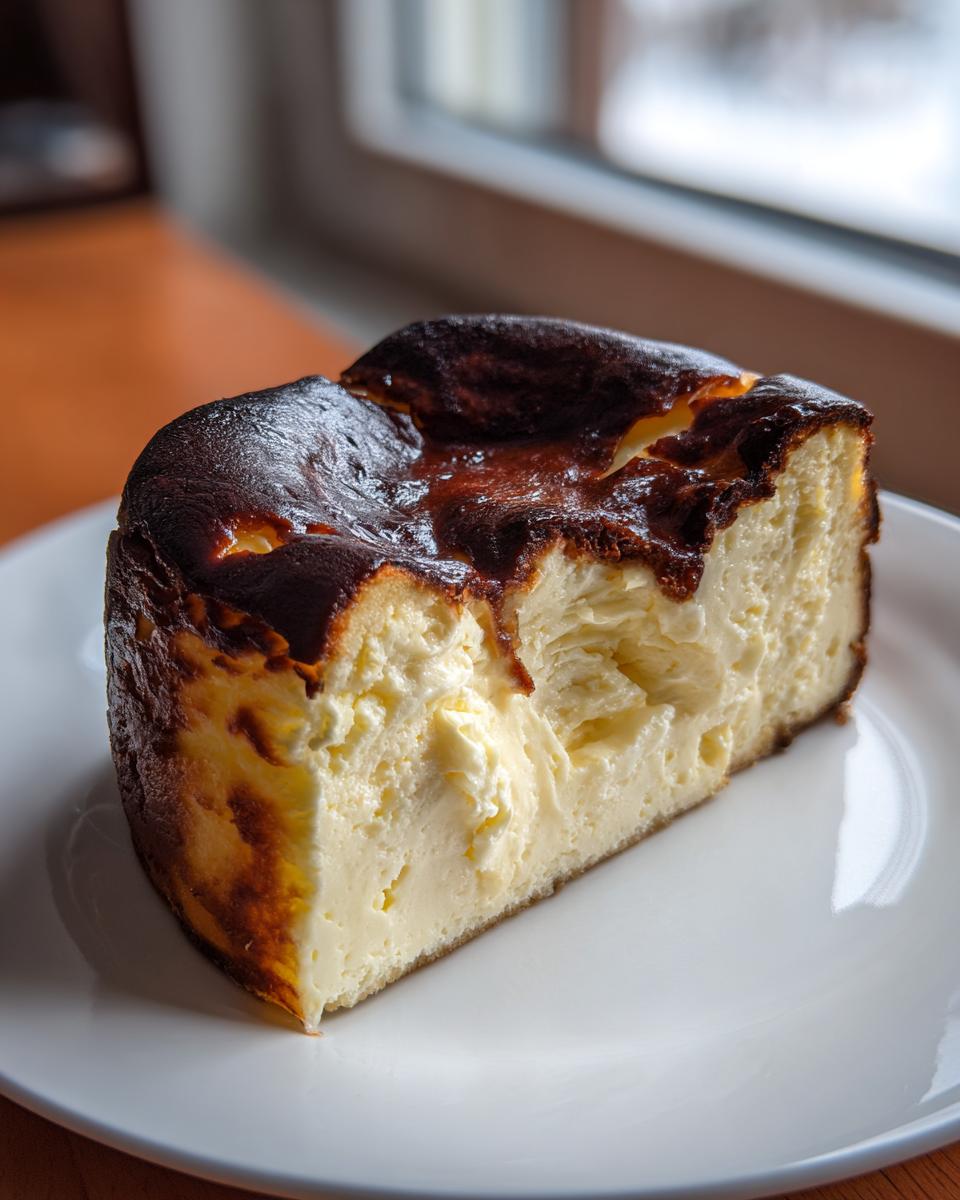
Okay, let’s talk about the burn. People get nervous, thinking it’ll taste bitter, but it won’t! That deep, dark color is crucial for flavor. It’s not actually burnt; it’s intensely caramelized sugar and milk solids, which adds this incredible, slightly smoky depth that balances out the rich cheese. It’s what makes this a real Caramelized Cheesecake Top masterpiece. We let the oven do the hard work, creating those rustic, bold patches that look fantastic.
Ingredients for Your Basque Burnt Cheesecake
Gathering your ingredients ahead of time is half the battle won when making this Basque Burnt Cheesecake. The most important tip I can give you, which I learned during my days as a recipe developer, is this: everything needs to be at room temperature. I mean it! Cold ingredients fight each other in the bowl, and that’s how you get lumps instead of that gorgeous, silky texture. Take your cream cheese, eggs, and yolks out at least an hour before you plan to start mixing.
We’re keeping this wonderfully simple, as it’s truly a Minimal Ingredient Dessert. I’ve found that sticking to high-quality, full-fat ingredients pays off big time in richness. If you love cream cheese in your bakes, you should absolutely peek at my cream cheese chocolate chip cookies recipe next!
Here’s exactly what you’ll need for a perfect 9-inch cake:
- 1.5 lbs (680g) full-fat cream cheese, softened to room temperature—this is crucial!
- 1 1/4 cups (250g) granulated sugar
- 4 large eggs, room temperature, please!
- 2 large egg yolks, also room temperature
- 1 3/4 cups (420ml) heavy cream
- 1 tablespoon all-purpose flour (just a tiny bit for structure)
- 1 teaspoon vanilla extract
- Pinch of fine sea salt
That’s it! See? No butter, no heavy spices, no lemons dominating the flavor. It’s all about that pure, rich cream cheese flavor designed to shine through the caramelization.
Step-by-Step Instructions for the Easy Basque Burnt Cheesecake Recipe
This is where the magic happens, and honestly, it’s so straightforward you’ll wonder why you waited so long to make this Easy Cheesecake Recipe.
We use a high heat, no-fuss method. My biggest recommendation? Have your ingredients already sitting out—warm cream cheese, warm eggs—before you even think about turning on the mixer. This keeps everything compliant and smooth, which is the secret to that stunningly rich cream cheese dessert result. Once everything is ready, we move fast!
If you need a sweet warm-up while you bake, try my maple brown sugar cookies! Now, let’s get this rustic beauty into the oven.
Pan Preparation and Oven Setup
First order of business: the pan. We are embracing the rustic charm here, so don’t fret about clean edges! Take a 9-inch springform pan and line it generously with two crisscrossed sheets of parchment paper. You want the paper to stick way up over the edges—like a big, crinkly collar pointing to the sky. This allows the cheesecake to climb up naturally and creates those gorgeous, crinkled sides.
Next, crank that oven up! We are preheating to a blazing hot 400°F (200°C). I need you to know clearly: there is absolutely no water bath required for this recipe. We want the intense, dry heat to ensure that top gets charred beautifully.
Mixing the Velvety Cheesecake Filling
This is the only place where you need to practice a little restraint in mixing. Put the warm cream cheese into your big bowl. Beat it until it is completely, utterly smooth—no lumps allowed in this velvety cheesecake filling! Then, mix in the sugar just until it disappears.
Now, introduce the eggs and yolks, one by one. Mix only until *just* combined after each addition. The moment you add the eggs, you introduce air, and we want to limit that! Too much air makes a fluffy cake texture, but we’re aiming for that decadent, almost custard-like center. Finally, gently whisk in the heavy cream, vanilla, salt, and that tiny bit of flour. The batter will look surprisingly thin—don’t panic, that’s exactly what you want for that creamy final product!
Baking and Cooling the Basque Burnt Cheesecake
Pour that thin batter into your parchment-lined pan and set it on a baking sheet (just in case that parchment collar decides to lean!). Pop it into that 400°F oven for about 45 to 55 minutes. You’re looking for a deeply browned top—bordering on black in spots, remember, that’s the flavor! The edges need to look set, but the center must still have a good wiggle to it, almost like very soft gelatin.
Resist the urge to move it! Let it cool completely on the counter for a good two hours. It will deflate dramatically, and that’s normal. Once it’s just warm or room temperature, cover it loosely and move it to the fridge for a minimum of six hours, but overnight is my strong recommendation for the absolute best cheesecake ever texture.
Cheesecake Baking Tips for a Perfect Basque Burnt Cheesecake
Even though this is touted as an easy recipe, a few little tricks from my professional kitchen days make all the difference between a great cake and the Best Cheesecake Ever.
- Ingredient Temperature is Non-Negotiable: If your cream cheese is cold, you’ll be beating forever trying to smooth it out, and you risk incorporating too much air via over-mixing. Everything out for at least an hour!
- Parchment Power: Don’t skimp on the parchment paper sticking up higher than the rim. The rustic collar effect is a signature of the Basque Style Cake look, and it keeps sides moist during the initial high-heat blast.
- Don’t Panic Over the Wobble: If you bake it until it’s firm in the center, you messed up! That jiggle is the promise of a gorgeous, custardy center. It sets up as it cools.
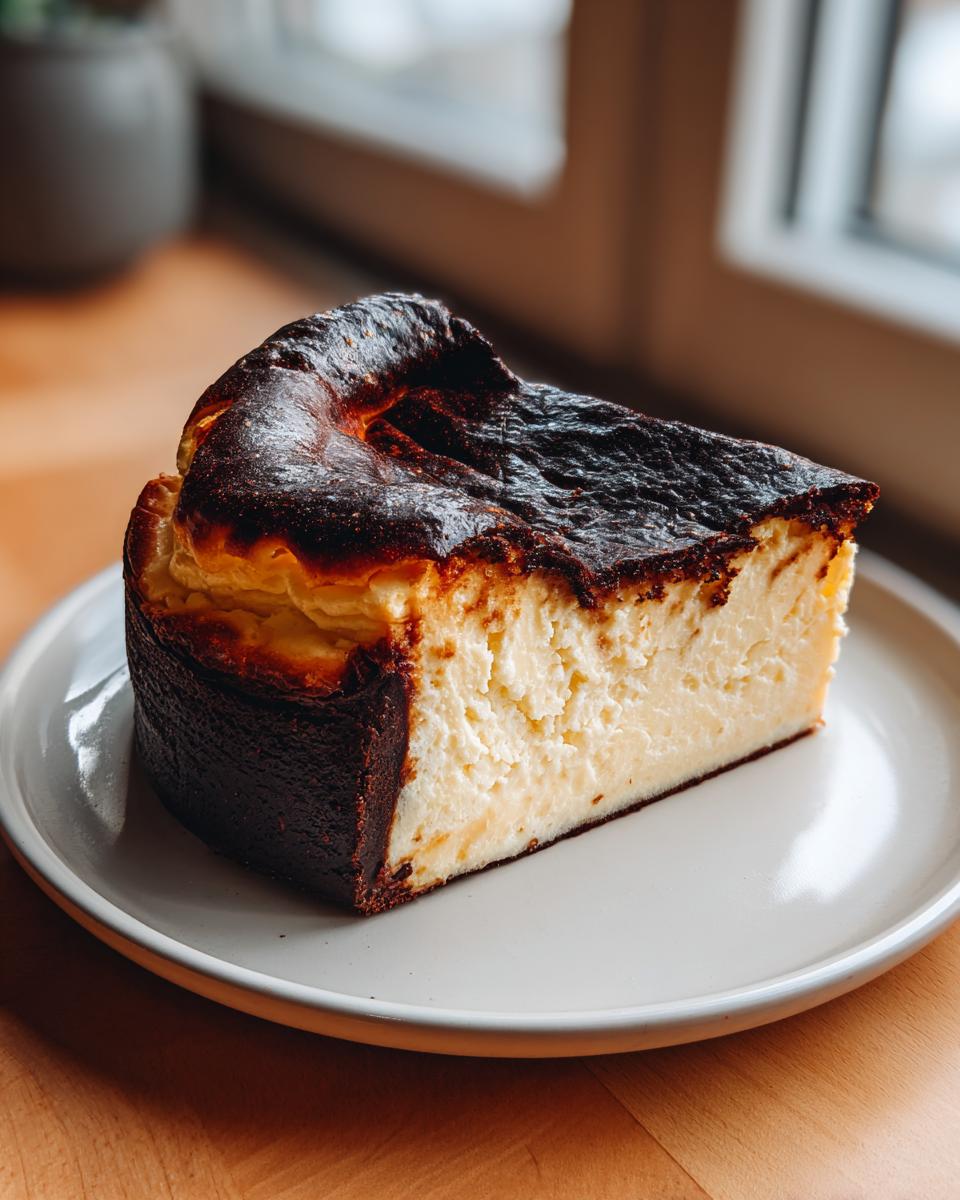
Variations: Making a Basque Style Cake in a Loaf Pan
I love seeing how people adapt recipes! If you don’t have a 9-inch springform pan, don’t worry about it. You can absolutely make a smaller, cute version of this Basque Burnt Cheesecake in a loaf pan. This works perfectly for smaller gatherings and yields great little slices.
If you’re using a standard 8.5 x 4.5-inch loaf pan, make sure you line it thoroughly with parchment paper, letting the excess hang over the sides so you can lift the cake out later. Honestly, I find this method gives you a slightly different crack pattern, which is fun! You might need to shave about 10–15 minutes off the total baking time since the heat has a shorter distance to travel to the center, so start checking early. You can find more inspiration for this shape over at Claire’s blog here!
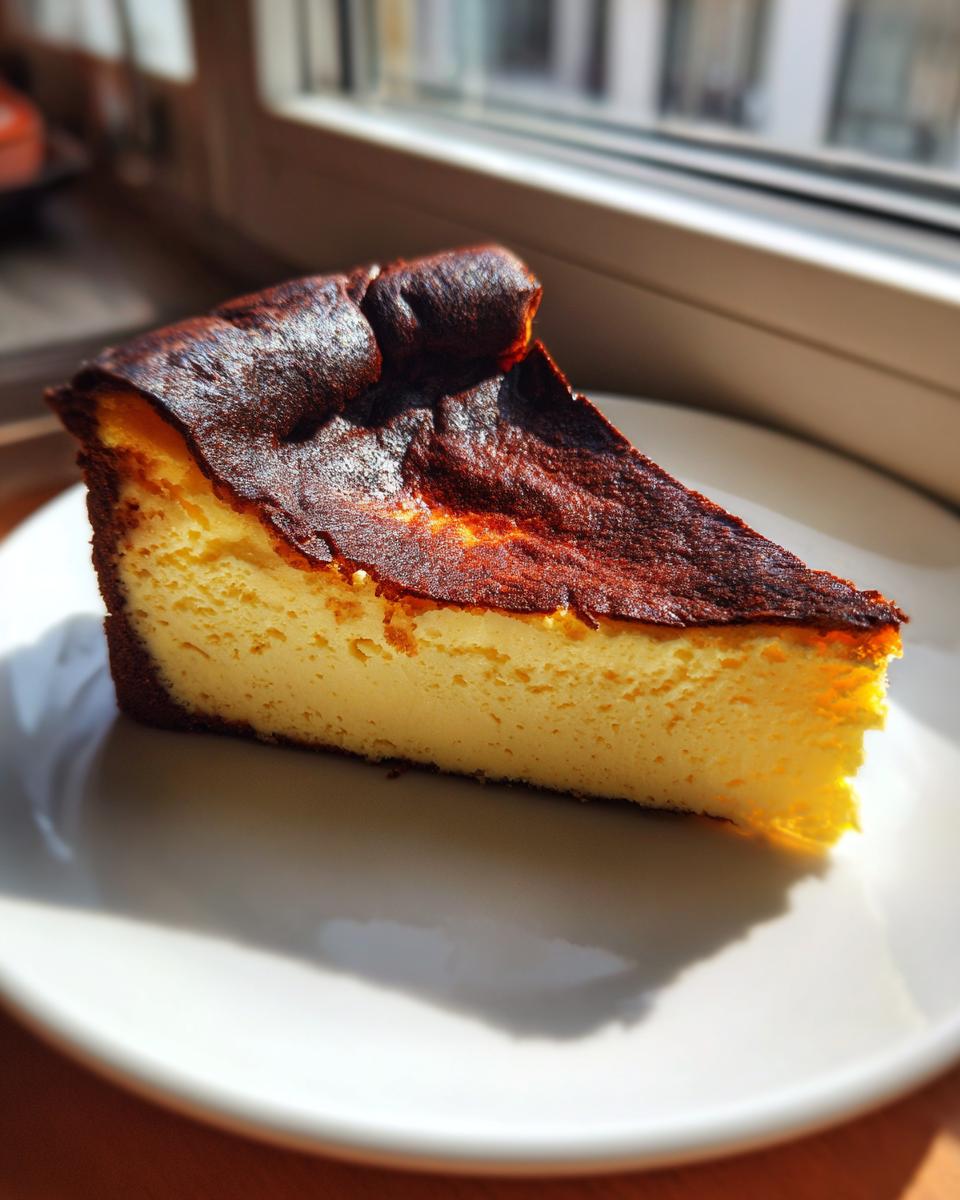
Serving Suggestions for Your Decadent Spanish Dessert
This cake is so rich on its own that it barely needs anything extra. It truly shines when served closer to room temperature, which really leans into that dreamy, velvety cheesecake filling texture. For a truly Decadent Spanish Dessert presentation, I love a simple dusting of powdered sugar right before serving. It contrasts beautifully with the dark top.
If you want a little pop of acidity, skip the heavy chocolate sauces and instead go for fresh berries—raspberries or blackberries work wonders! Or, you could whip up a simple cocktail like my lemon drop martini to sip alongside a slice.
Storage and Reheating for the Basque Burnt Cheesecake
The best part about this Basque Burnt Cheesecake is that it keeps beautifully, and sometimes it tastes even better the next day. Store leftovers tightly covered in the refrigerator for up to five days. That dense, creamy texture firms up beautifully when chilled.
When you are ready to eat it again, here is my crucial tip: take it out of the fridge an hour, maybe even 90 minutes, before you plan to serve it. Letting it come back toward room temperature reactivates that incredible mousse-like quality that makes this dessert famous.
Frequently Asked Questions About Basque Burnt Cheesecake
Why is my basque burnt cheesecake batter so thin?
Oh, don’t you worry one bit about that! The batter for this style of cheesecake is supposed to be quite liquidy, almost like a thin pancake batter. That thin consistency is the key ingredient to achieving the intensely soft, almost runny center that melts in your mouth. If it were thick like a traditional New York cheesecake, you wouldn’t get that famous, creamy dessert result!
Can I use less sugar in this Easy Cheesecake Recipe?
I really wouldn’t advise cutting back too much on the sugar here, even though this is an Easy Cheesecake Recipe. Sugar does more than just sweeten; it plays a huge structural role, especially since we have no flour or crust to help hold things together. Too much reduction and you risk a watery interior rather than that perfect, luscious set. You can find some other insights on Spanish desserts here!
I’ve actually developed a few low-sugar recipes on the site if that’s a concern for you, though I recommend trying this classic version first!
Nutritional Snapshot of This Rich Cream Cheese Dessert
As expected from a dessert packed with cream cheese and heavy cream, this is certainly a treat! Based on my recipe breakdown, a standard slice of this Rich Cream Cheese Dessert clocks in around 450 calories, with about 35g of fat. Protein is around 8g, and you’re looking at about 30g of carbs. Remember, these figures are very rough estimates, but they give you a good idea. If you enjoy lighter options, you might want to check out my thoughts on this keto white chicken chili!
Cheesecake Baking Tips for a Perfect Basque Burnt Cheesecake
Even though this is touted as an easy recipe, a few little tricks from my professional kitchen days make all the difference between a great cake and the Best Cheesecake Ever.
- Ingredient Temperature is Non-Negotiable: If your cream cheese is cold, you’ll be beating forever trying to smooth it out, and you risk incorporating too much air via over-mixing. Everything out for at least an hour!
- Parchment Power: Don’t skimp on the parchment paper sticking up higher than the rim. The rustic collar effect is a signature of the Basque Style Cake look, and it keeps sides moist during the initial high-heat blast.
- Don’t Panic Over the Wobble: If you bake it until it’s firm in the center, you messed up! That jiggle is the promise of a gorgeous, custardy center. It sets up as it cools.
Variations: Making a Basque Style Cake in a Loaf Pan
I love seeing how people adapt recipes! If you don’t have a 9-inch springform pan, don’t worry about it. You can absolutely make a smaller, cute version of this Basque Burnt Cheesecake in a loaf pan. This works perfectly for smaller gatherings and yields great little slices.
If you’re using a standard 8.5 x 4.5-inch loaf pan, make sure you line it thoroughly with parchment paper, letting the excess hang over the sides so you can lift the cake out later. Honestly, I find this method gives you a slightly different crack pattern, which is fun! You might need to shave about 10–15 minutes off the total baking time since the heat has a shorter distance to travel to the center, so start checking early. You can find more inspiration for this shape over at Claire’s blog here! While you’re thinking about cakes, my apple dapple cake is another excellent rustic option for casual serving.
Serving Suggestions for Your Decadent Spanish Dessert
This cake is so rich on its own that it barely needs anything extra. It truly shines when served closer to room temperature, which really leans into that dreamy, velvety cheesecake filling texture we worked so hard to achieve. If you let it sit out for about an hour before slicing, you maximize that mousse-like center!
For a truly Decadent Spanish Dessert presentation, I love a simple dusting of powdered sugar right before serving, as it contrasts beautifully with the dark top. If you want a little pop of acidity to cut through the richness, skip the heavy sauces and go straight for fresh raspberries or blackberries. Or, for a real treat, whip up a cocktail like my lemon drop martini to sip alongside your slice!
Storage and Reheating for the Basque Burnt Cheesecake
The best part about this Basque Burnt Cheesecake is that it keeps beautifully, and honestly, it tastes even better after it settles overnight in the cold. You can store leftovers tightly covered in the refrigerator for up to five days. That dense, creamy texture firms up perfectly when chilled, which is great if you prefer a firmer slice!
When you pull that slice out to enjoy later, remembering the texture is key. You absolutely must take it out of the fridge about an hour, maybe even 90 minutes, before you want to eat it. Letting it come back toward room temperature is what magically reactivates that incredible mousse-like quality that makes this dessert so famous!
Frequently Asked Questions About Basque Burnt Cheesecake
I know sometimes baking outside the box, like making a crustless cake, raises a few eyebrows! Since this Basque Burnt Cheesecake recipe is so popular, I’ve gathered the questions I hear most often while people are whipping up their first batch. Don’t worry if something seems odd—it’s usually intentional!
If you are looking for other quick culinary tips after mastering this dessert, check out my recipe for best 5-minute homemade tartar sauce!
Why is my basque burnt cheesecake batter so thin?
Oh, that’s the best part! If your batter looks more like heavy cream than thick mud, you’re doing it perfectly. This recipe is intentionally designed to have a very loose batter. That thin liquid is what transforms into the dreamy, velvety cheesecake filling after baking. A thick batter makes a stiff cake; a thin batter makes that signature creamy center!
Can I use less sugar in this Easy Cheesecake Recipe?
I strongly advise against cutting back on the sugar too much in this Easy Cheesecake Recipe. It’s tempting, I know, but the sugar does so much heavy lifting here besides just making it sweet. It is essential for achieving that deep, dark crust because sugar caramelizes at high heat. If you reduce it significantly, you risk losing the signature char and compromising the final texture of your Crustless Cheesecake. You can find some great insight on traditional Spanish preparations, like this one from The Spanish Apron here.
Nutritional Snapshot of This Rich Cream Cheese Dessert
Because this Basque Burnt Cheesecake relies on full-fat cream cheese and heavy cream, expect it to be rich! Per slice, these are my estimates: about 450 Calories, 35g of Fat, 30g of Carbs, 8g of Protein, and 35g of Sugar. Please remember these are just estimates based on the ingredients listed, as every brand of cream cheese behaves a little differently. If you need a lighter option for another meal, my keto white chicken chili is a fantastic alternative!
PrintThe Ultimate Easy Basque Burnt Cheesecake: Creamy Center and Perfectly Charred Top

Make the famous Basque Burnt Cheesecake with this simple, crustless recipe. You achieve a deeply caramelized, almost burnt exterior and a rich, velvety, mousse-like interior without needing a water bath.
- Prep Time: 15 min
- Cook Time: 55 min
- Total Time: 7 hours 10 min
- Yield: 8 servings 1x
- Category: Dessert
- Method: Baking
- Cuisine: Spanish
- Diet: Vegetarian
Ingredients
- 1.5 lbs (680g) full-fat cream cheese, softened to room temperature
- 1 1/4 cups (250g) granulated sugar
- 4 large eggs, room temperature
- 2 large egg yolks, room temperature
- 1 3/4 cups (420ml) heavy cream
- 1 tablespoon all-purpose flour
- 1 teaspoon vanilla extract
- Pinch of fine sea salt
Instructions
- Prepare your pan: Line a 9-inch springform pan with two large sheets of parchment paper, pressing them into the bottom and sides so they stick up several inches above the rim. This rustic look is part of the charm.
- Preheat your oven to 400°F (200°C). You do not need a water bath for this recipe.
- Beat the cream cheese: In a large bowl, use an electric mixer to beat the softened cream cheese until it is completely smooth and there are no lumps.
- Add sugar: Mix in the granulated sugar until just combined. Scrape down the sides of the bowl.
- Incorporate eggs: Add the eggs one at a time, mixing briefly after each addition until just incorporated. Add the egg yolks and mix until smooth. Do not overmix the batter once the eggs are added.
- Add liquids and dry ingredients: Gently whisk in the heavy cream, vanilla extract, salt, and flour until the batter is uniform. The batter will be thin.
- Pour and bake: Pour the thin batter into the prepared pan. Place the pan on a baking sheet to catch any potential drips.
- Bake at 400°F (200°C) for 45 to 55 minutes. The edges should look set, and the top should be deeply browned, almost black in spots. The center should still have a significant wobble, like soft gelatin.
- Cool: Remove the cheesecake from the oven. Let it cool completely on a wire rack at room temperature for at least 2 hours. The center will deflate as it cools.
- Chill: Once cool, cover the pan loosely and refrigerate for at least 6 hours, or preferably overnight, for the best texture.
- Serve: Release the springform sides and carefully peel away the parchment paper before slicing. Serve at room temperature for the creamiest texture.
Notes
- Room temperature ingredients are crucial for a smooth, lump-free batter. Take them out at least one hour before starting.
- For a rustic look, intentionally crinkle the parchment paper before lining the pan.
- If you want to bake this in a loaf pan, use an 8.5 x 4.5-inch loaf pan lined with parchment paper and reduce the baking time slightly.
Nutrition
- Serving Size: 1 slice
- Calories: 450
- Sugar: 35g
- Sodium: 250mg
- Fat: 35g
- Saturated Fat: 22g
- Unsaturated Fat: 13g
- Trans Fat: 0.5g
- Carbohydrates: 30g
- Fiber: 0g
- Protein: 8g
- Cholesterol: 180mg