
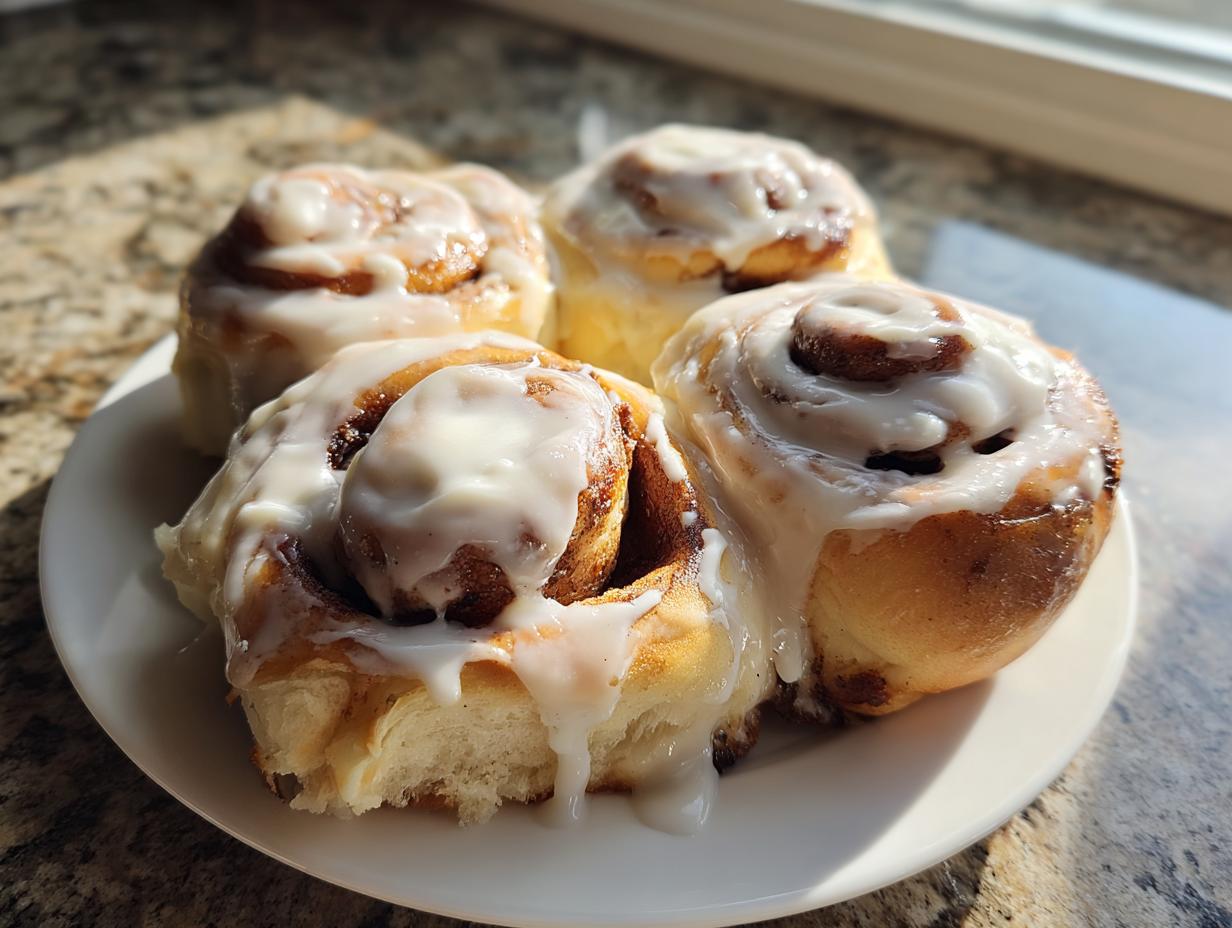
Oh, that smell! You know the one—that warm, yeasty, sugary perfume that instantly tells everyone in the house that something truly special is coming out of the oven? That aroma is what I chase every time I bake. If you are dreaming of those tender, pull-apart spirals, you’ve landed in the right spot. My recipe for soft and gooey homemade cinnamon rolls is kitchen-tested perfection. Growing up where classic American comfort food was king, I worked hard to nail this recipe down so you get bakery-quality results almost every single time. You can read a bit more about my culinary philosophy over at my About Page! Trust me, the effort is worth this incredibly sweet breakfast recipe!
- Why This Is the Best Cinnamon Roll Recipe You Will Ever Make
- Essential Ingredients for Perfect Cinnamon Roll Dough and Filling
- Step-by-Step Instructions for Soft Cinnamon Rolls
- Crafting the Perfect Cream Cheese Icing for Your Cinnamon Roll
- Tips for Success with Easy Cinnamon Rolls
- Make-Ahead and Storage Instructions for Leftover Cinnamon Roll
- Variations on the Classic Cinnamon Roll Flavor Profile
- Frequently Asked Questions About Making the Best Cinnamon Roll
- Estimated Nutritional Data for One Cinnamon Roll Serving
- Share Your Experience Making This Sweet Breakfast Recipe
Why This Is the Best Cinnamon Roll Recipe You Will Ever Make
I know, everyone claims their rolls are the best, but these are different. They deliver that fantastic, gooey center every single time, and they are unbelievably soft. I promise you’ll be thrilled with the result. Here’s what sets this homemade pastry apart:
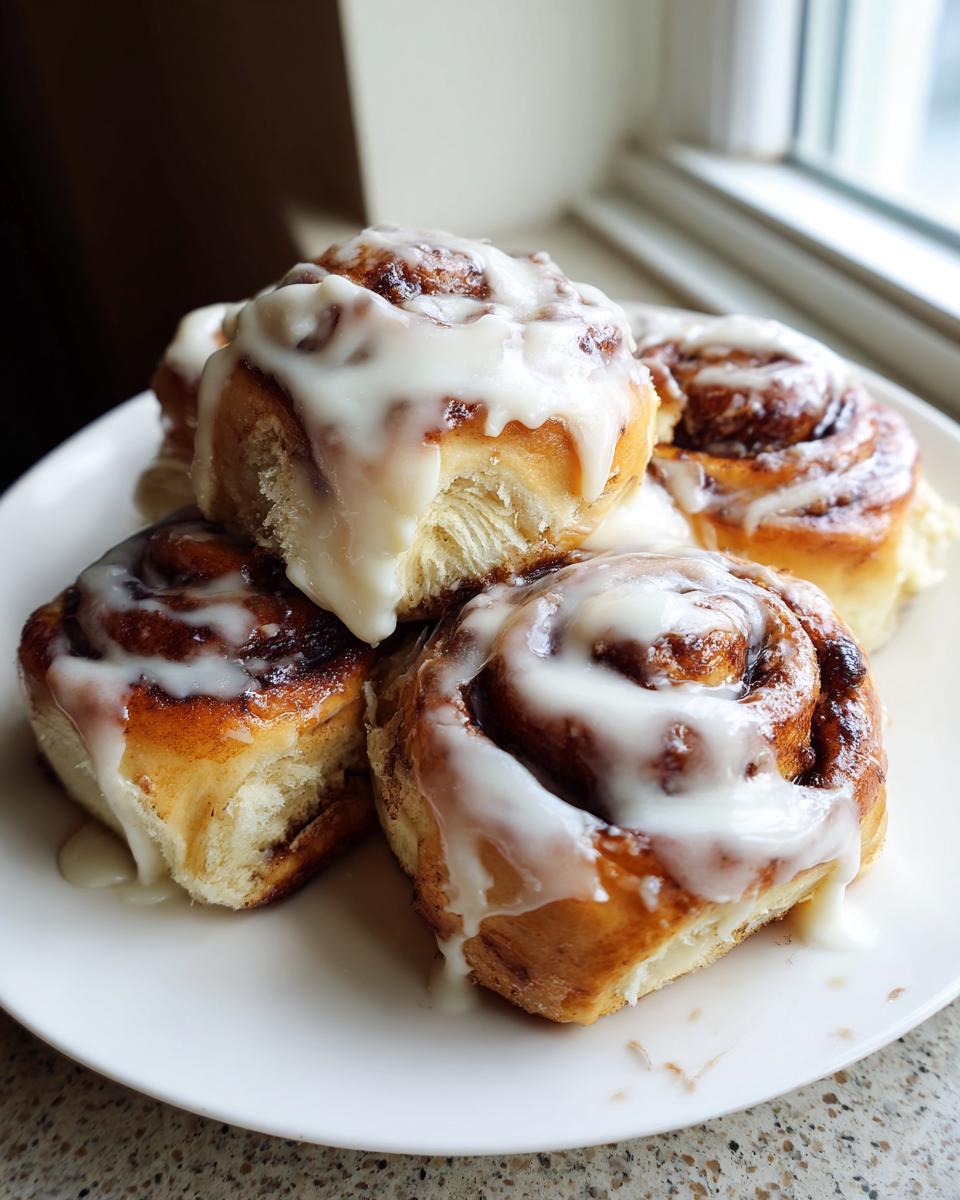
- The pillowy, pull-apart texture
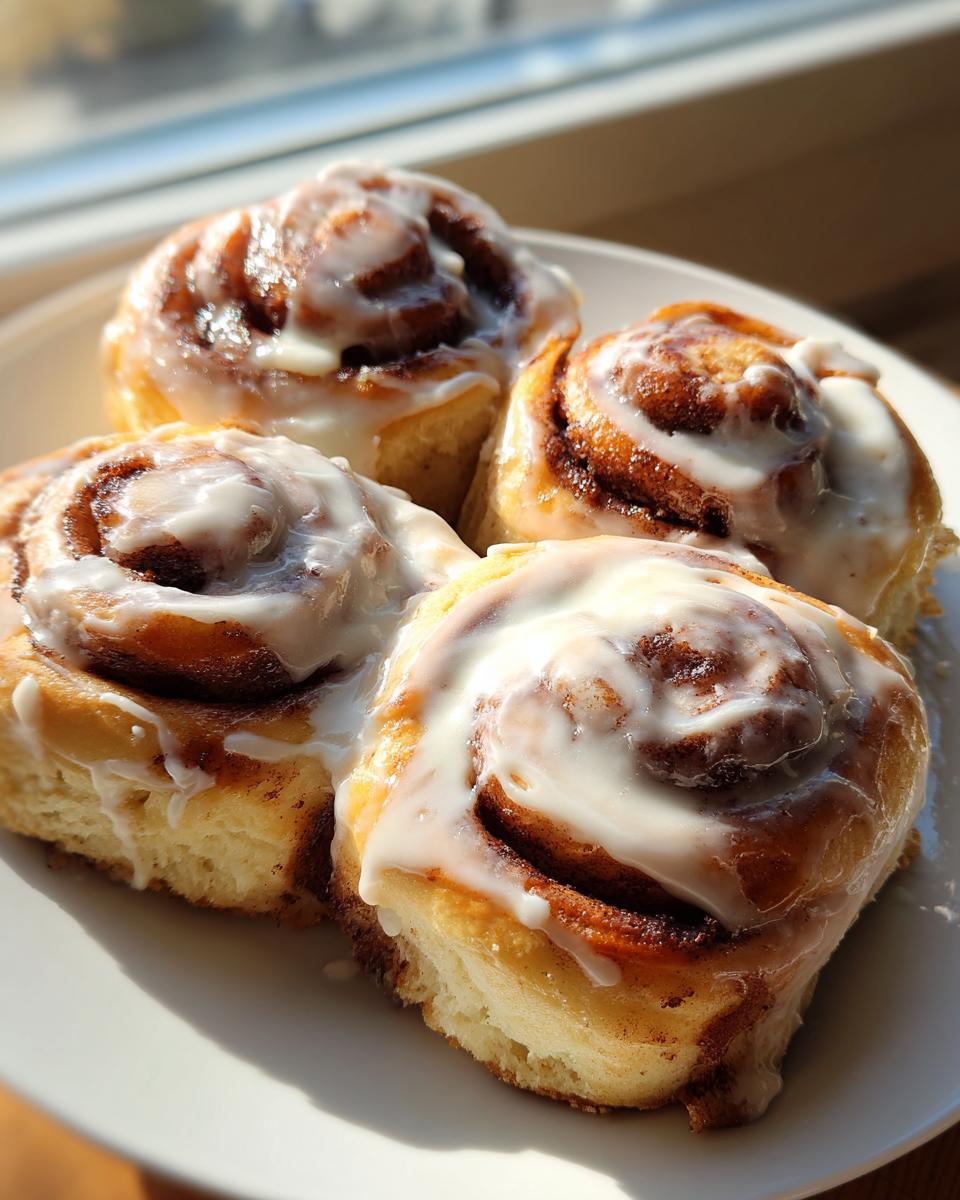
- A perfectly balanced cinnamon-sugar swirl
- Zero leaks or flat spots during the second rise
- The rich, irresistible cream cheese topping

Achieving Bakery-Quality Soft Rolls
The secret to that incredible softness comes down to a rich, yeasted dough packed with milk and butter. We are hands-on with our kneading here, developing just enough structure. Then, we use two separate rises! That second, shorter rise right in the pan helps the dough puff up beautifully before it hits the heat, ensuring they bake into fluffy clouds rather than dense discs.
Essential Ingredients for Perfect Cinnamon Roll Dough and Filling
Alright, let’s talk ingredients! You simply can’t rush perfection, and that starts with what you put into the bowl. For these incredible cinnamon rolls, the quality and temperature of just a few things really pull their weight. If we treat the yeast right and use the proper butter consistency for the filling, we’re halfway to the best homemade pastry you’ve ever made. Here is what you need on your counter before you even think about mixing!
Dough Components: Milk Temperature Matters for Your Yeast Roll Recipe
This yeast roll recipe needs very specific attention regarding temperature, so please check that milk! We need 1 cup of whole milk that’s definitely warmed to between 105-115°F—too hot and we kill the yeast, too cool and it won’t wake up. For the dry goods, grab 3 1/2 cups of all-purpose flour and 1 teaspoon of salt, plus a bit of sugar. Make sure you set aside a 1/4 cup of unsalted butter to be melted for the dough itself, and don’t forget that one large egg needs to be room temperature.
The Gooey Cinnamon Filling for Your Cinnamon Roll
This is where the magic swirl happens, so measure carefully! For the filling, you need 1/2 cup (one full stick) of unsalted butter, but this *must* be softened to room temperature—no melting allowed, or it leaks everywhere! Pair that with 1/4 cup packed light brown sugar and 2 tablespoons of ground cinnamon. Mix this up until it’s totally uniform so you get that rich cinnamon flavor in every bite of your cinnamon roll.
Cream Cheese Icing Ingredients for the Sweet Breakfast Recipe Topping
This topping might be simple, but its consistency is everything! You need 4 ounces of cream cheese, which must be softened, and 4 tablespoons of unsalted butter, also softened—just like the filling butter. Then, gradually beat in 1 1/2 cups of powdered sugar and 1 teaspoon of vanilla extract. The trick here is adding 1 to 2 tablespoons of milk, spooning it in until it’s just the right lovely, drippy consistency.
Step-by-Step Instructions for Soft Cinnamon Rolls
This is it—the part where we bring everything together! Don’t panic about the yeast; it’s easier than you think when you follow the temperature guidelines. Once the dough comes together, you’ll see the texture change immediately. If you’re using a stand mixer, use the dough hook, but if you’re mixing by hand, make sure you give that dough some serious elbow grease! I often make extra dough for another recipe on another night, which you can see how I handle on my weeknight dinners page. We are aiming for a final product that looks absolutely stunning when you pull those warm cinnamon rolls apart.
Activating Yeast and Mixing the Cinnamon Roll Dough
First things first, let’s proof that yeast! In your bowl, mix that warm milk (remember, 105 to 115°F), a teaspoon of your sugar, and the yeast. Give it about 5 to 10 minutes, and you should see a lovely layer of foam form on top. That means your yeast is happy! Next, stir in that melted butter, the rest of the sugar, the egg, and the salt. Now, start adding the flour a cup at a time. You’re mixing until the dough gets shaggy, but definitely pause before you start kneading!
Kneading and First Rise: Building Structure for Your Homemade Pastry
Turn that shaggy mass out onto a lightly floured surface. You need to knead this dough for a solid 5 to 7 minutes. What you’re looking for is a smooth, elastic texture, almost like a baby’s cheek! Once it feels right, place it in a bowl you’ve brushed with a little butter, turning it over once so it’s coated. Cover it up tightly with plastic wrap and find the warmest, draft-free spot in your kitchen for about an hour and a half, or until it has completely doubled in size. Patience pays off!
Rolling, Filling, and Cutting the Cinnamon Roll Log
Once doubled, give that beautiful dough a good punch to deflate it! On a clean, floured counter, roll it out into a precise 12-by-18 inch rectangle. This measurement is key for even rolls. Take your softened butter and cinnamon filling mixture and spread it right up to the edges, but make sure you leave about a half-inch border clear on one of the long sides. Now, starting on the opposite long edge, roll that dough up as tightly as you possibly can into one long log. Pinch that empty border seam closed securely! Use a sharp knife or unflavored floss to cut this log into 12 equal pieces. I recommend chilling the log for 10 minutes if you find the cuts are squishing too much.
The Second Rise and Baking the Cinnamon Rolls
Arrange your lovely cut pieces into your greased 9×13 pan, making sure to leave a tiny bit of space between them—they grow! Cover them loosely and let them sit in a warm place for another 30 to 45 minutes until they look puffy. This second rise is non-negotiable for tenderness! While they are puffing up, go ahead and preheat that oven to 375°F during the last 15 minutes of their rise. Bake them for 20 to 25 minutes, or until they are beautifully golden brown on top and smell unbelievably good!
Crafting the Perfect Cream Cheese Icing for Your Cinnamon Roll
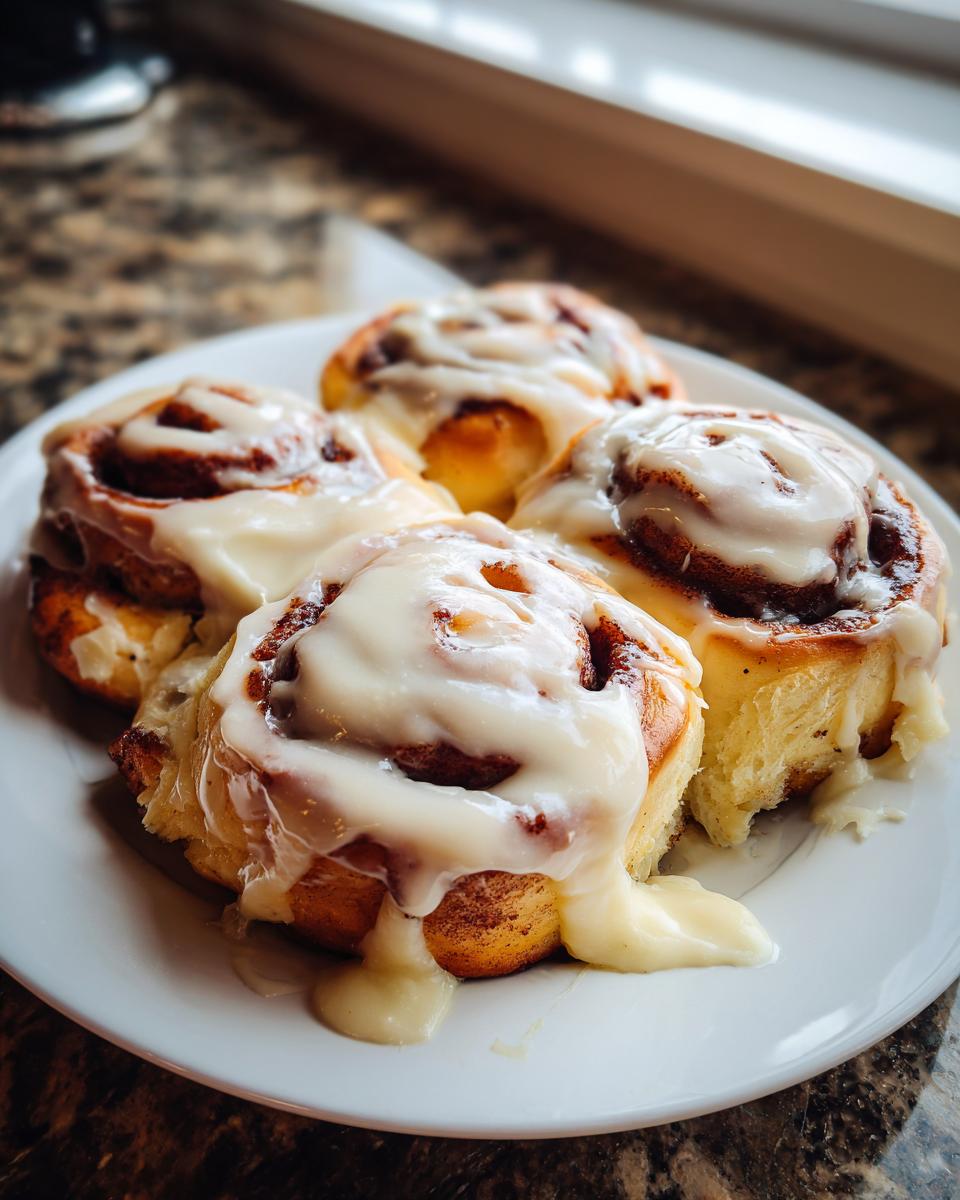
Okay, we’ve pulled those gorgeous, fragrant rolls out of the oven, and while they are still piping hot, it’s time for the grand finale! Getting the icing consistency completely right for your cinnamon roll is more important than most people realize. If it’s too stiff, it won’t melt into all those glorious crevices; too thin, and it just runs right off. I promise this technique works every time. The key is making sure your cream cheese and butter are perfectly softened—almost creamy when you press them. Then, we add the sugar slowly, only adding that milk little by little until it drizzles perfectly down the sides. For more dessert inspiration, check out my collection of favorite dessert recipes!
Tips for Success with Easy Cinnamon Rolls
Even with what I think is a foolproof recipe, sometimes things go slightly sideways in the kitchen. That’s okay! We learn from those little oops moments. I want to give you a couple of pointers here so you can have an easy time making easy cinnamon rolls that still look like they came from a professional bakery. Remember, the first time I tried adding pecans to the filling without pre-toasting them? Disaster! They burned halfway through baking because they were still raw inside the roll. Lesson learned: always toast nuts first, or skip them for the easy version!
Here are my best tricks for getting that perfect result:
- For the dough rise: If your kitchen is chilly, turn your oven *off*, put your dough bowl inside, and prop the oven door slightly ajar. This creates a lovely little warm micro-climate for the yeast to thrive without accidentally cooking the dough later.
- A clean cut: If you struggle with squishing your rolls when cutting, try this trick my mom taught me: Place the entire log in the freezer for 15 minutes before slicing. A firmer log cuts cleaner with less squishing, which keeps your swirls looking sharp.
- Preventing leaks: When you spread that delicious filling, make absolutely certain the butter is soft and creamy, not melted. If the butter is melted, it gets too thin, pools at the bottom, and then escapes into your pan during baking. Soft butter holds the sugar and cinnamon exactly where they should be.
- Don’t overbake! This seems simple, but it’s the number one killer of soft texture. Pull those rolls out when the tops are nicely golden brown, but if you poke one gently in the middle, it should still feel slightly tender. They continue to bake slightly on the counter while they’re cooling under the icing.
Make-Ahead and Storage Instructions for Leftover Cinnamon Roll
This is probably my community’s favorite question, because who wants to get up a few hours early on a Saturday just to mix dough? I’ve got great news: you can absolutely assemble these rolls ahead of time! This is ideal for holidays or just making your Sunday morning incredibly easy. You get to enjoy the entire process without sacrificing your weekend sleep.
For overnight preparation, follow all the steps right up until you place the cut rolls in your greased 9×13 inch pan. Cover that pan tightly with plastic wrap—I mean *really* tight, maybe even use a layer of foil over the plastic wrap to prevent any fridge odors from getting in. Place the whole thing in the refrigerator. The cold temperature stops the yeast from rising much further. You can keep them like this for up to 18 hours, which gives you plenty of flexibility.
Waking Up and Baking Overnight Rolls
When you wake up the next morning, don’t rush them straight into the oven! The dough has to warm up a bit so the yeast can get active again. Take the pan out of the fridge and let it sit on the counter, still covered, for about 30 minutes. This little warm-up period is crucial; it lets the rolls get nice and puffy before baking. After that brief rest, you can preheat the oven to 375°F and bake them exactly as the recipe directs, though they might take an extra minute or two since they start colder.
Storing Leftover Baked Rolls
If, by some small miracle, you actually have leftover baked rolls (which never happens in my house!), you need to handle them carefully to keep that fluffy texture. Store them, covered tightly, at room temperature for up to two days. If you need to keep them longer, the fridge is fine, but they will definitely dry out faster there.
How to Reheat Those Heavenly Leftovers
To bring those baked rolls back to life and make them taste fresh-baked again, you have two main options, depending on how many you’re saving. For just one or two rolls, the microwave is your speedy friend. Place the roll on a plate and microwave it for about 15 to 20 seconds. That quick burst of heat softens the dough perfectly!
If you’re serving a crowd, I prefer the oven method. Wrap the leftover rolls loosely in aluminum foil—this traps the moisture so they don’t dry out! Heat them in a 350°F oven for about 10 minutes. If the glaze has hardened, just add a tiny splash of milk or cream to the top before reheating, or add a fresh teaspoon of icing afterward. They’ll be gooey and delicious all over again!
Variations on the Classic Cinnamon Roll Flavor Profile
While this recipe for classic cinnamon rolls is sacred to me, I truly believe in letting your kitchen tell its own story! Once you’ve nailed the basic technique—getting that perfect dough rise and managing that gooey filling—you can start playing with the flavors. It’s so easy to tweak this recipe for the season or just whatever you happen to have on hand. I love changing up the spices, especially when looking for something unexpected to serve when friends drop by. If you enjoy mixing unexpected flavors, you might want to explore some of my other adventurous baking adventures, like these fudgy maple sweet potato brownies, which also rely on warming spices!
Here are a few simple switches that yield big flavor results without requiring a full recipe overhaul:
- Maple Pecan Swirl: This is a personal favorite for fall brunches. When you mix up your sugar and cinnamon for the filling, toss in about 1/2 cup of finely chopped pecans. Make sure they are lightly toasted first! Then, instead of using milk in the cream cheese icing, substitute it all with pure maple syrup for a deep, woodsy sweetness that tastes incredible with the brown sugar.
- Orange Zest Delight: Brighten up the whole experience by adding the zest of one large orange directly into the cream cheese icing mixture. The citrus cuts through the sweetness of the rolls beautifully. You can even replace the vanilla extract with 1/2 teaspoon of pure orange extract if you really want that flavor to pop!
- Dark Spice Kick: If you find you prefer a heavier, spicier aroma that hits you harder when they come out of the oven, add 1/2 teaspoon of ground cardamom to your cinnamon mixture. Cardamom pairs so gorgeously with cinnamon and brown sugar, giving the filling an almost sophisticated, layered taste that moves it beyond just a sweet breakfast recipe.
Frequently Asked Questions About Making the Best Cinnamon Roll
If you’ve made it this far, you are serious about your baking, and that’s what I love to see! It’s normal to have a few questions when dealing with a yeasted dough like this. Don’t let a little confusion stop you from achieving those perfect pulls! Troubleshooting is part of the fun when tackling a rich, homemade pastry. We want these to be the easiest cinnamon rolls you’ve ever made, so let’s clear up any lingering doubts.
Can I substitute the milk in this yeast roll recipe?
That’s a great question about adapting this yeast roll recipe! Yes, you absolutely can, but you need to keep that temperature requirement in mind. If you use cold, unsweetened almond milk or soy milk, you must warm it up to that 105°F to 115°F range just like the whole milk. Whole milk carries a bit more fat, which contributes slightly to that soft, tender crumb we are aiming for, so if you use a lower-fat milk like 2%, your rolls might be ever so slightly less rich, but honestly, the difference is minimal. Just avoid unsweetened vanilla-flavored milks, as that added flavor can clash with the cinnamon.
How do I get my cinnamon roll filling to stay put while baking?
This is the eternal struggle, right? We want the goo, not a massive puddle in the bottom of the pan! The biggest secret here is the temperature of the butter used in the filling itself. Remember how I specified that the 1/2 cup of butter for the filling needs to be *softened*? It needs to be pliable, like creamy peanut butter, not melted. If the butter is melted, it liquefies completely in the oven and runs out before the dough sets. Also, roll that log up as tightly as humanly possible and make sure you pinch that seam closed securely to trap all that sweet goodness inside your cinnamon roll log before the second rise!
What if I don’t have active dry yeast? Can I use instant yeast?
Oh, that’s a common substitution in my kitchen when I’ve run out of my usual active dry! Yes, you can generally use instant yeast interchangeably, but you skip the initial proofing step. If you use instant yeast, you can mix it directly into your flour, salt, and sugar mixture without waiting for the milk and sugar to foam up. Just mix all your dry ingredients together first, then proceed with adding the melted butter, egg, and the *warmed* milk mixture. It saves a few minutes and works just as well for this sweet breakfast recipe!
Why didn’t my dough double in size during the first rise?
If your yeast is alive and kicking, the culprit is usually temperature or environment, especially if you’re trying to make these easy cinnamon rolls in the winter! Yeast is fussy; it likes warmth. If your kitchen is cold, the yeast goes dormant. Did you double-check your milk temperature? If the milk was too cold (too low a temperature), the yeast just snoozed. If it was too hot, it died. If you followed the temperature guide and it still didn’t rise, you might need to use fresh yeast, or perhaps your kitchen just wasn’t warm enough. That’s why I always suggest that warm oven trick mentioned in the tips section!
Estimated Nutritional Data for One Cinnamon Roll Serving
Whenever I share a recipe this decadent—loaded with butter, sugar, and cream cheese—I always get questions about tracking what we eat. And honestly, I believe in knowing what goes into our bodies, which is why I always try to run the numbers! Please keep in mind that these figures are just estimates based on the exact quantities listed in the recipe above, assuming you make all 12 rolls and only count one roll per serving. Baking is an art, but nutrition is science, and sometimes those variables shift just a tiny bit depending on how much icing you decide to aggressively slather on!
Here is the breakdown for one standard, glorious roll, based on the ingredients we used:
| Nutrient | Amount Per Serving |
|---|---|
| Serving Size | 1 roll |
| Calories | 450 |
| Total Fat | 22g |
| Saturated Fat | 14g |
| Trans Fat | 0.5g |
| Cholesterol | 55mg |
| Sodium | 350mg |
| Total Carbohydrates | 58g |
| Dietary Fiber | 2g |
| Total Sugars | 35g |
| Protein | 7g |
When I look at that sugar count, I just tell myself, “It’s worth every single calorie for that soft center!” If you’re looking for lighter options in general, make sure you check out my other balanced recipes. But for a special morning treat? This is pure comfort food gold.
Share Your Experience Making This Sweet Breakfast Recipe
Honestly, the best part of developing these recipes, whether it’s a weeknight dinner or a weekend showstopper like these rolls, is hearing from you! I put my heart and professional knowledge into making sure every step works perfectly, but the real joy comes when you text me a picture of your finished product—especially when you’ve managed to get that perfect icing puddle on top!
If this recipe brought that wonderful, comforting aroma into your kitchen and earned you some very happy faces at the breakfast table, I would be so grateful if you’d take a moment to stop by the top of the page and leave a full 5-star rating. That feedback really helps other home cooks feel confident trying out these family-inspired dishes.
Did you try one of the variations, like the maple pecan swirl? Did you manage to sneak a few rolls into the fridge overnight? Please, tell me about it in the comments section below! I read every single note you leave, and I love sharing kitchen insights with my community. If you snap a picture of your gooey, golden rolls, tag me on social media—I can’t wait to see your beautiful bake! If you ever have questions about ingredients or methods, you can always reach out directly through my Contact Page. Happy baking, friend!
PrintSoft and Gooey Homemade Cinnamon Rolls with Cream Cheese Icing
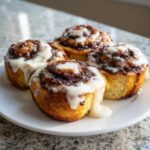
Follow this reliable recipe to make soft, fluffy homemade cinnamon rolls swirled with cinnamon-sugar filling and topped with a sweet cream cheese glaze. This recipe yields bakery-quality rolls perfect for a special breakfast.
- Prep Time: 30 min
- Cook Time: 25 min
- Total Time: 185 min
- Yield: 12 servings 1x
- Category: Breakfast
- Method: Baking
- Cuisine: American
- Diet: Vegetarian
Ingredients
- 1 cup whole milk, warmed to 105-115°F
- 2 1/4 teaspoons active dry yeast
- 1/2 cup granulated sugar, divided
- 1/4 cup unsalted butter, melted, plus more for greasing
- 1 large egg, room temperature
- 1 teaspoon salt
- 3 1/2 cups all-purpose flour, plus more for dusting
- 1/2 cup (1 stick) unsalted butter, softened for filling
- 1/4 cup packed light brown sugar
- 2 tablespoons ground cinnamon
- For the Icing: 4 ounces cream cheese, softened
- 4 tablespoons unsalted butter, softened
- 1 1/2 cups powdered sugar
- 1 teaspoon vanilla extract
- 1–2 tablespoons milk
Instructions
- Activate the yeast: In a large bowl, combine the warm milk, yeast, and 1 teaspoon of the granulated sugar. Let stand for 5-10 minutes until foamy.
- Make the dough: Stir the melted butter, remaining granulated sugar, egg, and salt into the yeast mixture. Gradually add the flour, mixing until a shaggy dough forms.
- Knead the dough: Turn the dough onto a lightly floured surface and knead for 5-7 minutes until smooth and elastic. Place the dough in a lightly buttered bowl, turning to coat. Cover the bowl with plastic wrap and let it rise in a warm place for 1 to 1.5 hours, or until doubled in size.
- Prepare the filling: While the dough rises, mix the softened butter, brown sugar, and ground cinnamon in a small bowl until well combined.
- Shape the rolls: Punch down the risen dough. On a lightly floured surface, roll the dough into a 12×18 inch rectangle. Spread the cinnamon filling evenly over the dough, leaving a 1/2 inch border on one long edge.
- Roll and cut: Starting from the long edge opposite the border, tightly roll the dough into a log. Pinch the seam closed. Cut the log into 12 equal rolls.
- Second rise: Arrange the rolls in a greased 9×13 inch baking pan. Cover loosely and let rise again for 30-45 minutes, or until puffy. Preheat your oven to 375°F during the last 15 minutes of the rise.
- Bake: Bake for 20-25 minutes, or until golden brown.
- Make the icing: While the rolls bake, beat the softened cream cheese and butter until smooth. Gradually beat in the powdered sugar and vanilla extract. Add milk one tablespoon at a time until you reach a smooth, spreadable consistency.
- Glaze and serve: Remove the rolls from the oven and immediately spread the cream cheese icing over the warm rolls. Serve warm for the best flavor.
Notes
- For the softest rolls, ensure your milk is the correct temperature for activating the yeast. Too hot will kill the yeast.
- If you prefer a thinner icing, add a little more milk to the glaze mixture.
- You can assemble these rolls the night before, cover them, and refrigerate. Before baking, let them sit at room temperature for 30 minutes, then bake as directed.
Nutrition
- Serving Size: 1 roll
- Calories: 450
- Sugar: 35g
- Sodium: 350mg
- Fat: 22g
- Saturated Fat: 14g
- Unsaturated Fat: 8g
- Trans Fat: 0.5g
- Carbohydrates: 58g
- Fiber: 2g
- Protein: 7g
- Cholesterol: 55mg