
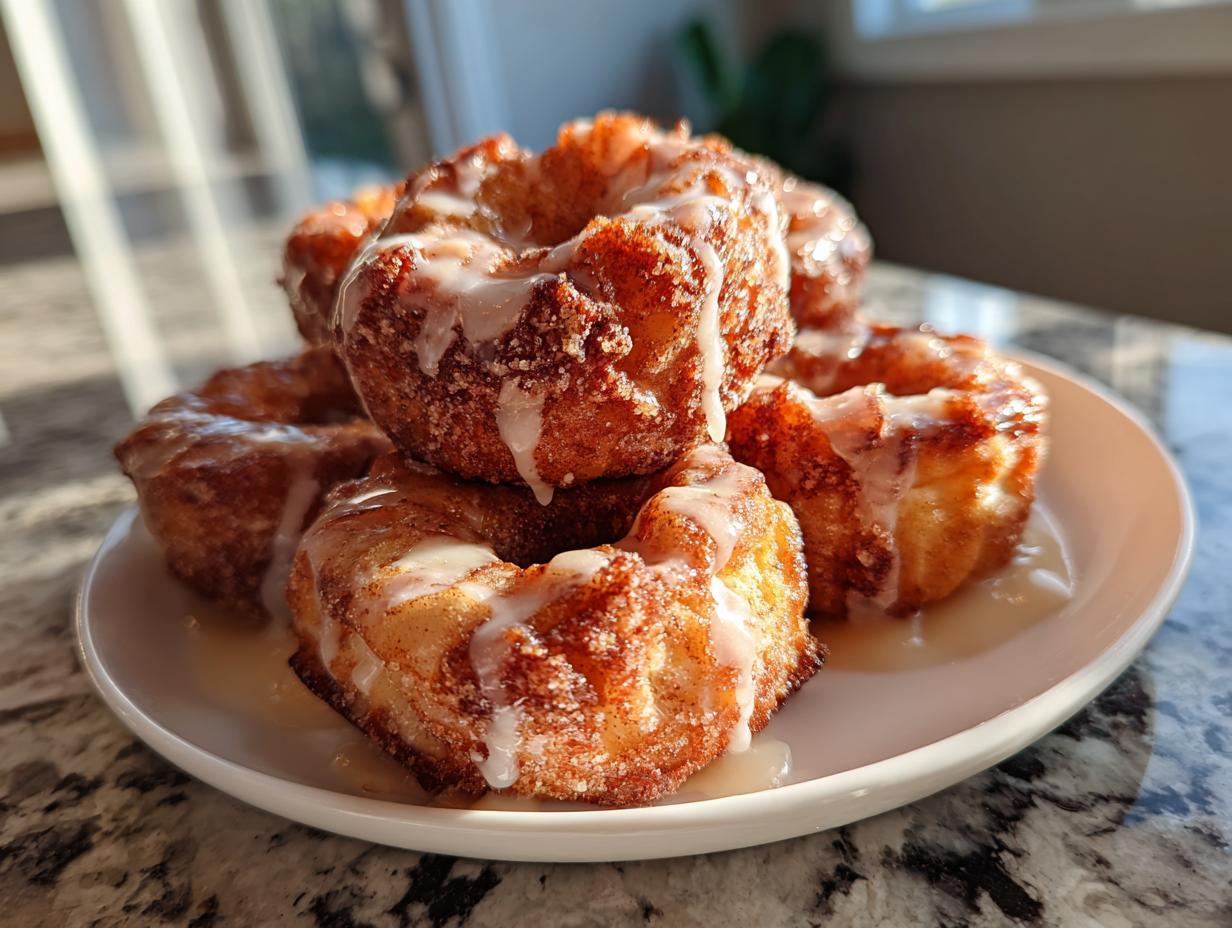
Oh, let’s be real: sometimes you just crave that cozy, pillowy texture of a classic apple fritter, but the thought of wrestling a greasy deep fryer on a Tuesday afternoon? No, thank you! That’s why I’m so excited to share these baked apple fritters with you. This recipe is truly the best of both worlds. As someone who loves transforming comfort classics, I tested batch after batch until I cracked the code on achieving those wonderfully crispy edges and that super tender center, all while keeping the mess to an absolute minimum right here in the oven. If you’re looking for that signature warm cinnamon apple flavor without the fuss, trust me, you’ve found your new go-to autumn baking project. You can learn more about my passion for bringing practical flavor to your kitchen over on my About Page!
- Why You Will Love These Baked Apple Fritters
- Gathering Ingredients for Perfect Baked Apple Fritters
- Essential Equipment for Making Baked Apple Fritters
- Step-by-Step Instructions for Tender Baked Apple Fritters
- Tips for Success with Your Baked Apple Fritters Recipe
- Ingredient Notes and Substitutions for Baked Apple Fritters
- Serving Suggestions for Warm Apple Dessert
- Storing and Reheating Your Baked Apple Fritters
- Frequently Asked Questions About Baked Apple Fritters
- Estimated Nutritional Information for Baked Apple Fritters
- Share Your Experience with These Baked Apple Fritters
Why You Will Love These Baked Apple Fritters
Seriously, folks, I wouldn’t waste your time—or your precious baking apples—on something that doesn’t deliver flavor! These baked apple fritters hit every single spot on my craving list. Here’s why they’re about to become your new obsession:
- No Fryer, No Fuss: This is the big one! We skip the deep frying entirely. That means unbelievably easy cleanup—just pull those sweet little cakes out of the muffin tin.
- Perfect Texture Guarantee: I spent weeks testing this, and I promise they come out fluffy and soft on the inside, with just the right hint of crispness around the edges you hope for in a classic fritter.
- Speedy Baking: From mixing bowl to warm, glazed goodness in under an hour? Yes, please! These are an incredibly easy baked dessert for any morning or afternoon.
- Warm Spices Aplenty: We load these up with cinnamon and nutmeg, giving you that quintessential fall baking recipes smell that makes the whole house feel cozy instantly.
- Tender Apple Chunks: You get real, soft pieces of apple in every bite, not mush. They bake perfectly tender inside that cake-like base.
- Taste Like Fall Comfort: These are pure comfort food baking wrapped up in one delightful bite, perfect for brunch or an evening snack.
Gathering Ingredients for Perfect Baked Apple Fritters
Okay, let’s talk about getting everything ready, because Mia always says: baking is 80% prep! For truly amazing baked apple fritters that aren’t dense or sad, the ingredients have to be spot on. Don’t even think about skipping the spices—the combination of cinnamon and nutmeg we’re using here is what gives these their classic, warm vibe. If you want to see how I manage moisture in other recipes, check out my tips for moist bran muffins; the principle of getting your ratios right is the same!
The most critical component here, of course, is the apple. You need apples that can hold their shape when baked. I insist on firm, slightly tart varieties, like Granny Smith, because they keep their integrity instead of turning to complete mush when they hit the heat. Make sure you peel, core, and dice them quite finely—we want little pockets of apple goodness distributed evenly through your batter, not big chunks that throw off the whole structure of your fritter recipe easy.
For the dry stuff, we’re using a mix of baking powder and baking soda for the lift we need since we aren’t deep frying. And for the richness, don’t swap that melted butter out for oil; butter gives you that lovely flavor that makes these feel truly homemade.
For the Sweet Apple Glaze
This glaze is what transforms your tender cake into a decadent treat. It’s simple, but the ratio of powdered sugar to liquid is everything. Too thin, and it runs right off; too thick, and you get a nasty, crumbly shell you can’t bite through. Remember, we are finishing these baked apple fritters while they are still warm, so you want a glaze that sets up beautifully on top.
- 1 cup powdered sugar (sifted if you have lumps!)
- 2 tablespoons milk (whole milk works best for richness)
- 1/2 teaspoon pure vanilla extract (I love seeing those tiny vanilla specks!)
Essential Equipment for Making Baked Apple Fritters
Listen, I’m not huge on pulling out a ton of gadgets—I want minimal cleanup, just like you! But for baked apple fritters, having the right gear makes getting that perfect muffin-tin shape so much easier. We want to make sure the batter is mixed correctly and that we can easily pop these beauties out when they’re done. Trust me, having these items ready on your counter before you start mixing will save you a headache later!
First up, because we are relying on the oven to do the heavy lifting for us, you absolutely need a standard 12-cup muffin tin. If you want those *really* crispy edges that mimic the fried ones, lightly greasing the tin well is crucial, or you could use paper liners if you prefer taking those out later. I sometimes skip the liners for the extra crisp factor, but you do you!
Then, we need our mixing tools. Fetch two good-sized bowls—one medium and one large—because we keep our wet and dry ingredients separate until the last minute. No fancy stand mixer needed here! A sturdy whisk for bringing the wet items together and a simple rubber spatula for folding everything gently are all you need.
- One standard 12-cup muffin tin (or two 6-cup tins if that’s what you have).
- One large mixing bowl for the dry ingredients.
- One medium mixing bowl for the wet ingredients.
- A whisk for the wet mixture.
- A rubber spatula for gently folding—this is non-negotiable! We do not want to deflate our batter.
- Parchment paper liners, if you decide against greasing the cups directly.
Having these simple tools ready means you can move quickly from measuring to mixing, which helps us keep those apples from getting too sad and brown before they hit the oven. Happy baking!
Step-by-Step Instructions for Tender Baked Apple Fritters
Alright, friend, this is where the magic happens! Making these baked apple fritters is super straightforward, but you need to respect the batter. We’re going for that classic bakery texture, remember? First things first, get that oven screaming hot—we preheat to 400 degrees F (200 degrees C). Make sure your 12-cup muffin tin is prepped and greased really well. We want these babies to pop right out when they’re done baking, which is why that prep step is so important!
Next, we keep our ingredients separated for the best result. We whisk all the dry, floury things together in one big bowl; this includes your baking powder, soda, salt, and all those lovely warm spices like cinnamon. In a smaller bowl, we make the wet mixture—just whisk that sugar, the egg, milk, melted butter, and vanilla together until it looks happy and combined. That’s the secret to keeping things smooth before the final assembly!
Mixing the Batter and Folding in Apples
When combining the wet into the dry, here is Mia’s golden rule: stop mixing the moment you don’t see streaks of white flour anymore! Seriously, do not use a hand mixer here, and don’t overwork it with the spatula. We are mixing gently—if you whip this batter, you’ll develop the gluten and end up with tough, dense little hockey pucks instead of tender apple cakes. After just a few soft folds, toss in those finely diced apples. Fold them in just until they seem distributed. A few lumps are your friend here, I promise!
Once your batter is just combined, spoon it right into those prepared muffin cups. Fill each one only about two-thirds full. We want them nicely puffed up, not overflowing!
Baking and Glazing Your Fritters
Pop that tin into the hot oven for about 15 to 18 minutes. You’ll know they are done when they look golden brown on top and a toothpick comes out clean. Resist the urge to start glazing immediately! Let those beautiful baked apple fritters cool right in the tin for about 5 minutes. This lets them firm up just enough so they don’t fall apart when you move them.
While they are cooling just a tiny bit, whisk together your glaze ingredients until it’s smooth and pourable—if it’s too thick, add milk one teaspoon at a time. Then, transfer the warm fritters to a wire rack and drizzle that sweet glaze right over the top. The warmth helps the glaze melt just slightly and set into that perfect, shiny coat on your baked apple fritters. If you want a little extra punch in your glaze, check out my recipe for blueberry cream cheese muffins; I use citrus zest in that glaze, which would be fantastic here too!

Tips for Success with Your Baked Apple Fritters Recipe
Now that you have the method down, let’s talk about those crucial little details that take these treats from good to absolutely unforgettable. Since we are mastering the art of fritters without frying, we have to give the oven a little help to mimic that classic crispy exterior. I’ve picked up a few tricks over the years when adapting recipes, and these tips guarantee you get the best texture every time you bake these!
First up, remember I mentioned using firm apples? I cannot stress that enough. If you’re looking for a vibrant, slightly tart flavor profile that holds up beautifully, Granny Smith apples are your best friend here. They keep their shape after being baked inside the batter. If you happen to have extra apples, my Apple Crumb Cake uses them perfectly too!
Here’s a pro-move I learned when trying to get those golden, slightly crackled tops: just before the fritters go into the oven, take a tiny bit of extra melted butter—maybe a teaspoon total—and lightly brush the bare tops of the batter in the muffin cups. This little bit of fat caramelizes beautifully in the 400-degree heat, giving you that hint of crispness that makes you forget they weren’t fried! It’s a small step, but it makes a huge difference in texture.
Also, don’t overfill those cups! They need room to breathe and puff up. Filling them only two-thirds full ensures they bake evenly right through the center. If you want to see how others achieved a fantastic texture without that deep-fry method, check out this amazing guide on cozy baked apple fritters for even more inspiration, though my method relies on just a little bit of butter brushing for that outer texture!
Ingredient Notes and Substitutions for Baked Apple Fritters
When you’re making a comfort classic like these baked apple fritters, I always encourage flexibility, but you have to know which moves might change the final texture. Since we are baking, we need the right structure to hold up without the deep fryer acting as a structural crutch. I’ve had a few folks ask me about swaps, so let’s clear up what’s safe and what might need an extra eye on the oven!
First, let’s talk apples again because they impact the moisture content so much. If you can’t find Granny Smith, Honeycrisp or even a firm Braeburn work really well. Just make sure they are firm and slightly tart—mushy apples equal mushy, heavy fritters, and we want fluffy and tender, remember? If you happen to have extra apples lying around, they are fantastic in my Moist Old-Fashioned Applesauce Cake! That’s a totally different use, but it saves those good apples from going bad.
What about dairy? If you need to make these dairy-free, you can definitely swap the milk out for unsweetened almond or soy milk without much fear. That little bit of liquid won’t drastically change the reaction between the baking soda and powder. The melted butter is slightly trickier because butter adds flavor and richness that oil just can’t match, but use a neutral-flavored melted oil, like avocado oil, if you must skip the dairy. Just note that it might be slightly less rich, but the structure should hold up fine!
If you’re out of nutmeg but loaded up on cinnamon, I wouldn’t stress too much for this specific recipe. The nutmeg offers depth, but the cinnamon is really the star spice here. You could add a tiny pinch of allspice or even cardamom for a different warm note, but sticking close to the original spice mix works best for that familiar, wonderful taste.
The key takeaway for all substitutions in these baked apple fritters is this: focus on maintaining the wet-to-dry ratio and ensuring your mix isn’t too thin. We want a thick, scoopable batter that holds those apple pieces in place!
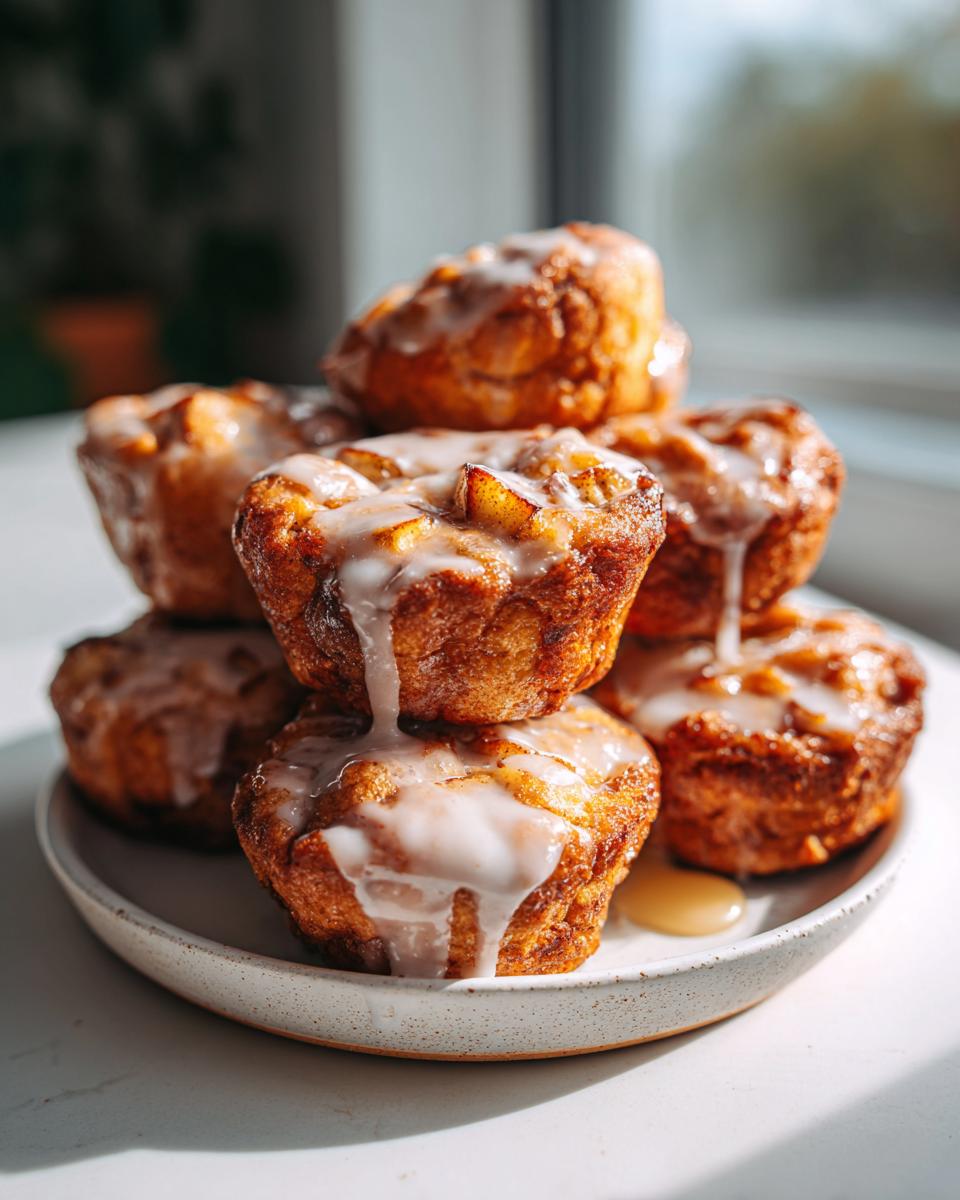
Serving Suggestions for Warm Apple Dessert
Okay, now that you’ve pulled those gorgeous, glistening baked apple fritters out of the oven, the real question is: how do you eat them? Part of the joy of baking is bringing out that final presentation, and these deserve the best supporting cast! These are the perfect warm apple dessert for everything from a chilly Saturday morning brunch to a simple after-dinner sweet.
For breakfast or brunch, they are absolutely fantastic served warm—and I mean *warm*—alongside a really good, strong cup of coffee. The little bit of bitterness in the coffee just cuts through that sweet glaze so perfectly. If you’re serving them to company, try piling two or three fritters high on a plate and topping them with a dollop of fresh whipped cream. I’m talking about real, unsweetened whipped cream here, none of the canned stuff; it adds such a lovely, airy contrast to the tender cake texture we worked so hard to achieve.
If you want to lean into that comfort food vibe, especially when the weather starts turning crisp, you have to pair them with a rich, hot beverage. If you’re making a batch for a cozy night in, you simply have to make my creamy stovetop hot chocolate to go alongside it. Check out that recipe here—it makes the whole experience feel next-level indulgent without all the heavy lifting of a pie or cake!
Honestly, sometimes they are so good fresh out of the oven, warmed slightly, that they don’t need anything else at all! Just a fork, a cozy blanket, and maybe a quiet moment to enjoy the fruits (or apples!) of your labor. Enjoy every last bite of that cinnamon spice!
Storing and Reheating Your Baked Apple Fritters
The biggest question I get whenever I share a great baked item is always this: “How long do these last?” Truthfully, these baked apple fritters are absolutely divine when they are fresh, still slightly warm from the oven with that glaze just setting up. But hey, we all bake too much sometimes, or maybe you want to prep for a busy morning breakfast!
If you have leftovers—which I highly doubt—the best way to store them is simple: keep them in an airtight container at room temperature. They should stay wonderfully fresh for about two or three days. I try not to refrigerate them if I can help it, because cold temperatures can sometimes make the cake part a little drier than we want. The glaze might soften slightly, but they’ll still taste great!
The Best Way to Reheat Your Leftover Fritters
This is where we reclaim that ‘just-baked’ magic! If you pull one out of the container and it feels a little lackluster, don’t throw it out! We are aiming to bring back that internal warmth and slight crispness around the edges we worked so hard for.
Forget the microwave, unless you are in a major hurry and don’t mind a slightly softer texture. For the best result, use a toaster oven or a regular oven. Set your oven or toaster oven to a low temperature, maybe 300 degrees F. Place the baked apple fritters directly on a small baking sheet—no need to cover them.
Give them about 5 to 7 minutes. That gentle warmth revives the apples inside and warms that cake right back up. If you brushed butter on top before baking, this low heat will revitalize that slight crusty texture perfectly. If you applied the glaze *after* baking, you might notice the glaze gets a little runny when reheating, but honestly, that just makes it feel like a fresh dip for those soft spots, so I call that a win!
Frequently Asked Questions About Baked Apple Fritters
I know you might have a few lingering questions, especially if you’re new to making baked apple fritters in the oven instead of the fryer! That’s totally normal. I’ve gathered the questions I hear most often from folks trying out this apple fritter recipe so you can bake with total confidence. Remember, my goal is always to make sure you have an achievable, delicious result!
Can I make these apple fritter bites ahead of time?
Oh, absolutely you can! These are wonderful for prepping the night before. However, I have one small but mighty suggestion regarding that gorgeous vanilla glaze: don’t do it until the morning you plan to serve them. If you glaze them when they are fresh, the glaze soaks in a little too much overnight and gets sticky. Bake them, let them cool completely, store them in an airtight container, and then whip up that glaze right before you reheat them gently in the oven the next day. That way, you get the best of both worlds—prep work done early and a fresh-tasting treat!
What is the best apple to use for baked apple fritters?
We talked about this a little, but it bears repeating! Texture is everything when you are baking apples inside a batter. You need apples that are firm and can withstand the heat without completely collapsing into mush. My absolute favorites remain Granny Smith because they bring a necessary tartness that balances the sugar. If you can’t find those, reach for a Honeycrisp or a Braeburn. Avoid very soft varieties like McIntosh, which tend to break down too much. This focus on structure is why these turn out so perfectly!
How do I ensure my baked apple fritters are not dense?
This is the number one cause of baking sadness, isn’t it? Denser than you wanted! Ninety-nine percent of the time, density comes from overmixing the batter. When you combine those wet and dry ingredients, stop mixing almost immediately once the flour disappears. You want lumps; you want streaks; you want a batter that looks slightly messy! If you mix until it’s perfectly smooth, you’re developing gluten, and that gives you that heavy, rubbery texture—the opposite of the light, easy baked dessert we are aiming for. Be gentle with your spatula; that’s your secret weapon against density!
If you’re looking for other simple recipes to boost your home cooking confidence, I’ve got a great roundup of easy lunch ideas that might inspire you for later in the week!
Estimated Nutritional Information for Baked Apple Fritters
Before you dive into the second fritter—and let’s be honest, you probably will!—I always like to give a little heads-up on the nutrition, just so you know what you’re enjoying. Since we’re skipping the deep fryer, these baked apple fritters are already a slightly lighter take on the classic, which is nice for a weekend brunch treat or an afternoon pick-me-up. However, remember that these numbers are just estimates for one fritter, based on the ingredients listed in the recipe, and they do include that delightful sweet glaze!
As I always say, food is meant to be enjoyed, and knowing these are packed with real apples and seasonal spices makes them worth enjoying fully. If you are looking for other ways to boost the health factor in your morning routine, you should check out some of my favorite healthy breakfast suggestions!
Here is the breakdown based on one serving of these delicious cinnamon apple treats:
- Serving Size: 1 Fritter
- Calories: Approximately 240
- Total Fat: 8g (This includes about 5g of saturated fat from the butter)
- Total Carbohydrates: 40g
- Sugar Content: 25g (Much of this comes from the natural apples and the glaze, of course!)
- Protein: 3g
- Sodium: 180mg
See? Not bad for a treat that tastes like you just bought it hot from a fair stand! It’s all about balance, and these delicious little bites certainly bring the comfort food flavor without the intense grease factor associated with the fried versions of the classic apple fritter recipe.
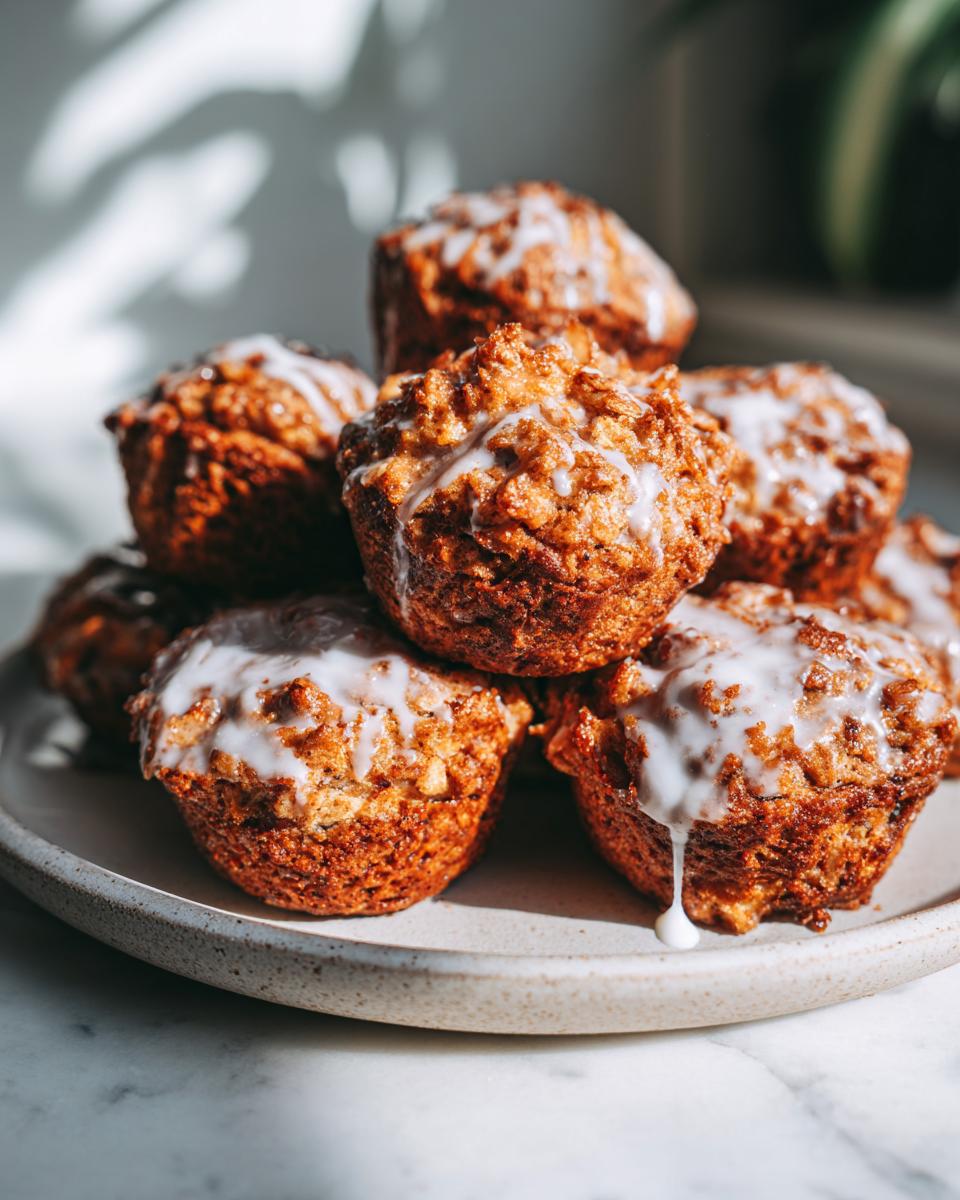
Share Your Experience with These Baked Apple Fritters
Now that you’ve got the recipe for these unbelievably tender baked apple fritters, I truly want to hear all about it! Baking is so much more fun when we get to share the results, right? Did you manage to get those crispy edges I was aiming for? Was the vanilla bean glaze perfect? I get so much joy hearing how these little bites brought some fall warmth into your kitchen.
Please, please leave a comment below telling me how your batch turned out! Rate the recipe using the star system—it helps other folks know that this method for fritters without frying really works. If you snapped a picture of those beautiful, glazed tops, tag me on Instagram or Facebook! Seeing your creations is seriously the best part of running Cooking by Mia.
If you’ve got any lingering questions after trying the recipe, or if you experimented with a totally different apple variety, drop those line in the comments too! I always read every single one. If you need to get in touch with me directly for anything else, you can always reach out via my Contact Page. Happy baking, and enjoy every last warm, spiced bite!
PrintThe Best Crispy-Edged, Tender-Centered Baked Apple Fritters with Vanilla Bean Glaze
Make warm, tender baked apple fritters that taste like the classic fried version without the deep frying mess. This easy recipe uses cinnamon and apples for a perfect fall dessert or brunch treat.
- Prep Time: 15 min
- Cook Time: 18 min
- Total Time: 33 min
- Yield: 12 fritters 1x
- Category: Dessert
- Method: Baking
- Cuisine: American
- Diet: Vegetarian
Ingredients
- 1 1/2 cups all-purpose flour
- 1 teaspoon baking powder
- 1/2 teaspoon baking soda
- 1/2 teaspoon salt
- 1 teaspoon ground cinnamon
- 1/4 teaspoon ground nutmeg
- 1/2 cup granulated sugar
- 1 large egg, lightly beaten
- 1/2 cup milk
- 1/4 cup unsalted butter, melted
- 1 teaspoon vanilla extract
- 1 1/2 cups peeled, cored, and finely diced apples (about 2 medium apples)
- For the Glaze: 1 cup powdered sugar
- 2 tablespoons milk
- 1/2 teaspoon vanilla extract
Instructions
- Preheat your oven to 400 degrees F (200 degrees C). Lightly grease a standard 12-cup muffin tin or line it with paper liners.
- In a large bowl, whisk together the flour, baking powder, baking soda, salt, cinnamon, and nutmeg.
- In a separate medium bowl, whisk the granulated sugar, egg, milk, melted butter, and vanilla extract until combined.
- Pour the wet ingredients into the dry ingredients. Mix gently with a spatula until just combined. Do not overmix; a few lumps are fine.
- Fold in the diced apples until they are evenly distributed throughout the batter.
- Spoon the batter evenly into the prepared muffin cups, filling each about two-thirds full.
- Bake for 15 to 18 minutes, or until the tops are golden brown and a toothpick inserted into the center comes out clean.
- While the fritters bake, prepare the glaze. In a small bowl, whisk together the powdered sugar, milk, and vanilla extract until smooth. Add more milk, one teaspoon at a time, if the glaze is too thick.
- Remove the fritters from the oven and let them cool in the pan for 5 minutes.
- Transfer the warm fritters to a wire rack. Drizzle the vanilla glaze generously over the tops of the warm fritters. Allow the glaze to set before serving.
Notes
- For crispier edges, you can lightly brush the tops of the batter with melted butter before baking.
- Use firm, tart apples like Granny Smith for the best texture that holds up during baking.
- If you prefer a stronger spice flavor, add an extra 1/4 teaspoon of cinnamon to the batter.
Nutrition
- Serving Size: 1 fritter
- Calories: 240
- Sugar: 25g
- Sodium: 180mg
- Fat: 8g
- Saturated Fat: 5g
- Unsaturated Fat: 3g
- Trans Fat: 0g
- Carbohydrates: 40g
- Fiber: 1g
- Protein: 3g
- Cholesterol: 35mg