
Oh, the pressure of party planning! You want something that looks like you spent hours on it, but really, your time is precious. That’s why I’m so excited to share what I call my absolute rock-solid go-to: The Best Classic Cheese Ball Recipe. If you need a foolproof, show-stopping, and completely reliable appetizer, this is it. Friends, this classic combination of cream cheese and sharp cheddar came straight out of my testing phase when I was developing recipes for the magazine. You can find more of my foolproof entertaining ideas over at appetizers and snacks here. Trust me on this one; this is proven party snack recipes perfection!
- Why This Classic Cheese Ball Recipe Is Your New Favorite Party Snack Recipes
- Gathering Your Ingredients for the Best Cheese Ball Recipe
- Step-by-Step Instructions for This Simple Party Food
- Make Ahead Appetizer: Chilling and Serving Your Cheese Ball Recipe
- Serving Suggestions for Your Crowd Pleaser Appetizer
- Storage and Reheating Instructions for Leftover Cheese Ball Recipe
- Frequently Asked Questions About This Classic Appetizer Ideas
- Estimated Nutritional Data for This Cheese Ball Recipe
- Share Your Experience with This Easy Cheese Ball Recipe
Why This Classic Cheese Ball Recipe Is Your New Favorite Party Snack Recipes
Honestly, when I’m hosting, I need appetizers that perform well under pressure, and this recipe always delivers. What makes it such a reliable crowd pleaser appetizer? Well, for starters, it’s completely no-bake! You mix it, shape it, chill it, and you are done. It transforms into the ultimate simple party food without ever needing to turn on the oven. When I was testing recipes back in my magazine days, I needed something that tasted artisanal but took about fifteen minutes of actual work. This became my benchmark for classic appetizer ideas.
Key Benefits of This Easy Cheese Ball Recipe
- Speed: Fifteen minutes of active prep time. You can’t beat that for substantial flavor!
- Make-Ahead: It actually gets *better* when chilled overnight, making it the perfect make ahead appetizer.
- Flavor Foundation: The pairing of sharp cheddar with creamy cream cheese is just pure nostalgia—a flavor profile everyone loves.
- Versatility: It loves company! It pairs beautifully with just about anything you put out next to it. If you want another easy dip recipe, check out my ideas for caramelized onion dip!
Gathering Your Ingredients for the Best Cheese Ball Recipe
Okay, let’s talk ingredients! Since this is a no bake appetizer and the flavor relies entirely on what goes in, quality matters, even if it’s simple. You need eight ounces of cream cheese—and please, make sure it’s softened completely so we avoid lumps. That is non-negotiable for a smooth mixture! Then we go heavy on the sharp cheddar, eight ounces shredded, because that deep cheddar tang really shines through. Don’t forget the seasonings that give it that classic savory depth. If you love using cream cheese in treats, you should check out my recipe for cream cheese chocolate chip cookies, too!
Ingredient Notes and Substitutions for Your Cheese Ball Recipe
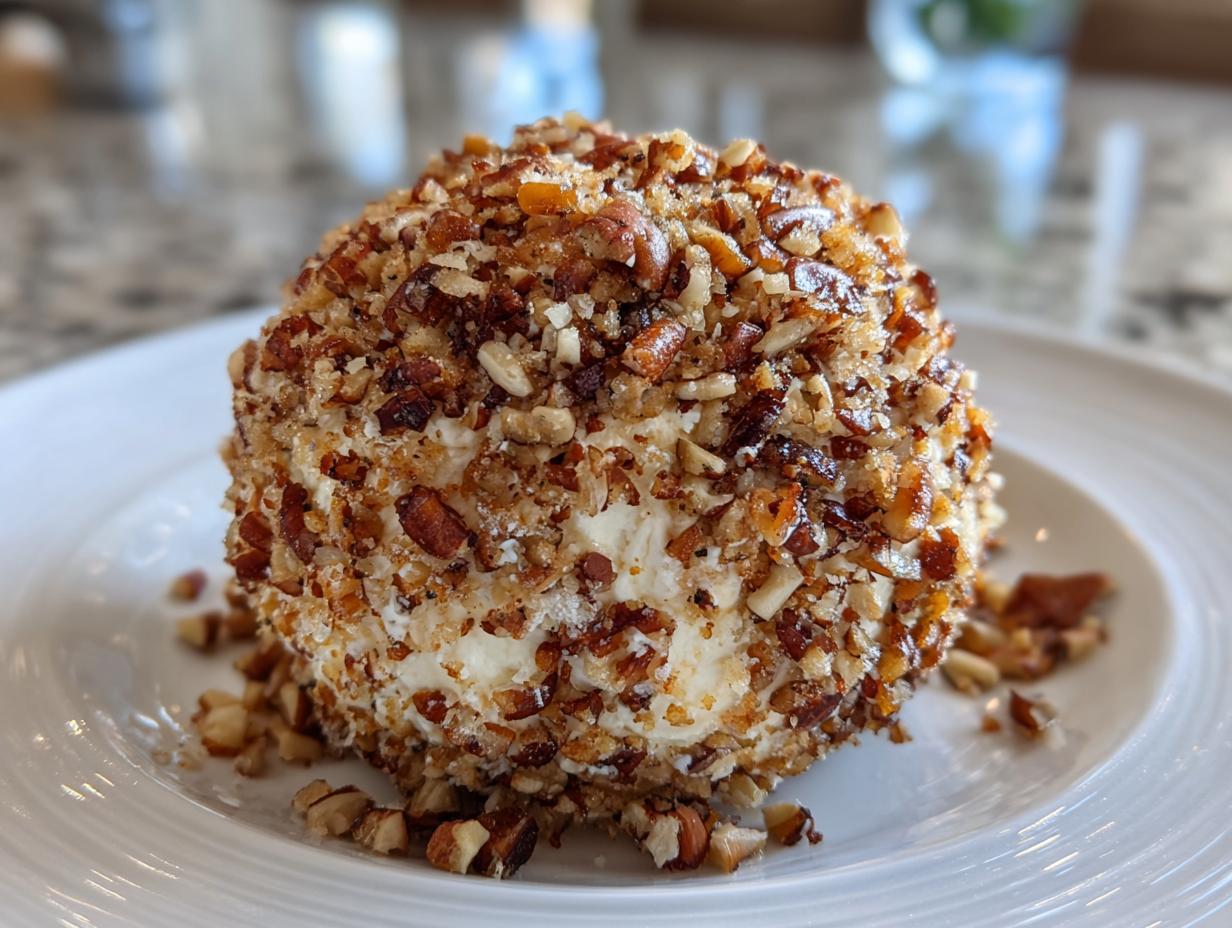
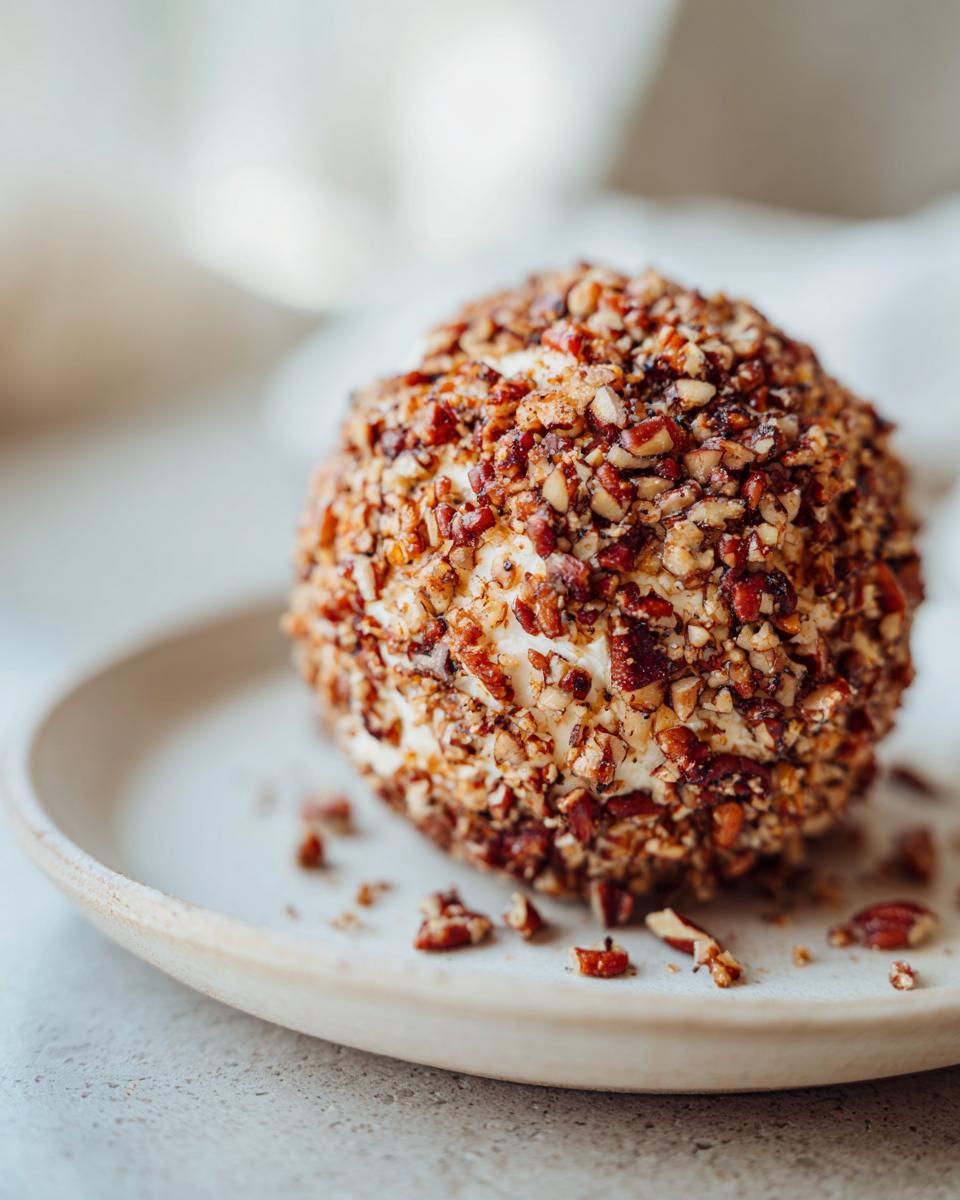
The coating is where you can really play, but the classic choice, the one I always default to, is chopped pecans. Make sure those nuts are chopped nicely—not dusty fine—so you get that satisfying little crunch when you bite in. If you have nut allergies or just want something different, chopped walnuts work just as beautifully, or you could even go for dried parsley for a greener look!
Now, remember those notes I had? If you’re shaking things up for game day, you absolutely have to try mixing in some cooked, crumbled bacon right into the cheese base before you chill it. That creamy, salty bacon combination is just phenomenal in this cheddar cheese appetizer!
Step-by-Step Instructions for This Simple Party Food
This is where the magic happens, and boy, is it fast! Since this is an easy tamale pie in terms of speed, you’ll be amazed at how quickly you pull this off. In a medium bowl, you need to combine that softened cream cheese, your sharp cheddar, the Worcestershire sauce—which adds that deep savory undertone—and all your seasonings: garlic powder, onion powder, salt, and pepper. Mix it up until it looks totally unified. Make sure your cream cheese is actually soft! If it’s cold, you’ll end up with little cheesy boulders in your dip, and nobody wants that!
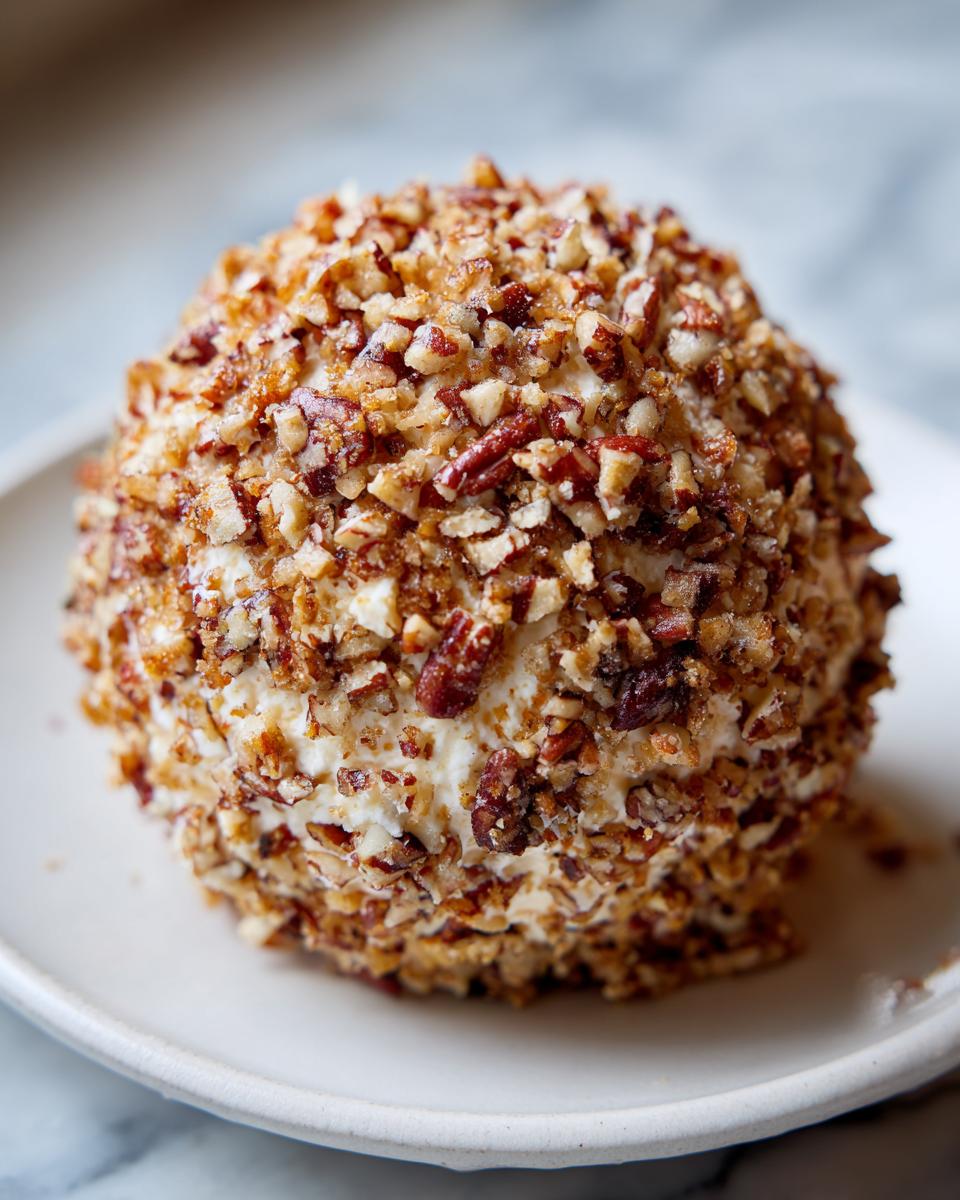
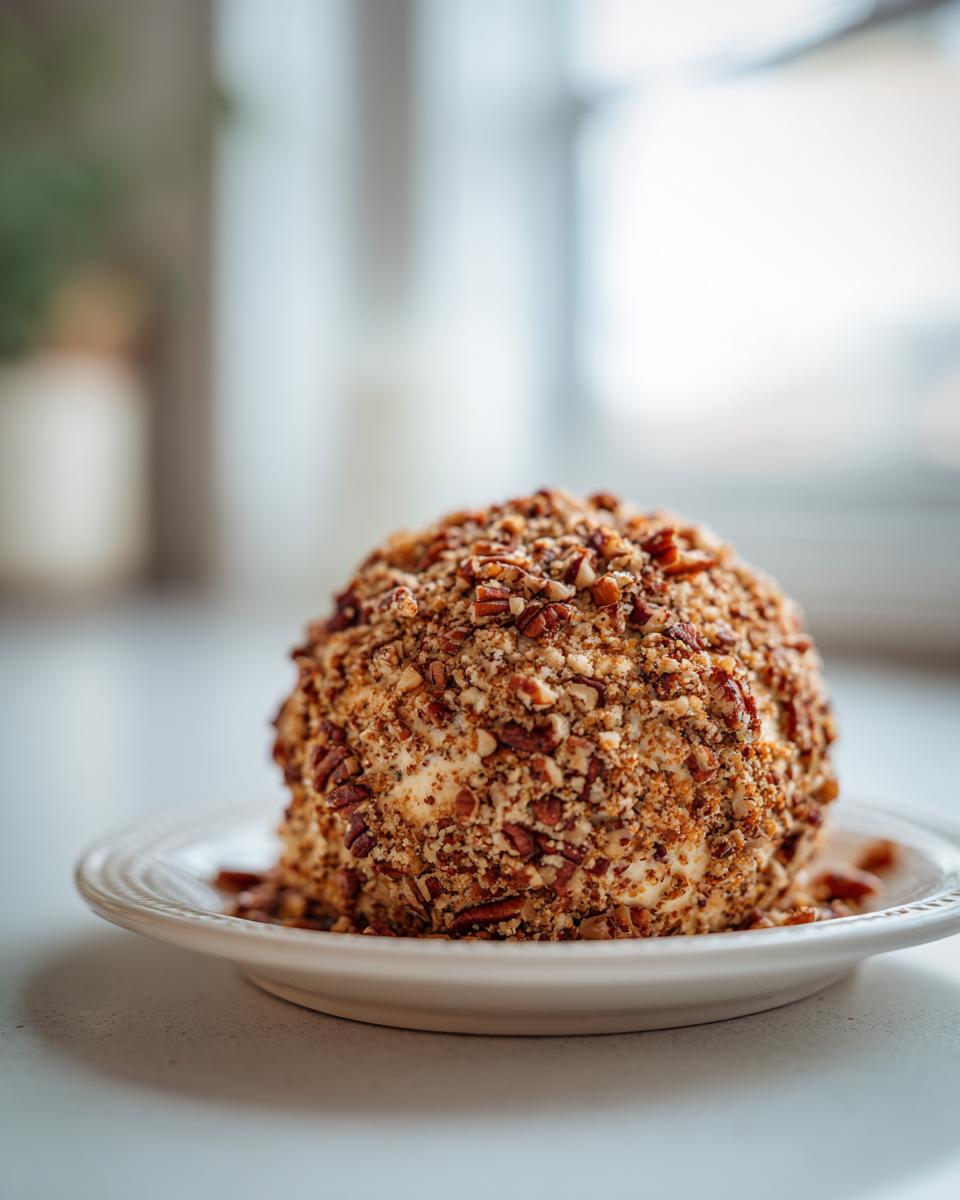
Once everything is smooth, pull out maybe a spatula or even just your clean hands—this is hands-on fun!—and shape it into a nice, tight ball. Then, spread your coating—I’m using pecans today—onto a flat plate. Roll that cheese ball around until it’s completely covered in that delicious crunch. Finally, here’s the crucial part that separates ‘good’ from ‘the best’ on my scorecard: wrap it tightly in plastic wrap and pop it into the fridge for at least two hours, but honestly, up to two days is best! That chilling time lets all those savory spices really get acquainted.
Tips for Success When Making a Cheese Ball
Listen, the texture really hinges on Step one. If your cream cheese is room temperature—soft enough that a gentle push leaves a dent—it blends beautifully without any fuss. Don’t rush that! When you go to coat it, try to roll it firmly but gently. If you press too hard when rolling it in the pecans, you might start squishing the ball itself, and you want a nice round shape, not a slightly flattened one for when you serve it later.
Also, always remember to let it sit out for about 15 minutes before you serve it. Straight from the fridge, it’s too hard to scoop. A little time on the counter softens it just enough so your guests’ crackers don’t break when they try to spread it!
Make Ahead Appetizer: Chilling and Serving Your Cheese Ball Recipe
This is where this recipe truly earns its stripes as a top-tier make ahead appetizer for any busy host! After you’ve got that beautiful ball coated in pecans, you absolutely must wrap it tightly. Then, into the refrigerator it goes! I recommend chilling it for a minimum of two hours. Why? Because those little guys—the garlic powder, the onion powder, the Worcestershire—they need time to really marry up with the cream cheese and cheddar. Flavor melding is a real process, honey!
If you can wait, chill it for a whole day, or even two! It keeps perfectly wrapped up tight. Just one tiny instruction for serving day: pull it out about fifteen minutes before your guests arrive, or before you need it for your chicken pot casserole night side dish. That little bit of time at room temperature brings back that perfect spreadable texture we worked so hard for!
Serving Suggestions for Your Crowd Pleaser Appetizer
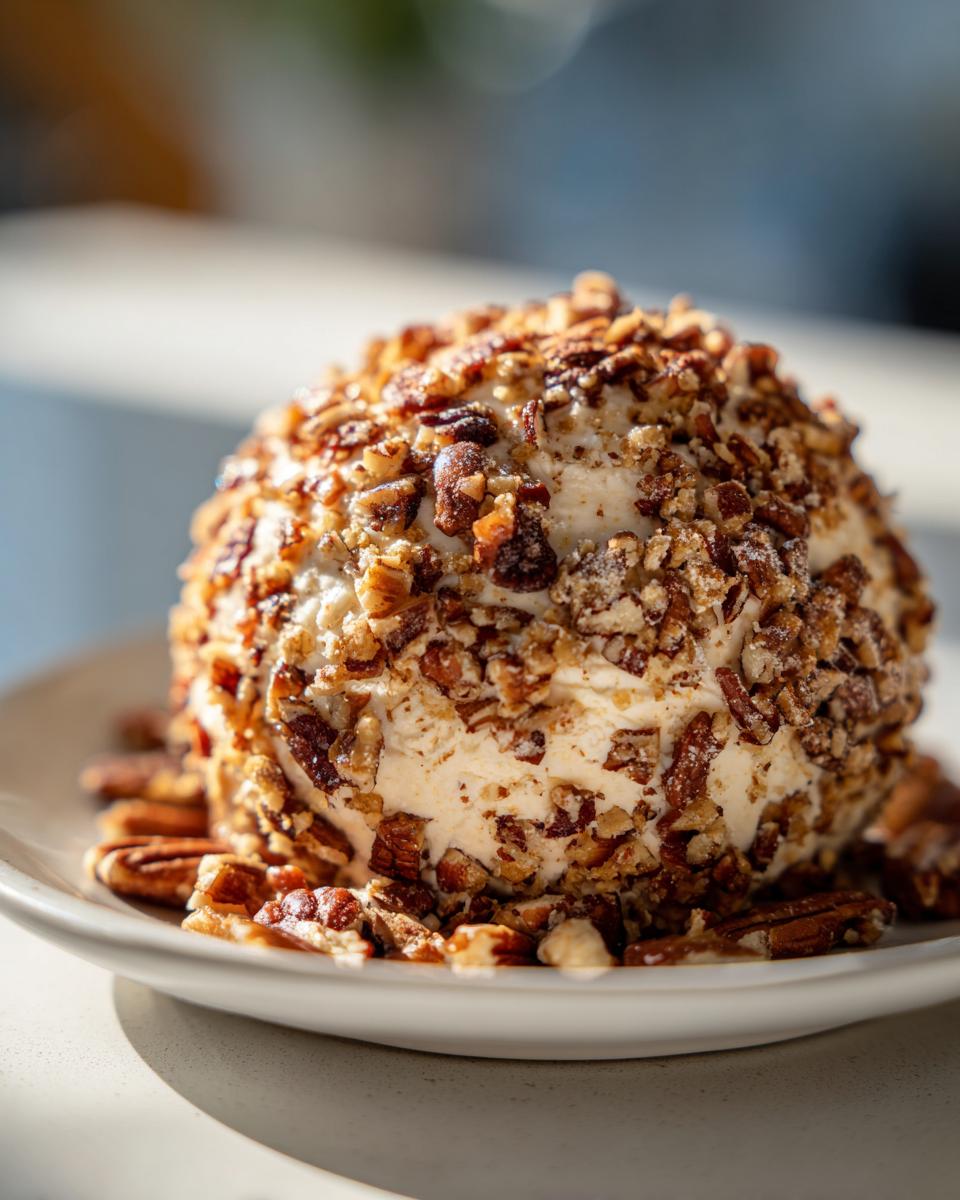
You’ve made this beautiful, creamy beacon of flavor, now what do you set next to it? This is the absolute best part of creating a crowd pleaser appetizer spread! Variety is your secret weapon here, especially when you’re setting up for a big game or a holiday buffet. I always make sure I have sturdy vehicles for scooping up every last bit of that cheesy goodness.
Definitely set out some sturdy, plain crackers—you don’t want crunchy crackers with too much flavor competing with our star. I also love throwing in some crisp pretzels for that salty crunch. But honestly, for the best texture contrast, you need fresh veggies! Think crunchy bell pepper strips, carrots, or maybe some celery sticks. Serving these colorful options makes your game day appetizer spread look professional and feels a little lighter all around. For more easy entertaining ideas, you might love my recipe for creamy chicken chili!
Storage and Reheating Instructions for Leftover Cheese Ball Recipe
Now, let’s talk about the happy problem: having leftovers! Because this is a classic, no bake appetizer, reheating it is definitely not on the menu. Trying to microwave it would just result in a sad, oily puddle, and we absolutely cannot have that after all that hard work!
The beauty is in the storage. Once you finish your party and there’s just a little bit left, just scrape off any leftover crackers clinging to the outside, and re-wrap that sphere *very* tightly in plastic wrap. You want it sealed up so it doesn’t absorb any weird smells from the fridge. It keeps wonderfully this way in the refrigerator for up to two, maybe three days max! Remember, quality starts to degrade after that, so I always aim to use it up quickly.
When you pull it out the next day, especially if it’s been several days, it’s going to be rock solid. That’s normal! Just like with a fresh ball, you need to plan ahead. Let it sit on the counter for about 30 to 45 minutes to come back to room temperature. Once it’s soft again, you can enjoy your leftovers with some fresh celery sticks, or maybe even smear a little bit onto a toasted bagel—it’s almost like a flavored cream cheese spread then! For a fun contrast to this rich snack, check out my recipe for an easy frozen strawberry daiquiri!
Frequently Asked Questions About This Classic Appetizer Ideas
I know when I grab a reliable recipe like this one, I always have a few little questions floating around, so let’s tackle those common hiccups to ensure your cheese ball is the absolute star of the show, whether it’s for a casual Sunday or a big holiday party. Addressing these little details is how we turn a good recipe into something you can trust every single time—that’s part of the promise here at Cooking by Mia!
Can I use pre-shredded cheese in this cheese ball recipe?
You absolutely *can*, and sometimes life just demands the convenience, right? I’m not going to tell you it’s impossible! But, full transparency, for the absolute smoothest texture in this cream cheese dip base, I really prefer freshly shredded cheddar. The pre-shredded stuff often has stabilizers or anti-caking agents coating it, and sometimes those agents prevent the cheese from melting beautifully into the cream cheese. If you use pre-shredded, just make sure you mix it really, really well—maybe even give the ingredients an extra minute of mixing time.
What is the best way to make this a Holiday Cheese Ball?
Oh, I love dressing this up for the holidays! Since this is already such a fantastic make ahead appetizer, you can easily make it festive. My favorite trick is taking those chopped pecans for the exterior coating and mixing them with a tablespoon of dried, finely chopped cranberries. The red and green just looks so cheerful when guests approach your appetizer spread! Another trick is using one of those decorative cheese ball molds if you want a perfect pyramid or dome shape, though I usually just stick to the rustic ball shape because it reminds me of my classic foundations.
How long can I keep the cheese ball refrigerated?
For the very best texture and flavor infusion, I strongly advise keeping it wrapped tightly in the fridge for no more than two full days. While it will likely be safe beyond that, the creaminess starts to change a little bit by day three, and you risk it getting a bit too firm. It’s meant to be a fresh, vibrant snack, so two days is the sweet spot for this recipe!
If you’re looking for other tangy dips, you should definitely check out my recipe for blue cheese dip—it’s wonderful for dipping wings!
Estimated Nutritional Data for This Cheese Ball Recipe
When we talk about party food, we know flavor is the star, but it’s helpful to have a general idea of what we are serving up, right? Here is the estimated nutritional data for one serving—that’s about 1/12th of the whole ball—based on the classic recipe using the pecan coating. Since I develop every recipe here at Cooking by Mia with food science backing, I always want to be transparent!
Please remember this is just an estimate! The exact details can shift based on the brands you choose, especially how sharp your cheddar is or if you use slightly different coatings. These numbers don’t account for the crackers or vegetables you serve alongside this delicious snack.
- Serving Size: 1/12 of cheese ball
- Calories: 150
- Fat: 14g (with 8g saturated fat)
- Sodium: 250mg
- Carbohydrates: 2g
- Protein: 6g
- Cholesterol: 40mg
- Sugar: 1g
It’s rich, it’s cheesy, and it’s totally worth enjoying! That’s the beauty of a perfect cheddar cheese appetizer—it’s satisfying without being overwhelming.
Share Your Experience with This Easy Cheese Ball Recipe
Well, that’s it! You’ve got the foolproof guide to making what I truly believe is the best cheese ball ever. Now that you have this recipe in your back pocket, you’re set for any potluck or sudden guest arrival. I put so much careful testing into making sure this flavor profile shines, so I really, really want to know how it turned out for you!
When you make yours, please come back down to the comments and tell me what coating you chose! Did you stick with the classic pecans, or did you try that bacon mix? Maybe you decided to go with dried parsley for a green holiday look? Every variation is exciting to see, and your suggestions help other cooks feel confident trying this simple party food.
If you loved how easy this appetizer for potluck was, click those little social share buttons and send this recipe along to a friend who always hosts! And while you’re here, I’d be so grateful if you could tap those five stars right below the recipe card to leave a rating. It helps others find reliable recipes like this one. You can read a little more about my food philosophy over on my About Page. Happy entertaining!
PrintThe Best Classic Cheese Ball Recipe
This is a classic, easy cheese ball recipe perfect for any party or gathering. It combines cream cheese and sharp cheddar for a crowd-pleasing appetizer that you can make ahead of time.
- Prep Time: 15 min
- Cook Time: 0 min
- Total Time: 2 hr 15 min
- Yield: 12 servings 1x
- Category: Appetizer
- Method: No Bake
- Cuisine: American
- Diet: Vegetarian
Ingredients
- 8 ounces cream cheese, softened
- 8 ounces sharp cheddar cheese, shredded
- 1 teaspoon Worcestershire sauce
- 1/2 teaspoon garlic powder
- 1/4 teaspoon onion powder
- 1/4 teaspoon salt
- 1/4 teaspoon black pepper
- 1 cup chopped pecans (for coating, optional)
- Crackers, pretzels, or vegetable sticks (for serving)
Instructions
- In a medium bowl, combine the softened cream cheese, shredded cheddar cheese, Worcestershire sauce, garlic powder, onion powder, salt, and pepper. Mix well until all ingredients are fully incorporated and smooth.
- Shape the cheese mixture into a ball using your hands or a rubber spatula.
- If using pecans, spread the chopped pecans on a plate. Roll the cheese ball in the pecans until it is evenly coated on all sides.
- Wrap the cheese ball tightly in plastic wrap. Chill in the refrigerator for at least 2 hours, or up to 2 days, to allow the flavors to meld and the ball to firm up.
- Before serving, let the cheese ball sit at room temperature for about 15 minutes to soften slightly.
- Serve the cheese ball with an assortment of crackers, pretzels, or fresh vegetables for dipping.
Notes
- For a bacon variation, mix 4 slices of cooked and crumbled bacon into the cheese mixture before chilling.
- You can substitute the pecans with chopped walnuts or dried parsley for a different exterior coating.
- This is an excellent make ahead appetizer for holiday parties or game day appetizers.
Nutrition
- Serving Size: 1/12 of cheese ball
- Calories: 150
- Sugar: 1
- Sodium: 250
- Fat: 14
- Saturated Fat: 8
- Unsaturated Fat: 6
- Trans Fat: 0
- Carbohydrates: 2
- Fiber: 0
- Protein: 6
- Cholesterol: 40