
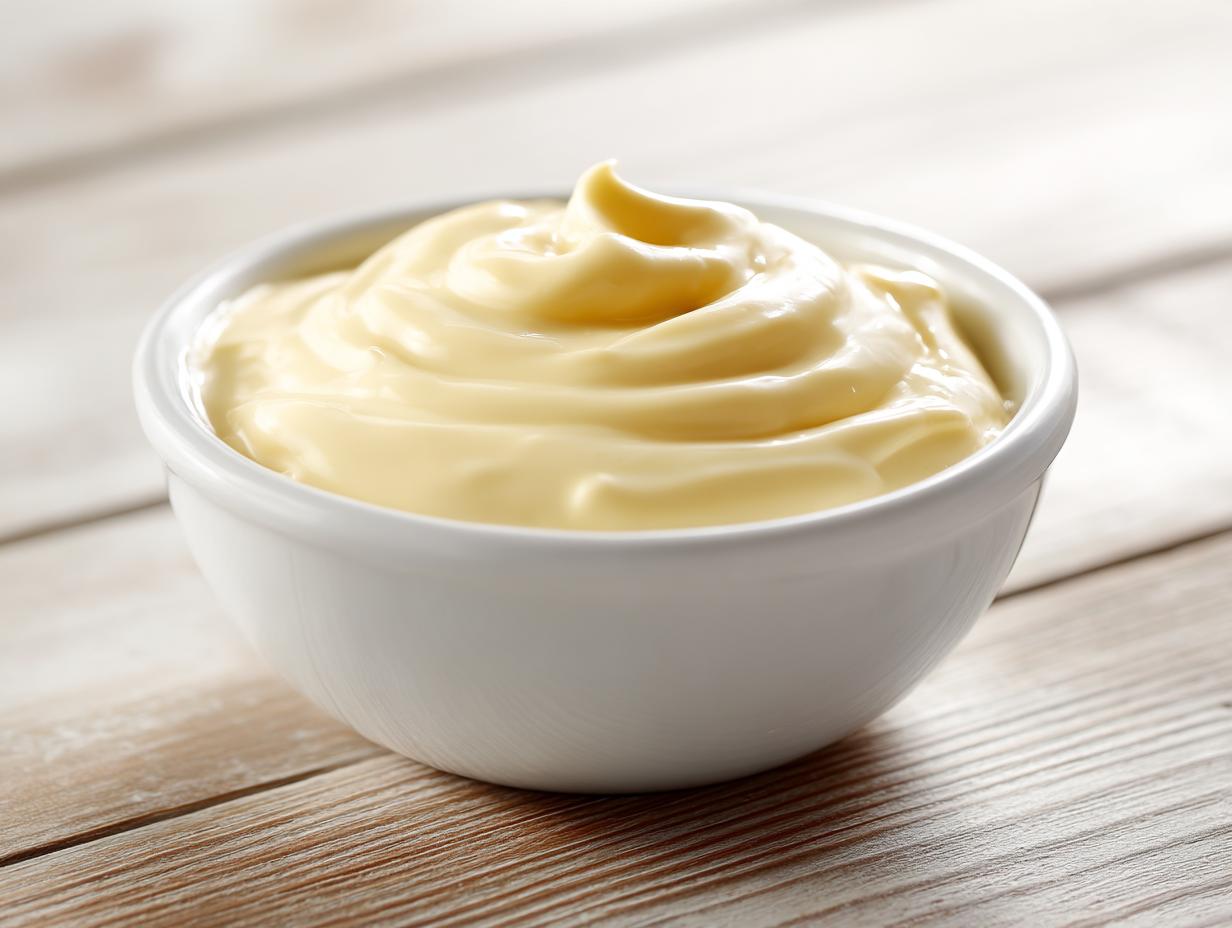
We all have those meals—maybe it’s just a plate of crispy fries or a simple grilled chicken breast—that just need that final, perfect touch to go from good to absolutely unforgettable. That’s where my passion for making incredible sauces really shines through! Coming from a background where flavor complexity was everything, I learned early on that technique is key to consistency. Forget those thin, underwhelming dips you sometimes get; we are making restaurant-style creaminess right here. This recipe for garlic aioli uses true roasted garlic to add a deep, sweet savoriness that just sings. Trust me, once you master this technique, you’ll be making this silky garlic dip every single week!
- Why This Roasted garlic aioli Recipe Delivers Creamy Results
- Gathering Ingredients for Your Homemade Aioli Recipe
- Step-by-Step Instructions to Make Restaurant Style garlic aioli
- Tips for Success When Making garlic aioli
- Versatile Dipping Sauces: How to Use Your garlic aioli
- Aioli Variations to Try Next
- Storage and Reheating Instructions for garlic aioli
- Frequently Asked Questions About Making garlic aioli
- Nutritional Estimates for this Savory Homemade Condiment
Why This Roasted garlic aioli Recipe Delivers Creamy Results
When I develop a recipe, I focus on what makes people *need* to use it again. For this amazing sauce, it boils down to three things that hit exactly what you’re looking for in a dipping sauce. It’s genuinely easy, but it tastes like something special you’d pay extra for at a great bistro. Roasting that garlic transforms the harsh bite into something sweet and complex. This is how we nail that restaurant-style garlic aioli every time.
- The best part? It comes together in a snap—just 15 minutes of hands-on work!
- Flavor is deep and savory thanks to slowly roasting the garlic head until it’s sweet.
- Seriously creamy texture achieved by using full-fat mayo as our reliable base.
Quick Prep Time and Simple Ingredients for garlic aioli
You won’t need to run to the spice shop for this one. Seriously, the active prep time is only about 15 minutes! We use simple pantry stars—mayo, eggs, mustard. If you can, spring for the full-fat mayonnaise, though. That extra richness is what helps us stabilize that gorgeous emulsion and get that ultra-creamy texture we are aiming for in this fantastic garlic aioli.
Gathering Ingredients for Your Homemade Aioli Recipe
Alright, let’s get our ingredients lined up! Getting everything ready beforehand, what we call ‘mise en place,’ is my secret weapon for smooth cooking—especially with sauces like this. My background taught me precision matters when you want that gourmet taste. Check out what you need below. Remember that roasted garlic pulp is the star here, so don’t skip the roasting step, it’s worth it for this homemade aioli recipe!
- 1 large head garlic (we’re roasting this!)
- 1/2 cup mayonnaise (I insist on full-fat for the best creaminess, seriously!)
- 1 large egg yolk, make sure it’s room temperature
- 1 teaspoon Dijon mustard
- 1 tablespoon fresh lemon juice
- 1/4 teaspoon salt, or tweak this based on your taste
- 1/8 teaspoon black pepper, freshly ground is a must
- 2 tablespoons olive oil (just in case we need to slightly thin it out later)
Step-by-Step Instructions to Make Restaurant Style garlic aioli
Okay, this is where the magic happens! We tackle this in two main stages: getting that deeply flavored, sweet roasted garlic pulp, and then whipping it into our base. Don’t rush the roasting part; it’s what separates a good sauce from a truly spectacular one. Once the garlic cools a touch, everything else is just a cheerful whisking session. I always tell people, even if you’re new to making a sauce from scratch, this method is so reliable you’ll get that perfect garlic aioli the very first time!
Roasting the Garlic for Deep Flavor
First things first: preheat your oven to 400°F (200°C). Take that whole head of garlic and chop off the top quarter inch—just enough so those little cloves peek out. Drizzle with just a touch of olive oil, wrap the whole thing snug in foil, and pop it in the oven. You’re looking for 35 to 45 minutes. We wrap it tight so the garlic steams inside the foil, making the cloves incredibly soft and sweet, which is exactly what we need for that amazing flavor!
Creating the Creamy Garlic Sauce Base
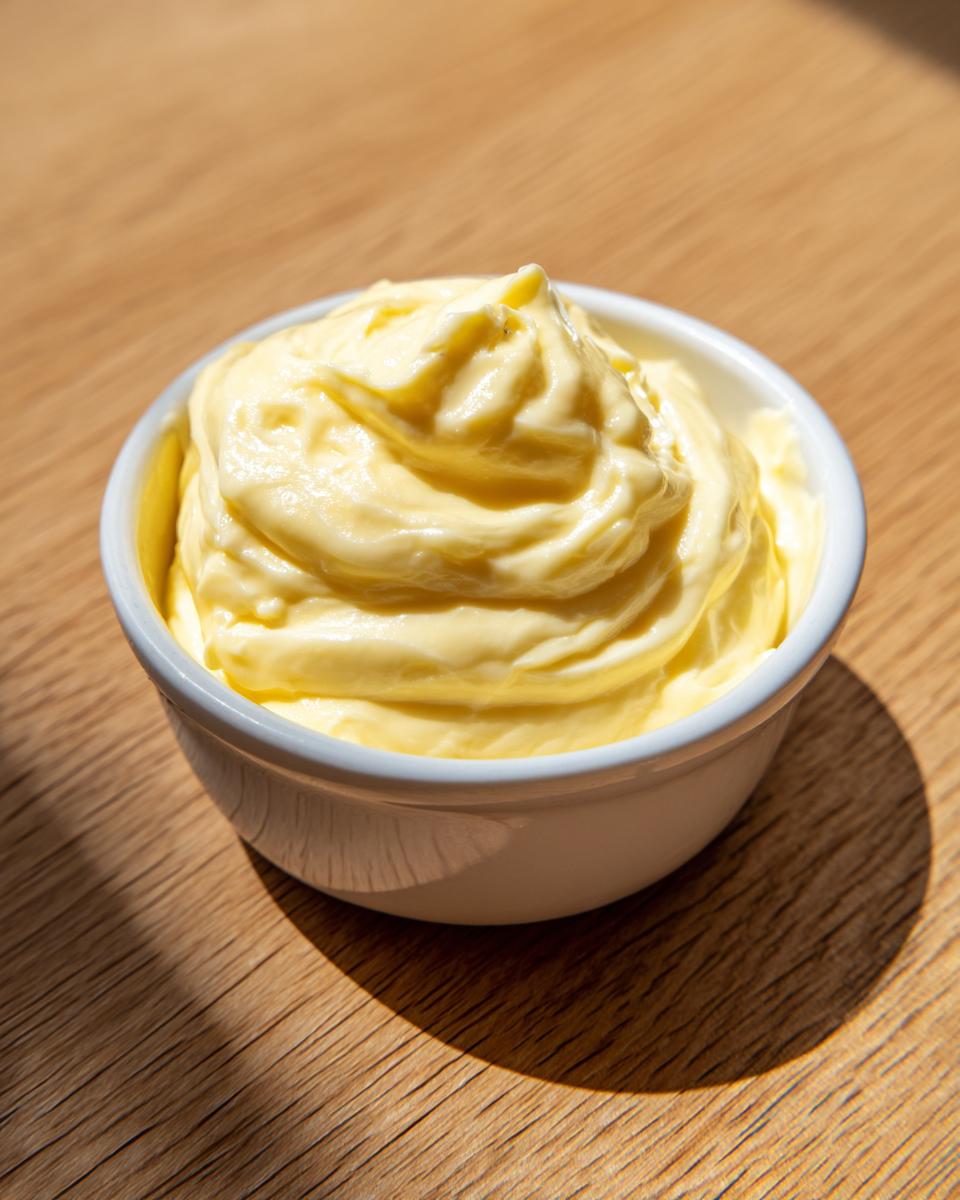
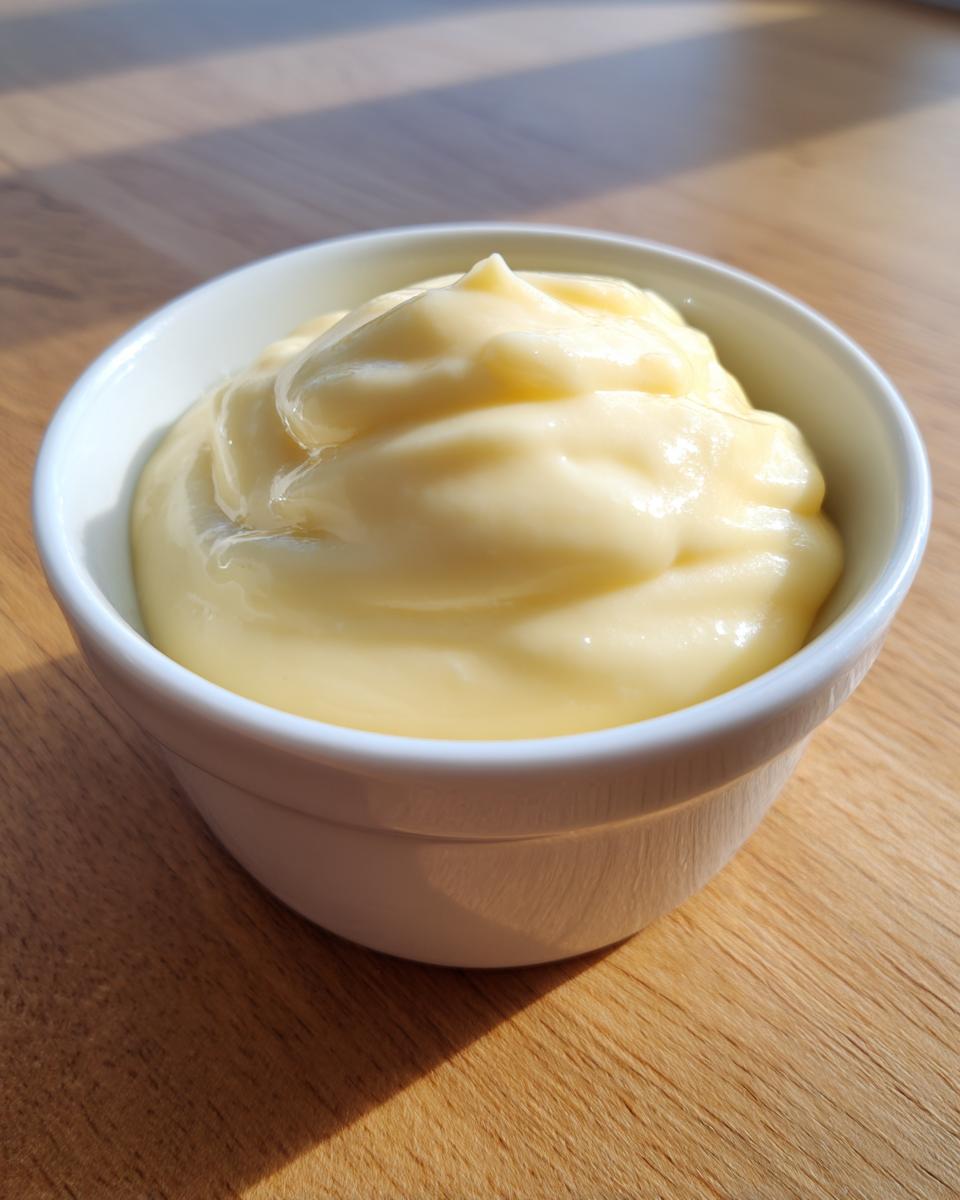
Once the garlic is cool enough to handle, squeeze those soft, caramelized cloves right out of their papery skins into a small bowl. Mash them with a fork until they are completely smooth. Now, grab a medium bowl and whisk together your mayonnaise, that room-temp egg yolk, Dijon mustard, lemon juice, salt, and pepper like your life depends on it! Whisk vigorously for a solid minute until everything looks perfectly uniform. Then, fold in those two tablespoons of mashed roasted garlic pulp. Keep whisking until you achieve that luscious, *silky garlic dip* consistency we’re looking for.
Tips for Success When Making garlic aioli
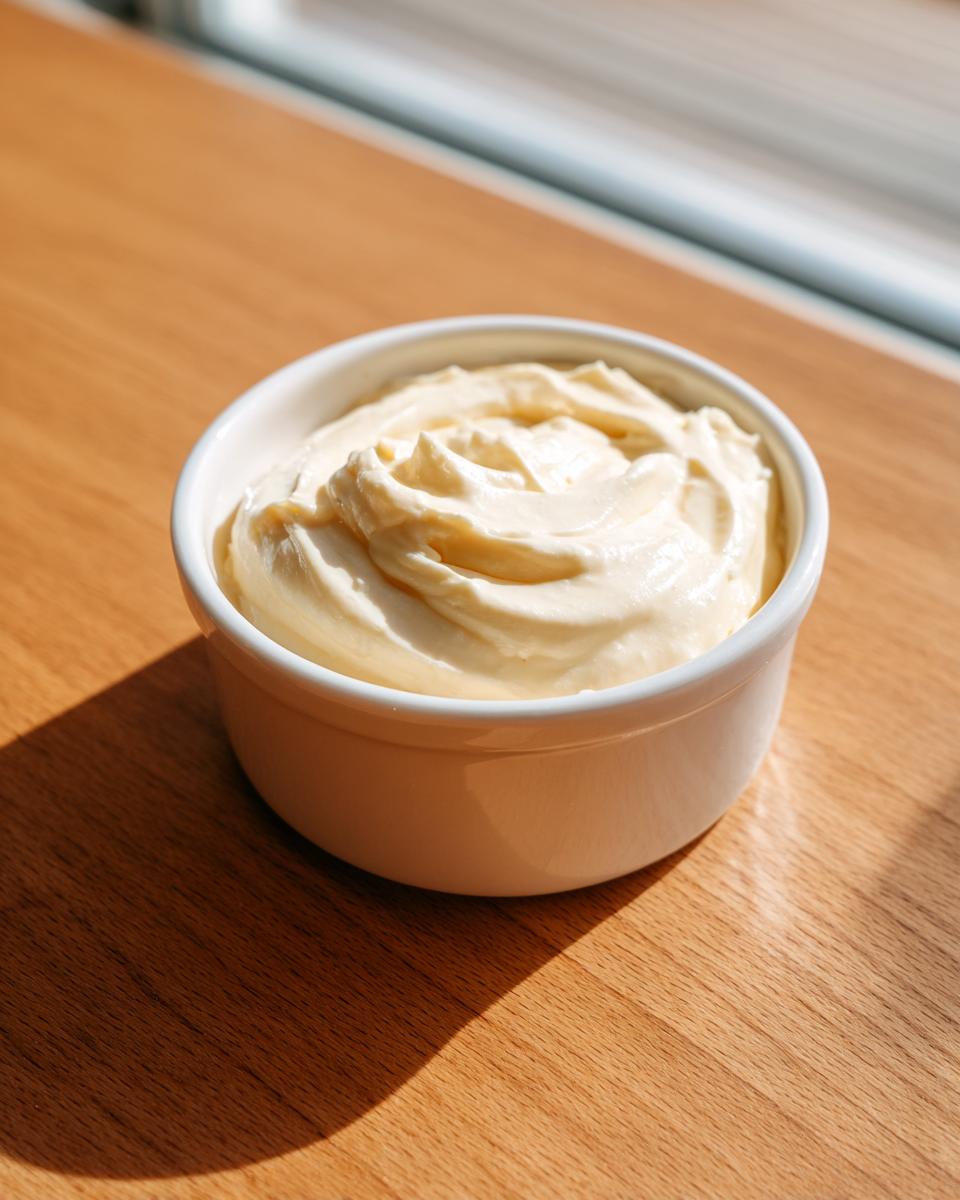
You know, I learned from my mom that half the battle in sauce-making is knowing what to do when things go slightly sideways! Don’t panic if your mixture looks a little loose at first. After you mix in all the roasted garlic, if it seems too stiff—which happens sometimes depending on the brand of mayo you use—just whisk in the olive oil, one tiny teaspoon at a time, until it loosens just right. And please, this is vital: let it chill! That thirty minutes in the fridge isn’t just for chilling; it lets the roasted garlic flavors fully integrate into the sauce. This resting is what guarantees you get the boldest, creamiest garlic aioli possible.
Achieving the Perfect Emulsion
This is textbook food science that matters in your kitchen! Because we are relying on the egg yolk to help grab onto that oil and blend everything beautifully, its temperature is huge. If you use a cold egg yolk straight from the fridge, it tends to seize up when it hits the cooler mayo, and you end up fighting to get that smooth blend. Make sure your egg yolk is at room temperature—it makes the whisking so much easier and keeps that beautiful, stable, *creamy* attribute front and center in your final dip.
Versatile Dipping Sauces: How to Use Your garlic aioli
Honestly, once you have this luscious sauce made, you’ll realize you need to double the batch next time—it goes on everything! This isn’t just some one-trick pony dip; it’s a true flavor booster for your entire week. I use it constantly around my house for so many different things. It’s a total game-changer for any simple dinner. Forget just having mayo on the side; this is your new go-to condiment.
Think about crispy, golden fries, or even better, smash burgers—my family demands this specifically as the Aioli for Fries and Burgers. But don’t stop there! You can slather it on grilled white fish or use it as a decadent spread on a turkey sandwich instead of plain mayo. It also makes the most incredible, flavorful garlic toppings when drizzled over roasted asparagus or even simple roasted potatoes. It instantly brings that Mediterranean flair to any plate. It’s one of my favorite garlic aioli applications!
Aioli Variations to Try Next
Now that you’ve mastered the classic roasting technique, you can start playing around with it! This is where my love for tinkering comes in handy. Once you have that beautiful, smooth base sauce chilling in the fridge, it’s begging for a little personality boost. These simple mix-ins let you create entirely new spreads that work wonders on everything from grilled veggies to tacos. These little tweaks are what keep my sauce rotation interesting all year long.
These little updates let you explore all kinds of flavor profiles without having to scrub a single pot! Here are a few of my favorite ways to elevate that base dip. Remember, these are just gentle suggestions; feel free to check out my tips on making creamy renditions for more inspiration!
- Herbaceous Zing: Stir in about one tablespoon of finely chopped fresh herbs. Dill and chives pair beautifully with the roasted garlic, making it excellent for dipping seafood like shrimp. Or, if you’re feeling Mediterranean, parsley and a tiny bit of oregano work wonders.
- Parmesan Kick: A quarter cup of finely grated Parmesan cheese dissolves right into the cold sauce. It adds a salty, umami depth that makes this spread phenomenal on steak or even just savory roasted potatoes.
- Smoky Heat: Want to dial up the drama? Add half a teaspoon of smoked paprika and a pinch of cayenne pepper. This combination gives you that nice, warm kick that turns it into a fantastic flavor booster for chicken wings or burger buns.
- A Touch of Citrus: While we use lemon juice in the base, you can intensify that bright flavor by adding the zest of one lemon. It lightens up the richness, making it a perfect companion for almost any vegetable platter.
Storage and Reheating Instructions for garlic aioli
Because we use fresh egg yolk in this recipe, keeping your sauce safe is important! You want to store this beautiful garlic aioli in a truly airtight container. It keeps wonderfully in the fridge for up to a full week, easily. Don’t worry about reheating; this sauce is best served cool or at room temperature, perfect for dipping those fries right out of the oven.
Frequently Asked Questions About Making garlic aioli
I get so many questions about sauce-making because people think it’s harder than it is! Don’t worry if you have a few sticking points; that’s usually where we learn the best tricks. Here are a few things I hear most often when folks are trying to perfect their savory homemade condiment.
Can I make this without mayonnaise (How to Make Aioli from Scratch)?
That’s a perfect question that gets right to the heart of tradition! If you want the truly authentic, old-school version—what some folks call the *real* French way—you technically would only use garlic, salt, and olive oil, emulsified slowly using a mortar and pestle. It takes ages and requires serious patience! My method, which creates a fast Homemade Aioli Recipe, uses mayonnaise as a shortcut. The mayo already contains the stabilized emulsion (oil and egg), so we just add our roasted garlic flavor to it. It’s much quicker and almost impossible to mess up, giving you that gorgeous *creamy garlic sauce* texture without the risk.
What if my sauce separates or breaks?
Oh, the dreaded split! When that happens, just take a deep breath. It’s usually because the mixing got too fast, or perhaps the ingredients weren’t the right temperature. Here’s my trick for saving it: grab a completely clean, dry bowl and put one fresh egg yolk in it. Start whisking that yolk slowly, and then drizzle your broken mixture into the new yolk, just a tiny bit at a time, whisking constantly. It should grab back onto itself and reform into that gorgeous, silky dip you wanted! This is an excellent quick sauce idea when you need to recover from a mixing mistake.
How long does this garlic aioli last in the fridge?
Since this recipe uses a fresh, room-temperature egg yolk, we need to be mindful of how long we keep it around. I always recommend using it within one week for the absolute best quality and safety. Keep it sealed tight in an airtight container. If you notice any off-smells or discoloration, toss it, but usually, a week is no problem at all!
Is there a way to make this without egg yolk?
Absolutely! If you’re worried about using raw egg yolk, you can skip it completely because we are using mayo as our primary binder. Just combine the roasted garlic pulp, Dijon, lemon juice, salt, and pepper directly into the mayonnaise and whisk until smooth. You still get a fantastic *quick homemade dip*, although omitting the yolk might mean you need that optional teaspoon of olive oil just to get the consistency perfectly flowing.
Nutritional Estimates for this Savory Homemade Condiment
Okay, so I know some of you count macros, and some of you just want to know what you’re diving into when you use a spoonful of this luxurious sauce. Remember, since I’m deeply passionate about food science, I always run some estimates, but you have to take this with a grain of salt—or maybe a pinch of salt replacement!
These numbers are based on the recipe as written, using standard full-fat mayonnaise and the optional olive oil. If you swap out the mayo for Greek yogurt, for instance, or use less oil, those numbers will shift big time. This is just a baseline to help you plan your day, but the real value here is in the flavor department, not just the numbers!
- Serving Size: 2 Tablespoons
- Calories: 145
- Fat: 16g
- Saturated Fat: 2.5g
- Carbohydrates: 0.5g
- Sugar: 0.2g
- Protein: 0.8g
- Cholesterol: 35mg
- Sodium: 110mg
And here’s my E-E-A-T disclaimer from the kitchen: because ingredient brands vary so widely—especially mayonnaise—please treat this as a helpful estimate only. If you’re tracking macros precisely, you’ll want to plug your exact product measurements into your favorite tracker. But seriously, don’t let the fat scare you; that’s where the incredibly satisfying, silky texture we worked so hard for comes from!
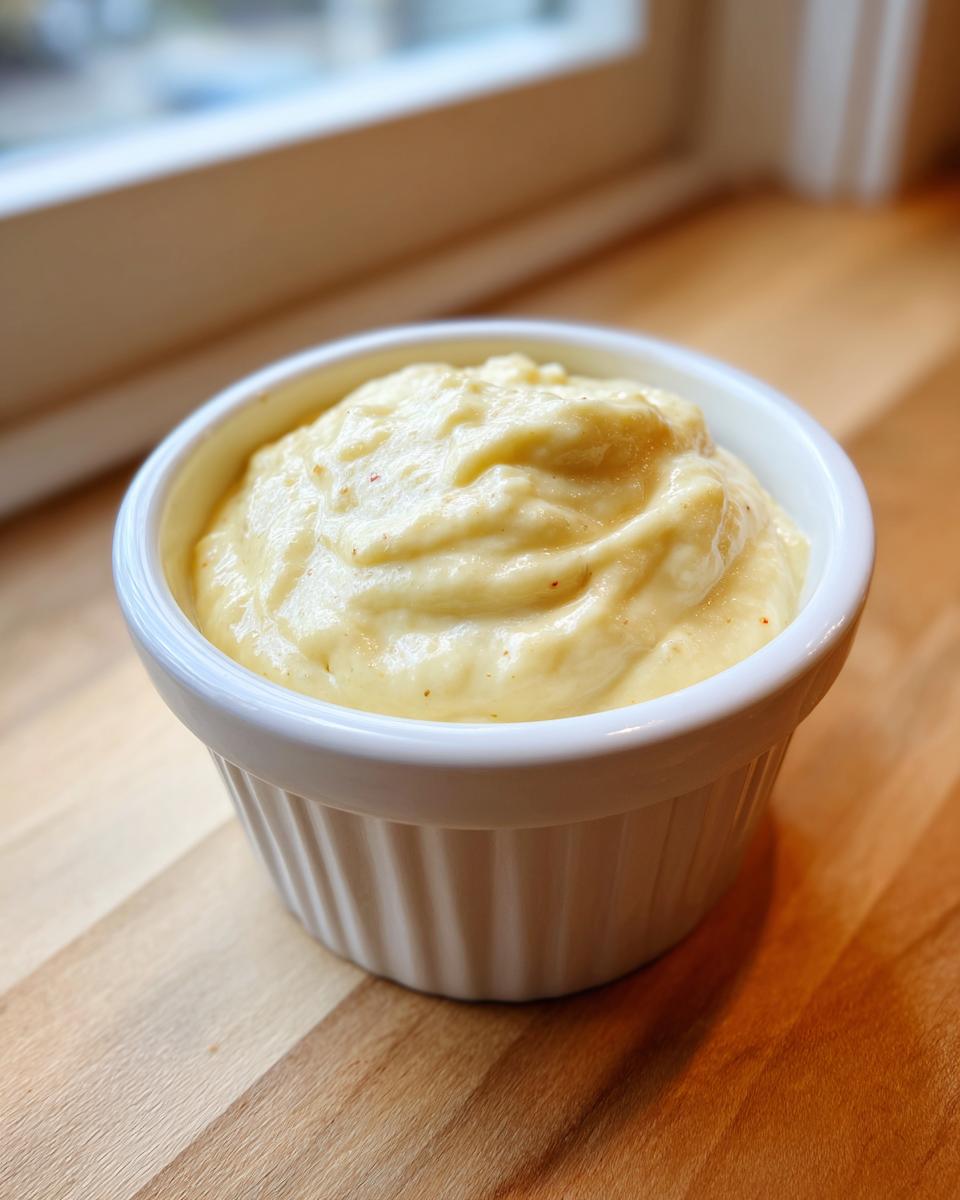
PrintRestaurant-Style Creamy Roasted Garlic Aioli

Make rich, creamy garlic aioli at home that tastes like your favorite restaurant’s version. This easy recipe uses roasted garlic for a deep, savory flavor perfect for dipping fries or spreading on sandwiches.
- Prep Time: 15 min
- Cook Time: 45 min
- Total Time: 60 min
- Yield: About 3/4 cup 1x
- Category: Condiment
- Method: No-Cook/Mixing
- Cuisine: Mediterranean Inspired
- Diet: Vegetarian
Ingredients
- 1 large head garlic
- 1/2 cup mayonnaise (full-fat recommended for creaminess)
- 1 large egg yolk, room temperature
- 1 teaspoon Dijon mustard
- 1 tablespoon fresh lemon juice
- 1/4 teaspoon salt, or to taste
- 1/8 teaspoon black pepper, freshly ground
- 2 tablespoons olive oil (optional, for thinning)
Instructions
- Roast the garlic: Preheat your oven to 400°F (200°C). Slice about 1/4 inch off the top of the garlic head to expose the cloves. Drizzle lightly with olive oil, wrap tightly in foil, and bake for 35 to 45 minutes until the cloves are soft and golden brown. Let cool slightly.
- Squeeze the soft, roasted garlic pulp out of the skins into a small bowl. Mash with a fork until smooth. You need about 2 tablespoons of pulp.
- In a medium bowl, whisk together the mayonnaise, egg yolk, Dijon mustard, lemon juice, salt, and pepper until fully combined.
- Add the roasted garlic pulp to the mayonnaise mixture. Whisk vigorously until the mixture is smooth and uniform in color.
- If the aioli is too thick, whisk in the olive oil one teaspoon at a time until you reach your desired consistency. For a silkier texture, you can use an immersion blender for 30 seconds.
- Taste the aioli and adjust salt, pepper, or lemon juice as needed.
- Cover the bowl and refrigerate for at least 30 minutes before serving to allow the flavors to meld. This makes the best aioli dip.
Notes
- Use room temperature egg yolk for better emulsification, which helps create a creamier sauce.
- This versatile dipping sauce is excellent on burgers, grilled chicken, or roasted vegetables.
- Store leftover garlic aioli in an airtight container in the refrigerator for up to one week.
Nutrition
- Serving Size: 2 Tablespoons
- Calories: 145
- Sugar: 0.2
- Sodium: 110
- Fat: 16
- Saturated Fat: 2.5
- Unsaturated Fat: 13.5
- Trans Fat: 0.1
- Carbohydrates: 0.5
- Fiber: 0.1
- Protein: 0.8
- Cholesterol: 35