
Oh my gosh, doesn’t everyone crave that restaurant magic sometimes? You know, that one dish you dream about that just seems too complicated to make on a Tuesday night? Well, I’m here to tell you that we can absolutely beat the takeout craving with our **fiesta lime chicken**! This is the Applebee’s Copycat you wait for, and trust me, it packs massive, zesty flavor in under 40 minutes total. As a trained food scientist who loves sharing my grandmother’s Mexican cooking secrets, I developed this method to be utterly foolproof. My passion is giving you reliable recipes, and this juicy, cheesy chicken is the definition of success at home. You can read more about the philosophy behind all my tested recipes over on my About Page. Say goodbye to waiting for a table and hello to serving up the best Tex-Mex chicken dinner tonight!
- Why This Fiesta Lime Chicken Recipe Works Every Time
- Ingredients for Your Applebee's Fiesta Lime Chicken Copycat
- Step-by-Step Instructions for Creamy Salsa Ranch Chicken Bake
- Pro Tips for Juicy Oven Baked Chicken Success
- Serving Suggestions for Your Flavorful Lime Chicken Dinner
- Storage and Reheating Instructions for Fiesta Lime Chicken
- Frequently Asked Questions About Fiesta Lime Chicken
- Understanding the Nutrition of This Tex Mex Chicken Recipe
- Share Your Fiesta Lime Chicken Creations
Why This Fiesta Lime Chicken Recipe Works Every Time
You might be thinking, is this really going to taste like the restaurant? I promise you, yes! My goal here is to give you a recipe that keeps delivering incredible results, making it a reliable staple in your weekly rotation. This isn’t just throwing things in a pan; it’s built on smart steps honed through testing. When you look at this list, you’ll see exactly why this delicious **fiesta lime chicken** is ready before you even know it.
- It’s one of my favorite Quick Weeknight Chicken Recipes, clocking in under 40 minutes total from start to finish!
- The flavor profile is absolutely spot-on for that restaurant version you love—tangy, cheesy, and zesty!
- It uses simple, high-impact ingredients that are easy to keep stocked in your pantry.
Speed: An Easy 40 Minute Chicken Dinner
Forty minutes is ambitious, I know, but we nail it! We treat the 15 minutes you’d normally spend prepping the oven as your marinade time. That’s right, 15 minutes is all we ask for the lime marinade to start working its magic. This intentional time constraint makes it a truly competitive Easy 40 Minute Chicken Dinner for those nights when takeout seems like the only option.
The Secret to Zesty Lime Marinade Chicken Flavor
The real powerhouse here is the marinade. It’s not just lime juice; it’s the perfect blend of acid and those earthy spices like cumin and chili powder. This quick bath creates intense flavor right away, meaning you don’t need hours for the zest to penetrate. It’s pure technique! That’s how we nail the **Zesty Lime Marinade Chicken** taste without any fuss.
Ingredients for Your Applebee’s Fiesta Lime Chicken Copycat
Gathering your ingredients is almost the best part because you know dinner is just around the corner! Honestly, keeping some of these spices on hand has saved me so many times when I needed a quick Tex-Mex fix. You only need a handful of standard items to create this amazing restaurant remake. Remember, we are aiming for simplicity here, so don’t let that ingredient list scare you—it’s short and sweet, designed for maximum wow factor in minimal time!
- 4 boneless, skinless chicken breasts
- 1/4 cup lime juice, fresh (Please, use fresh! It makes a huge difference.)
- 2 tablespoons olive oil
- 1 teaspoon chili powder
- 1 teaspoon ground cumin
- 1/2 teaspoon garlic powder
- 1/2 teaspoon salt
- 1/4 teaspoon black pepper
- 1/2 cup creamy Salsa Ranch dressing (If you don’t have this, just mix regular ranch dressing with a spoonful of your favorite salsa—trust me on this!)
- 1 cup shredded Monterey Jack cheese (It melts beautifully!)
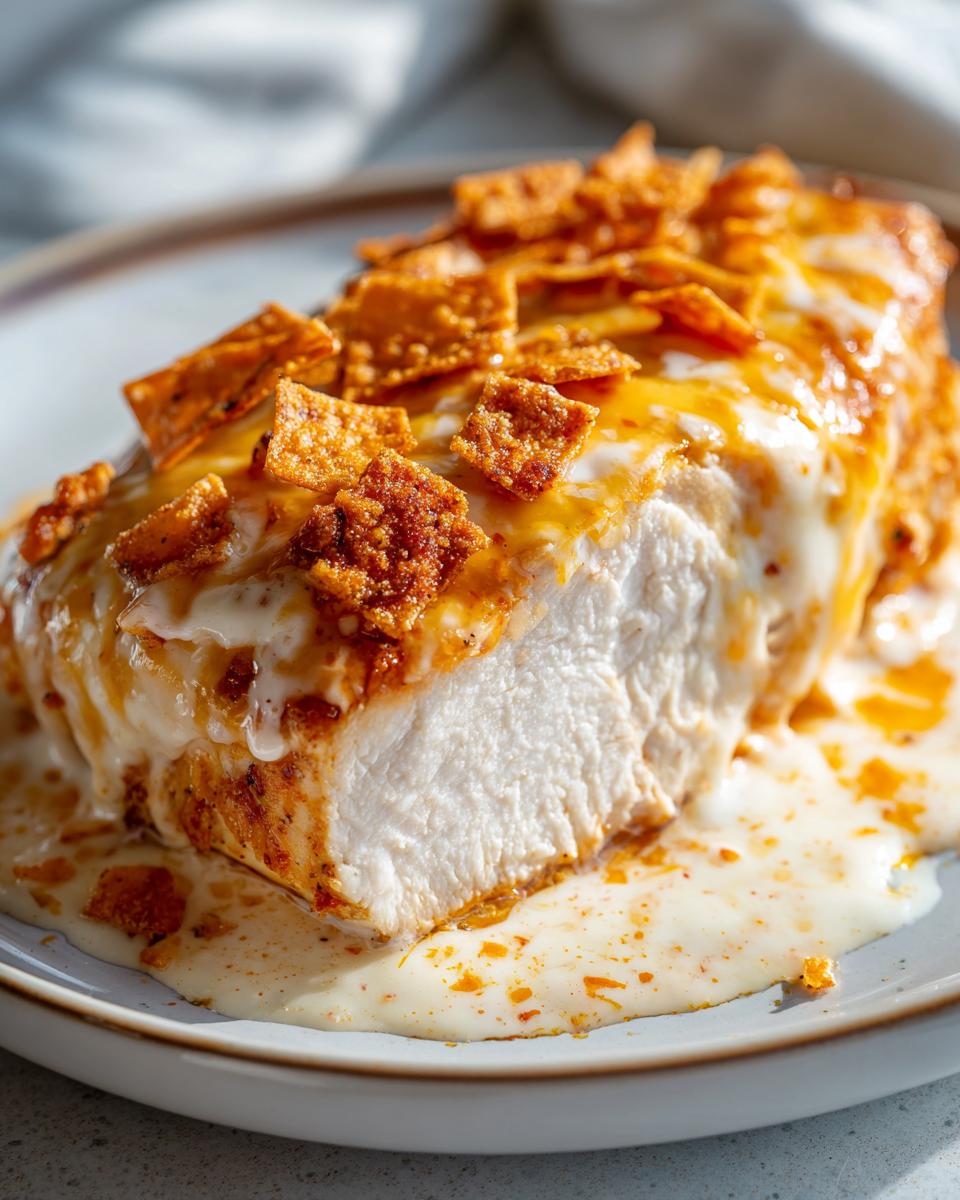
- 1/4 cup crushed tortilla chips, for topping (This brings the crunch factor!)
- Optional sides: Mexican rice, or if you’re feeling fancy, that fresh avocado salsa.
Step-by-Step Instructions for Creamy Salsa Ranch Chicken Bake
Okay, follow me closely here, because this is where the magic happens so fast! This process is designed to get maximum flavor out of minimal time. Since we are aiming for a **Juicy Oven Baked Chicken** experience, proper handling of heat is key, coupled with ensuring we hit the safe internal temperature. I always have my oven preheated before I even measure out the spices. Remember, this is all about efficiency so we can eat sooner!
Marinating and Initial Bake
First things first: get that oven warmed up to 400°F (200°C) and grease your baking dish! While it heats, mix up that zesty marinade—lime juice, oil, and all those gorgeous spices. Toss your chicken in it. Since we’re keeping this under 40 minutes total, 15 minutes is plenty of time for the marinade to start doing great work. After that quick soak, lay those gorgeous pieces in your prepared dish and pop them in for their first bake—that’s 15 minutes of high-heat searing!
Applying the Topping and Finishing the Fiesta Lime Chicken
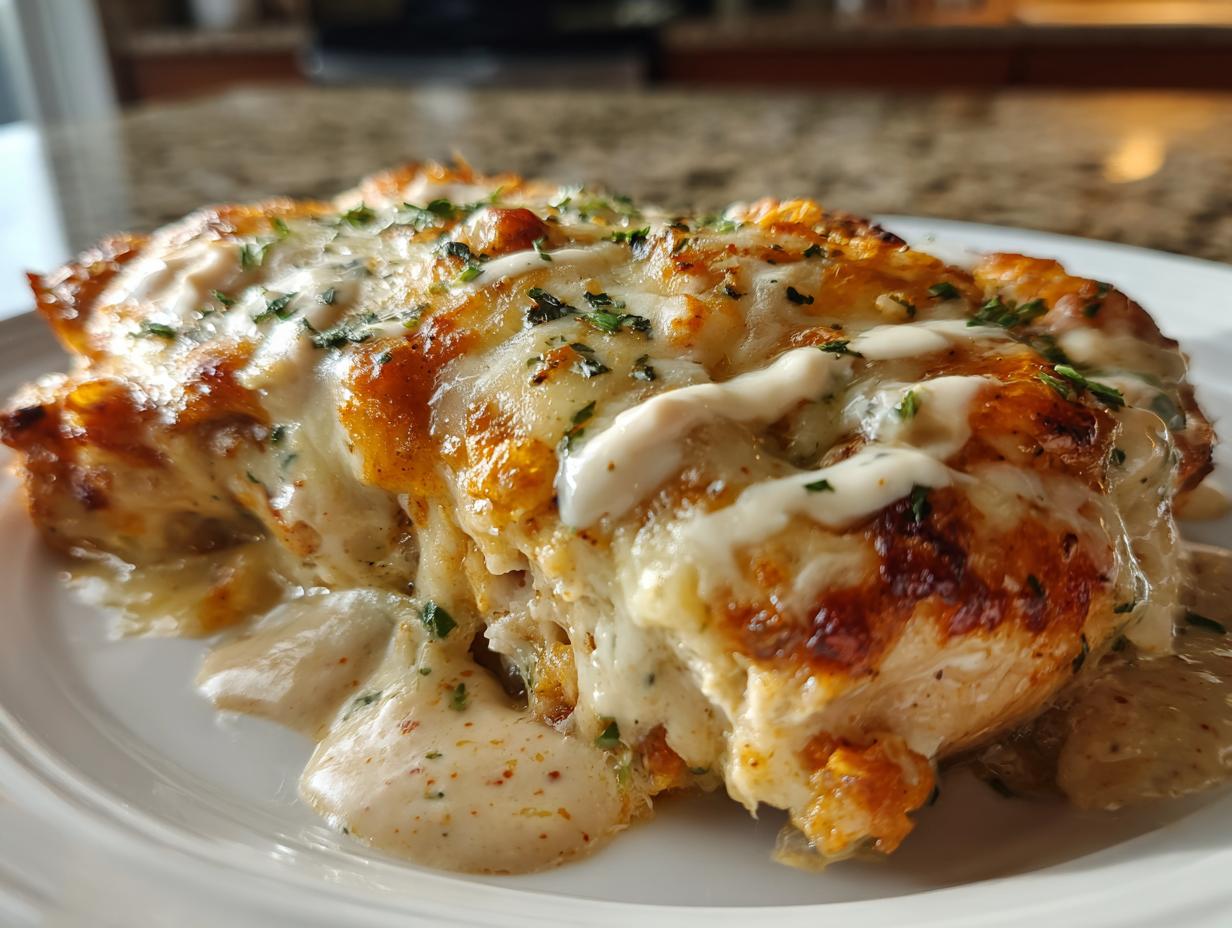
When those 15 minutes are up, pull them out carefully; watch your fingers, that dish is hot! Now, spoon that creamy Salsa Ranch dressing evenly over each piece of chicken. Don’t be shy with it! Then, completely cover that dressing layer with your Monterey Jack cheese. Pop it back into that 400°F oven for just another 5 to 10 minutes. We are looking for two things: the internal temperature must hit a safe 165°F (74°C) and the cheese needs to be totally melted and beautifully bubbly. This final step seals in all those lime juices we worked so hard to infuse into our **fiesta lime chicken**!
If you want to see how I handle baking thicker cut chicken breasts for other recipes, check out my tips for Garlic Parmesan Chicken Bake, because moisture control is my specialty!
Pro Tips for Juicy Oven Baked Chicken Success
When I was developing this recipe, the one thing I stressed about—even with my food science background—was keeping the chicken breast from drying out. That is the absolute nemesis of a good **Juicy Oven Baked Chicken** experience! Because you’re working with poultry that cooks fast at high heat, you need to be a little strategic. My trick, which I use for almost all my baked chicken recipes, is ensuring the marinade has enough oil to assist with moisture transfer, and crucially, taking it out *just* when it hits temperature safety. I never rely solely on time; I rely on the thermometer. If you want my exact technique for keeping chicken moist across the board, check out my tips for crispy, juicy chicken—the same principles apply here!
Grilling Variations for Fiesta Lime Chicken
While I baked this version because it’s so fast and easy for a busy weeknight, I know many of you love firing up the grill, especially when those bright lime flavors are involved! If you want to take this **fiesta lime chicken** outside, you absolutely can. Just put those marinated pieces on a preheated grill over medium-high heat. You’re looking for about 6 to 7 minutes per side to get those nice char marks. Now, here’s the critical part to get that restaurant cheese top: once you flip them for the last time, you need to act fast! Put the Salsa Ranch and cheese on top, and then immediately tent the grill with foil—or move the pan right under the broiler for just a minute or two while watching it like a hawk. This melts the cheese perfectly without overcooking the meat underneath. It’s a different technique, but totally worth it for that smoky flavor. You can see a similar grilling tip referenced over at Dishicious when they tackle their version!
Serving Suggestions for Your Flavorful Lime Chicken Dinner
So, you’ve got this perfect, cheesy, zesty chicken—now what goes next to it on the plate? You can’t just eat a masterpiece like this **fiesta lime chicken** by itself, right? To keep that authentic restaurant vibe, you absolutely need classic sides. My go-to, hands down, is my own version of cilantro lime rice; it brightens everything up beautifully. You can find my favorite recipe for it here: smoky cilantro lime rice.
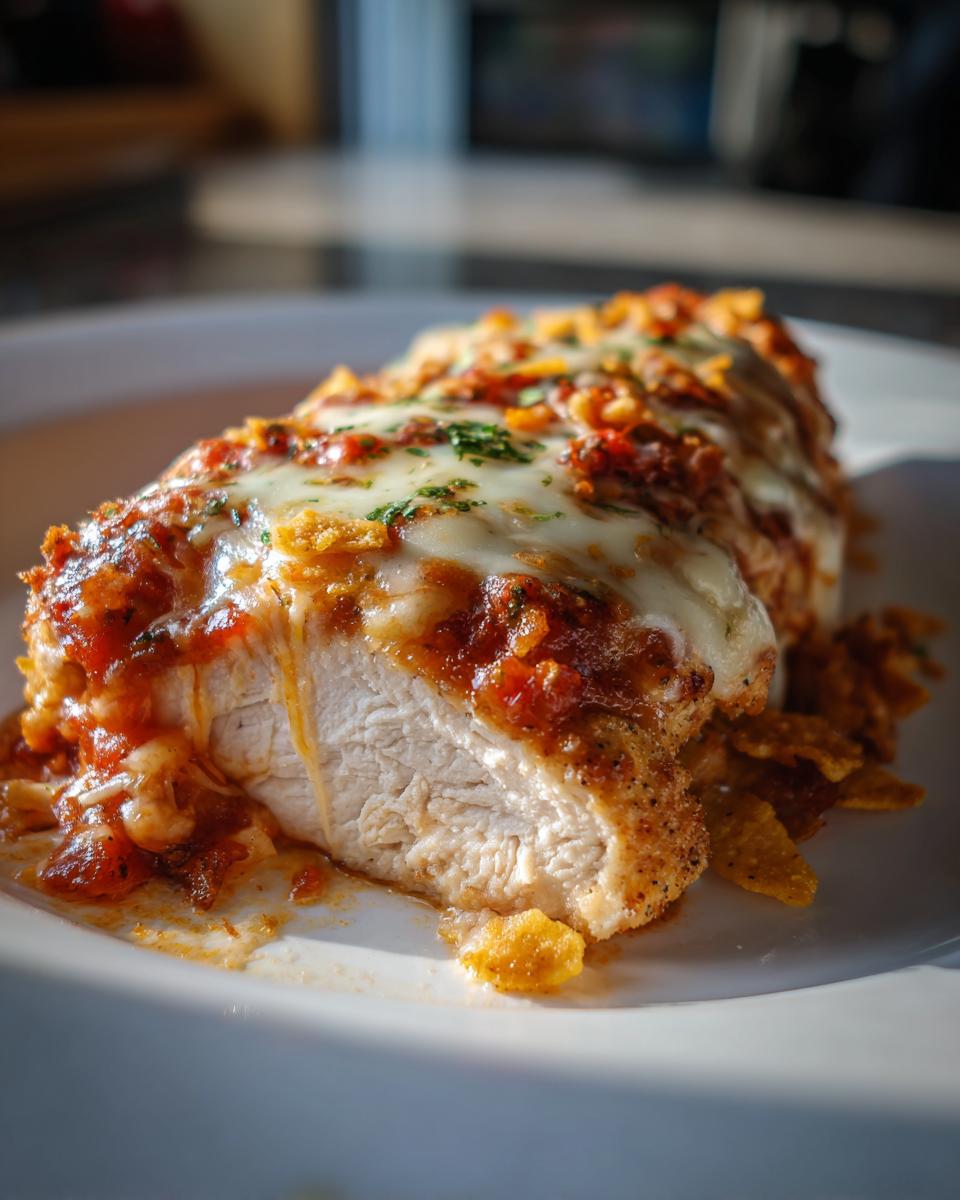
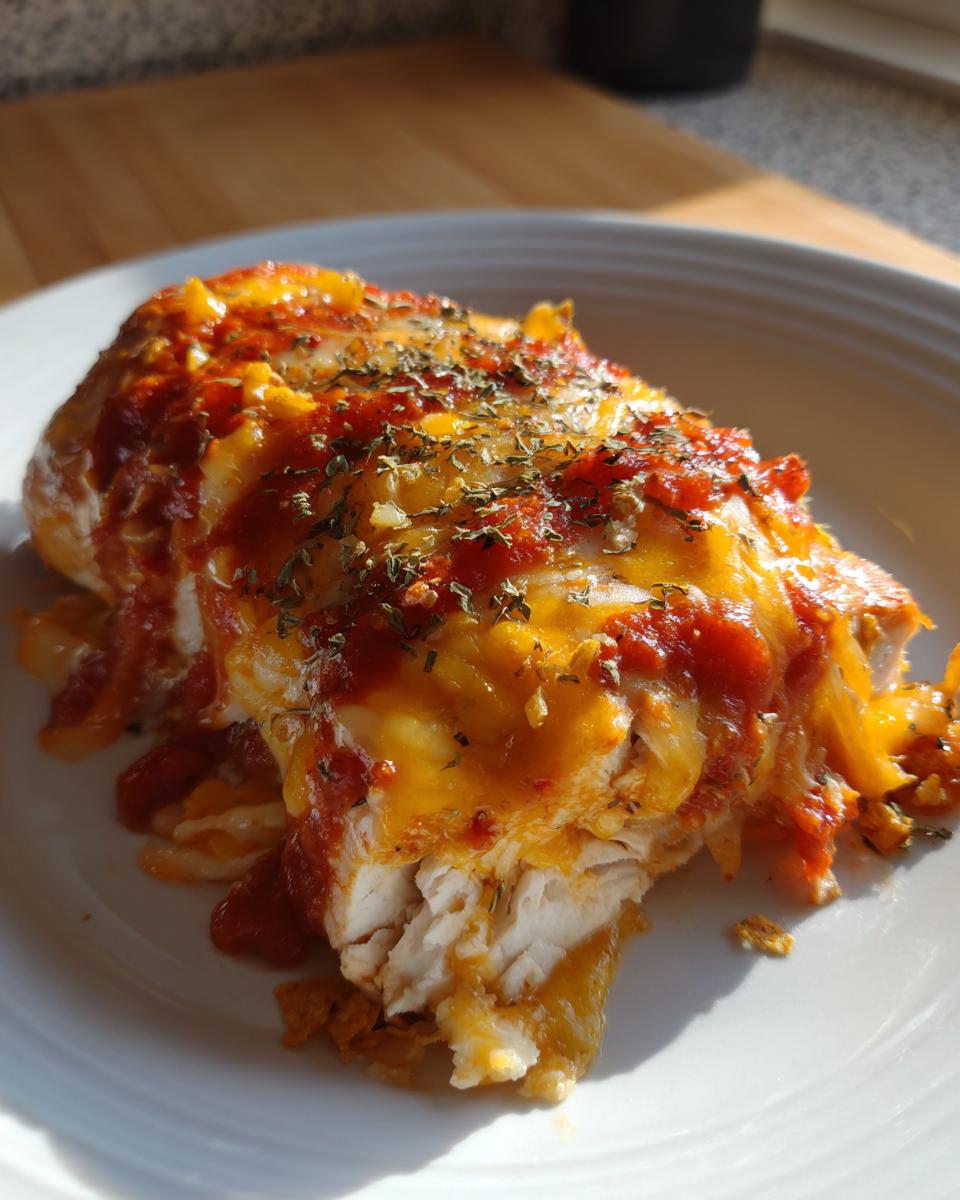
Of course, crushed tortilla chips are mandatory for that final salty crunch right on top! If you are looking to go even fresher, ditch the rice just one night and try topping your chicken with a vibrant corn and avocado salsa instead. Believe me, that fresh creaminess cuts right through the richness of the cheese and is amazing, just like what the folks at Yum Sprint suggest for a different twist!
Storage and Reheating Instructions for Fiesta Lime Chicken
I always make sure to have leftovers because this **fiesta lime chicken** is fantastic for lunch the next day, especially if you’re into saving time with meal prep! The key to ensuring your leftovers taste almost as good as fresh is proper storage from the beginning. Once the chicken has cooled down completely—and I mean *completely*—put your portion into a truly airtight container. Do not try to save it while it’s still warm; that’s how you introduce condensation and risk everything getting soggy!
When it’s time to reheat, we need gentle warmth to bring back that juiciness we worked so hard for in the oven. I avoid the microwave if I can, because those things heat unevenly and can turn that delicious breast rubbery fast. My preferred method is reheating in a conventional oven at a low temperature, maybe 300°F (150°C), covered tightly with foil. This steams the chicken slightly and melts the cheese back into a creamy topping. If you absolutely must use the microwave, use short 30-second bursts and cover the dish with a damp paper towel to help keep the moisture locked in.
For those of you prepping for the week, this freezes beautifully too! Just make sure you don’t put the tortilla chip topping on until serving time, or they get instantly soft. If you’re interested in other quick, make-ahead meals that fit right into a busy schedule, you should definitely check out my section on Healthy Fiesta Chicken Meal Prep ideas, which often overlap with dinner leftovers!
Frequently Asked Questions About Fiesta Lime Chicken
I knew you’d have questions! When you’re trying to recreate a restaurant favorite like this **fiesta lime chicken**, it’s natural to wonder about swaps or tweaks. Don’t worry, based on all my testing, I have solid answers for you. These little details are what make the difference between a good dinner and a spectacular one!
Can I use chicken thighs instead of breasts for this fiesta lime chicken?
Oh, absolutely! Chicken thighs are actually fantastic here because they inherently have more fat, making them almost impossible to dry out. The main thing you’ll need to adjust is the cooking time. Since breasts are usually thinner and leaner, they cook faster when baked. If you use bone-in or skin-on thighs, you’ll definitely need to add about 10 to 15 minutes to that baking time, aiming for that safe 165°F internal temperature within the thickest part of the meat. Just keep an eye on them!
What kind of ranch makes the best Creamy Salsa Ranch Chicken Bake topping?
This is super important for the topping texture! You want a ranch that is already quite thick, like a traditional buttermilk ranch, not one of those thinner, pourable varieties. If you use a thinner ranch, the topping will run right off the chicken before the cheese melts. My recommendation, like I mentioned above, is to start with a good thick ranch and stir in just a spoonful or two of salsa until it reaches a creamy, almost frosting-like consistency. This creates that perfect signature **Creamy Salsa Ranch Chicken Bake** envelope for your cheese!
How can I make this recipe spicier or more like a Smoky Lime Chicken Recipe?
If you like a deeper, smokier back-note to your Tex-Mex dishes, we can totally amp up the spice in that marinade! To easily transition this into a **Smoky Lime Chicken Recipe**, I suggest adding about 1/2 teaspoon of chipotle powder right along with your cumin and chili powder. Chipotle powder gives you a wonderful smoky heat that pairs perfectly with the lime. Alternatively, if you want pure kick without the smoke, a pinch of cayenne pepper works instantly. Remember, the Salsa Ranch topping helps cool things down slightly, so don’t be afraid to play with the spice level in the marinade!
Understanding the Nutrition of This Tex Mex Chicken Recipe
Now, I know that for some of you, enjoying this incredible **fiesta lime chicken** isn’t just about the taste—it’s about knowing what you’re putting into your body, too! Because I have that background in food science, I always try to give you a baseline idea of the nutrition here. Remember, this is just an estimated snapshot based on the ingredients listed for one breast serving, not counting any sides you add like rice or extra salsa. I always say, tracking your macros is easier when you start with a reliable base recipe like this!
If you’re focusing on low-carb meals or tracking your protein intake, this recipe is actually fantastic for fitting into those goals since it’s loaded with clean protein. You can find more information about balancing your meals over on my Healthy Breakfast section, but here is the estimated breakdown for our fantastic **Tex Mex Chicken Recipe**:
- Serving Size: 1 breast (without toppings)
- Calories: 380
- Protein: 45g (Wow! That’s a lot of staying power!)
- Fat: 18g (Keep in mind that includes the healthy olive oil and cheese!)
- Carbohydrates: 7g
- Fiber: 1g
- Sugar: 3g
- Sodium: 550mg (This is where the cheese and dressing can add up, so be mindful if you’re watching sodium intake.)
See? It’s much leaner than getting it prepared in the restaurant, especially since we control the amount of cheese and dressing we use! It’s a wonderful foundation for a **Healthy Fiesta Chicken Meal Prep** throughout the week.
Share Your Fiesta Lime Chicken Creations
Okay, you’ve made the ultimate **fiesta lime chicken** copycat! Now what? I absolutely live for hearing about your kitchen successes! Don’t just conquer that 40-minute dinner goal and move on—let’s celebrate it together!
I want to know how it turned out! Did you use the grilled method, or did you stick to the oven bake? Did you pair it with my cilantro lime rice, or did you go rogue with mango salsa? Your feedback helps me immensely and builds our community here at Cooking by Mia. I count on seeing your faces and reading your honest thoughts.
Please, take a second to rate this recipe right below—five stars if it earned its spot in your weekly rotation! If you snap a picture of your beautifully cheesy, zesty creation, tag me on social media! And if you have any burning questions that didn’t make it into the FAQ section, send them over via my Contact Page. Happy cooking, everyone!
PrintApplebee’s Copycat Fiesta Lime Chicken in Under 40 Minutes

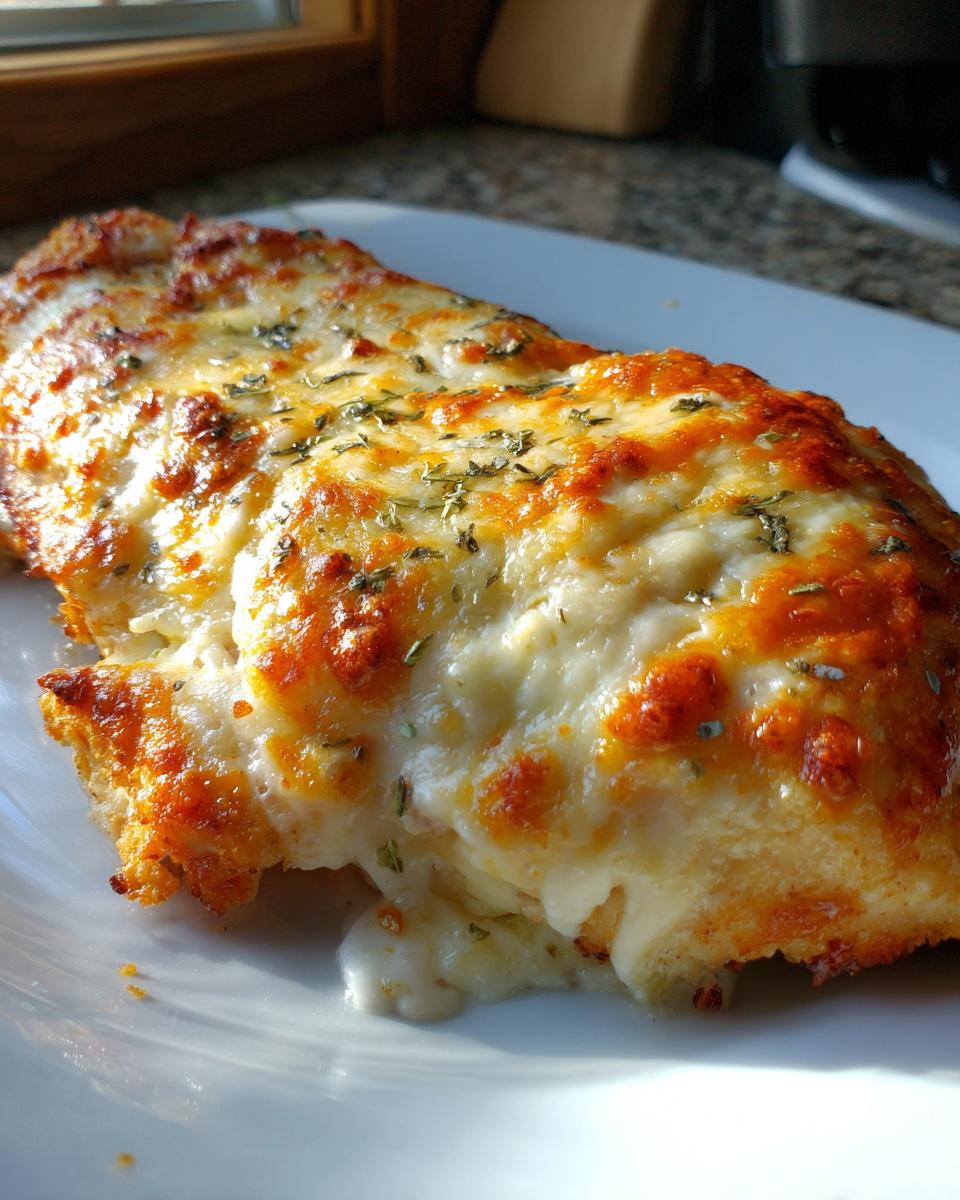
Make the best Applebee’s Fiesta Lime Chicken copycat recipe at home. This juicy chicken uses a zesty lime marinade, is topped with creamy Salsa Ranch dressing and melted cheese, and cooks fast enough for any busy weeknight.
- Prep Time: 15 min
- Cook Time: 25 min
- Total Time: 40 min
- Yield: 4 servings 1x
- Category: Dinner
- Method: Baking
- Cuisine: Tex-Mex
- Diet: Low Fat
Ingredients
- 4 boneless, skinless chicken breasts
- 1/4 cup lime juice, fresh
- 2 tablespoons olive oil
- 1 teaspoon chili powder
- 1 teaspoon ground cumin
- 1/2 teaspoon garlic powder
- 1/2 teaspoon salt
- 1/4 teaspoon black pepper
- 1/2 cup creamy Salsa Ranch dressing (or mix ranch dressing with a spoonful of salsa)
- 1 cup shredded Monterey Jack cheese
- 1/4 cup crushed tortilla chips, for topping
- Optional sides: Mexican rice, avocado salsa
Instructions
- Preheat your oven to 400°F (200°C). Lightly grease a baking dish.
- In a bowl, whisk together the lime juice, olive oil, chili powder, cumin, garlic powder, salt, and pepper to create the marinade.
- Place the chicken breasts in a shallow dish or zip-top bag. Pour the marinade over the chicken, ensuring it is fully coated. Let it marinate for at least 15 minutes while you prepare the oven.
- Place the marinated chicken breasts in the prepared baking dish.
- Bake the chicken for 15 minutes.
- Remove the dish from the oven. Spread an even layer of the Salsa Ranch dressing over each chicken breast.
- Sprinkle the shredded Monterey Jack cheese evenly over the dressing.
- Return the dish to the oven and bake for another 5 to 10 minutes, or until the chicken is cooked through (internal temperature reaches 165°F or 74°C) and the cheese is melted and bubbly.
- Remove from the oven. Let the chicken rest for 5 minutes before serving.
- Top each serving with crushed tortilla chips. Serve immediately with your choice of Mexican rice or fresh avocado salsa.
Notes
- For a grilled fiesta chicken variation, cook the marinated chicken on a preheated grill over medium-high heat for 6-7 minutes per side before adding the topping and melting the cheese under a foil tent or broiler for the last few minutes.
- You can prepare the creamy Salsa Ranch Chicken Bake topping ahead of time for quicker assembly on a busy weeknight.
- This recipe works well for healthy fiesta chicken meal prep; store leftovers in airtight containers for up to 3 days.
Nutrition
- Serving Size: 1 breast
- Calories: 380
- Sugar: 3
- Sodium: 550
- Fat: 18
- Saturated Fat: 8
- Unsaturated Fat: 10
- Trans Fat: 0
- Carbohydrates: 7
- Fiber: 1
- Protein: 45
- Cholesterol: 120