
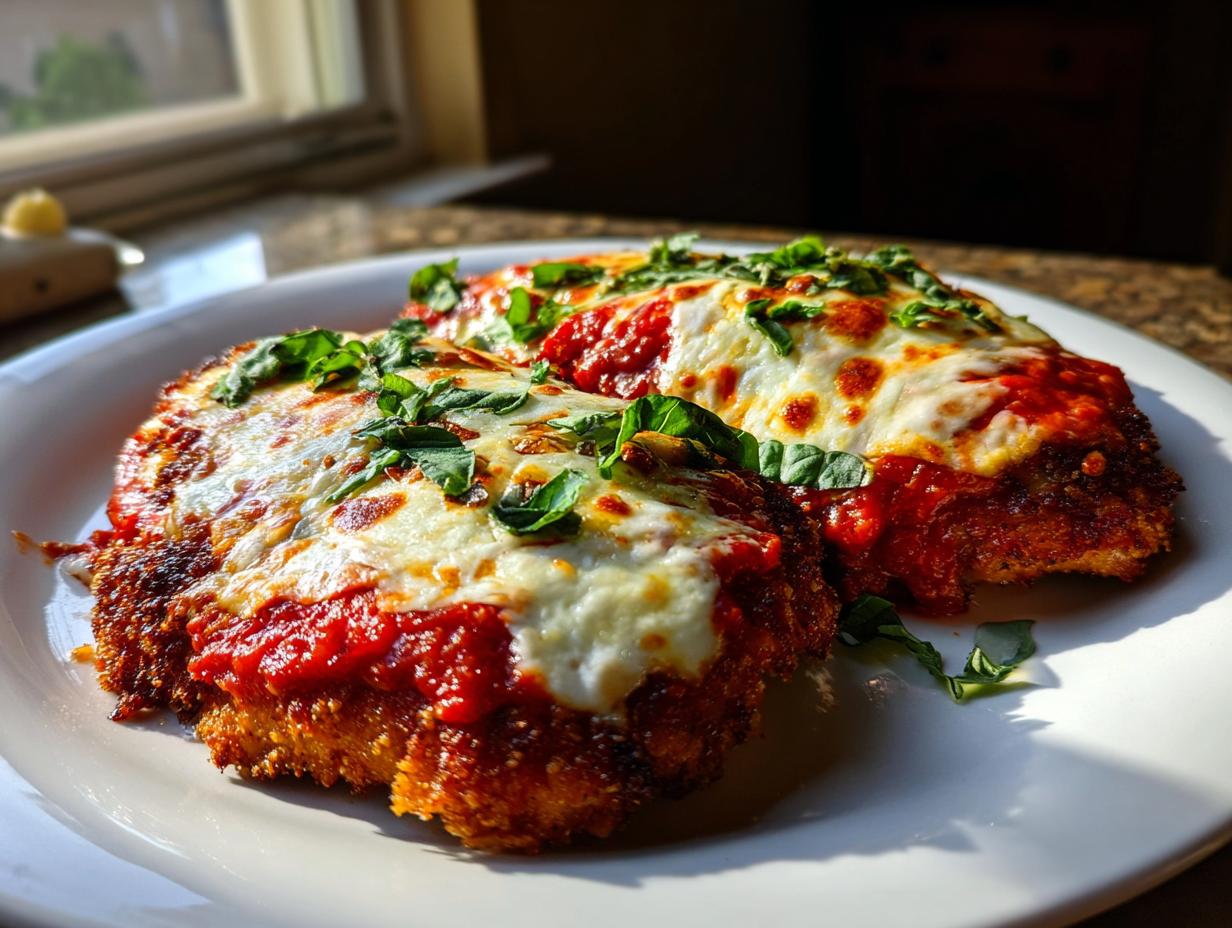
If you’re craving that towering, cheesy, deeply satisfying Italian comfort food experience but don’t want to compromise on texture, you’ve landed in the right spot! I’m Mia Rodriguez, and I believe turning out restaurant-quality food right in your own kitchen should be achievable, not exhausting. This isn’t just another recipe; this is the ultimate crispy yet juicy chicken parmesan recipe, perfected through years of culinary science and professional development. My background ensures we tackle the number one issue with this classic: the dreaded soggy crust. Trust me, we are locking in that crunch while keeping the chicken tender inside. Get ready to impress yourself! To learn more about my journey from Houston kitchens to the test lab, check out my story on Cooking by Mia.
- Why This Is The Best Chicken Parmesan Recipe
- Ingredients Needed for Your Chicken Parmesan Recipe
- How to Prepare the Crispy Chicken Parmesan Recipe Step-by-Step
- Tips for a Perfect Weeknight Italian Dinner
- Serving Suggestions for Your Homemade Chicken Parm
- Storage and Reheating the Chicken Parmesan Recipe
- Frequently Asked Questions About Making Chicken Parmesan
- Nutritional Data Estimate
- Share Your Homemade Italian Comfort Food
Why This Is The Best Chicken Parmesan Recipe
I promise you, this is the best Chicken Parmesan you’ll make at home. We focus only on what truly matters: massive flavor, a quick turnaround time for those busy evenings, and keeping that chicken tender. Forget dry, disappointing dinners! We are delivering incredible results every time, making this a true weeknight winner. You can find more easy recipes like this over on my Weeknight Dinners page.
- It delivers restaurant-quality crispiness without all the oil.
- The chicken stays incredibly juicy inside, guaranteed.
- It comes together in under 45 minutes, truly!
- That cheese stretch? Oh, it’s legendary.
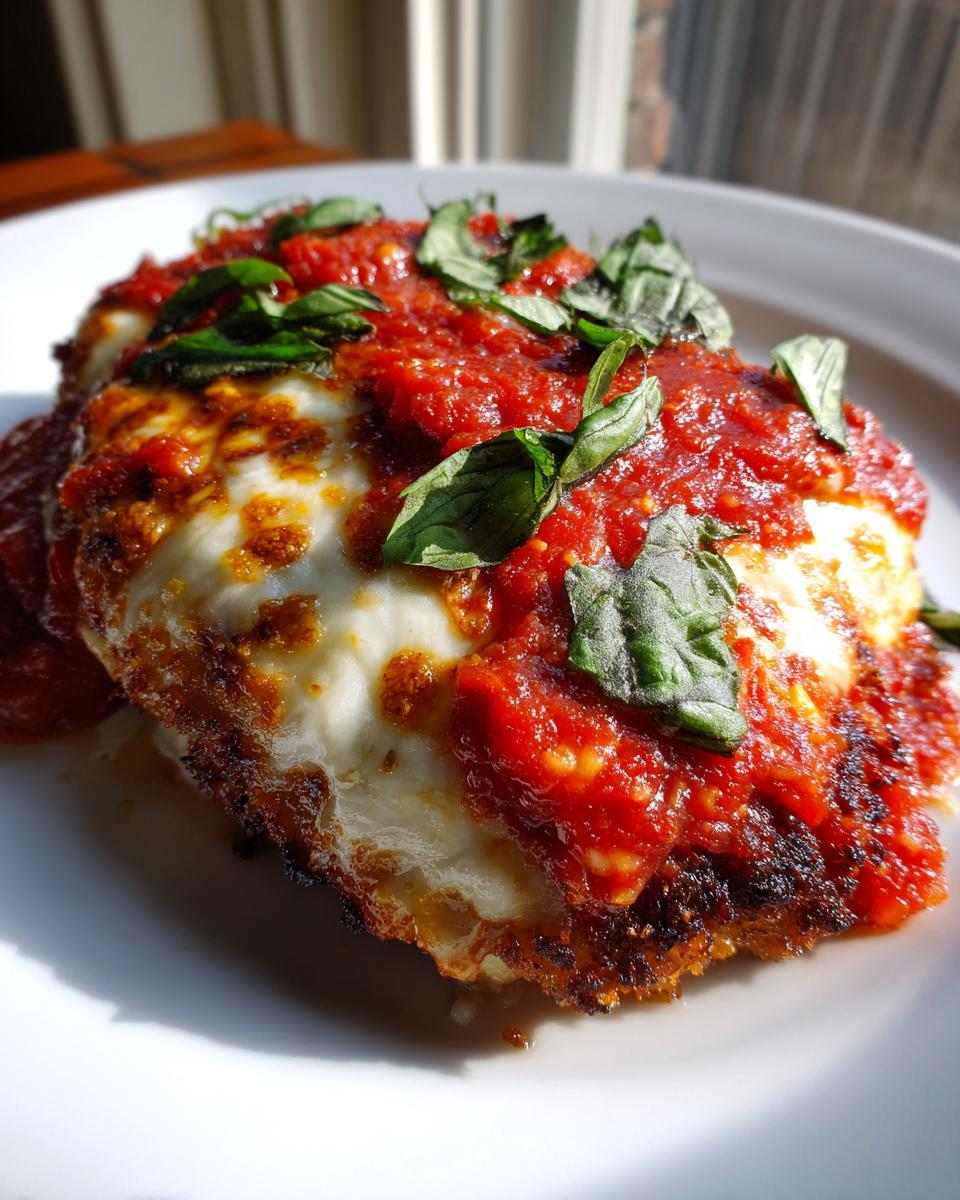
Achieving the Ultimate Crispy Chicken Parmesan Texture
The secret to zero sogginess lies in our specific Panko and Parmesan blend, friends. We aren’t stopping at just one layer of breading; we double-dip, making sure every piece of chicken gets a solid, thick coat of flavor. You need to press that Panko onto the cutlet firmly—don’t just sprinkle it on. This sturdy coating holds up beautifully against the sauce during the final bake, guaranteeing that fantastic, Crispy Chicken Parmesan crunch you crave.
Ingredients Needed for Your Chicken Parmesan Recipe
Shopping for this dish is simple, but prioritizing quality here really pays off! We need four main components: the chicken, the breading trio, the sauce, and of course, the cheese mountain on top. Don’t skimp on the marinara sauce; a high-quality, thick sauce makes a huge difference in the final flavor of your chicken parmesan recipe. I usually grab a good jarred sauce so we can keep this an easy weeknight meal, but feel free to use your own Sunday favorite if you have it simmering! You can look at my Easy Dorito Casserole Recipe if you need a quick, cheesy side dish!
- 4 boneless, skinless chicken breasts, about 6 ounces each
- 1 cup all-purpose flour
- 2 large eggs, lightly beaten
- 1 tablespoon water
- 1 1/2 cups Panko breadcrumbs
- 1/2 cup grated Parmesan cheese, plus more for topping
- 1 teaspoon garlic powder
- 1/2 teaspoon dried oregano
- 1/2 teaspoon salt
- 1/4 teaspoon black pepper
- 1/4 cup olive oil, for pan-frying
- 2 cups quality marinara sauce
- 8 ounces fresh mozzarella cheese, sliced or shredded
- Fresh basil leaves, for garnish
Ingredient Notes and Substitution Tips
The success of this recipe hinges on a couple of key pointers. First, pound those chicken breasts evenly to about 1/2-inch thick—this ensures they cook fast and stay juicy. Thickness matters! For the cheese, I swear by fresh mozzarella if you can find it; it melts beautifully, but even good quality low-moisture shredded works if you’re trying to save time. Remember, every ingredient choice impacts how close you get to that perfect chicken parmesan recipe.
How to Prepare the Crispy Chicken Parmesan Recipe Step-by-Step
Okay, let’s get busy! This is where the magic happens, and trust me, it’s fast enough for any Tuesday. First things first, you need to get that oven preheated to 400°F and grease up a baking dish so nothing sticks later. While that warms up, grab your plastic wrap and get pounding those chicken breasts until they are an even half-inch thick. This step is non-negotiable if you want fast, even cooking. I find pounding them out makes me feel super capable, like I’m taking charge of my dinner! If you’re looking for other quick meals for busy days, check out my tips for Easy Lunch recipes.
Mastering the Dredging Process for Maximum Crunch
We need three shallow dishes set up: flour first, then the egg wash (whisked eggs and a splash of water), and finally, our crunchy coating. That coating needs the Panko, the Parmesan, garlic powder, oregano, salt, and pepper all mixed well in that third dish. When you dredge, coat completely in the flour, shake off the excess, dip it into the egg, and then—this is vital—press the chicken firmly down into the Panko mixture. You’ve got to press it in there so you build a really substantial crust for that amazing Crispy Chicken Parmesan texture.
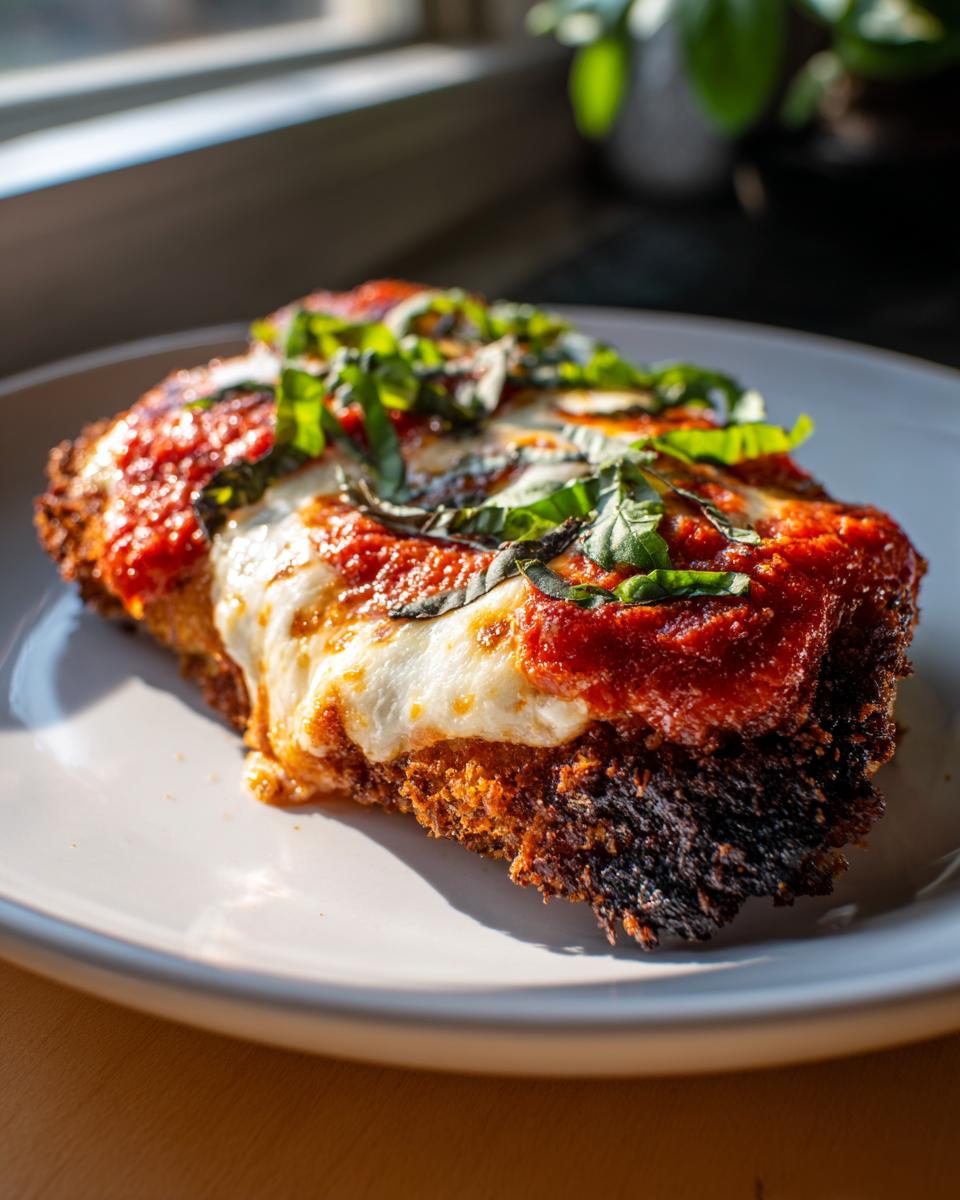
The Pan-Fry and Bake Method for Juicy Chicken Parmesan
We are pan-frying first, but don’t worry, it’s quick! Heat your oil over medium-high heat. Fry each cutlet for just 2 to 3 minutes per side until it’s gorgeously golden brown. It won’t be cooked through, and that’s perfect! It’s just coloring the crust and setting that crunch before it hits the oven. Pop those golden beauties into your baking dish. Now, spoon your marinara sauce over the top of each piece, and lay your mozzarella and that extra Parmesan on thick. This two-step process ensures a Juicy Chicken Parmesan interior while the cheese melts perfectly during the bake.
Tips for a Perfect Weeknight Italian Dinner
Because this is such a satisfying meal, you might think it takes hours, but this Weeknight Italian Dinner hero comes together so fast! The initial pan-fry is key for speed, giving us color fast. Once it’s sauced and cheesed, you’re basically just waiting for that cheese to melt during the bake.
Here’s a little trick I picked up working in busy kitchens: if your cheese isn’t browning quite enough in the oven, pull the dish out and put it under the broiler for just a minute or two. Watch it like a hawk, though—that broiler is aggressive! This gives you that gorgeous, restaurant-style golden top without overcooking the chicken underneath. You can find more quick family ideas linked over at my Weeknight Dinners section!
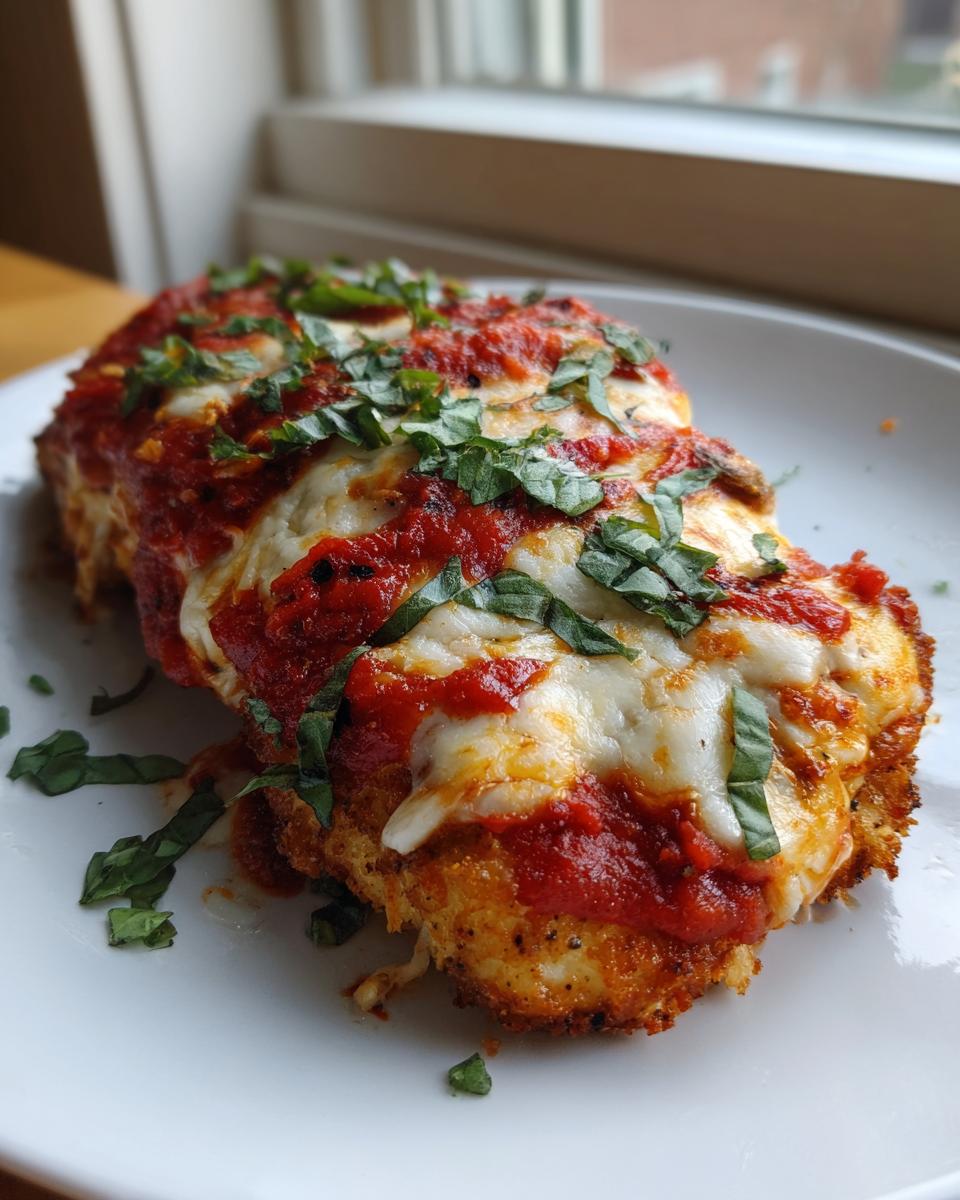
Serving Suggestions for Your Homemade Chicken Parm
Once you pull that amazing, cheesy chicken out of the oven, you need the perfect supporting cast! Since this is Classic Italian Comfort Food, you usually can’t go wrong with a big bowl of spaghetti underneath to catch all those extra sauce drips. But if you want to mix it up, some buttery garlic bread is mandatory for wiping the plate clean. For something lighter that still feels traditional, a simple side salad with a bright vinaigrette cuts through the richness perfectly. If you’re looking for a slightly unexpected, truly comforting side, you might want to check out my recipe for Silky Southern Collard Greens—it’s unexpectedly fantastic alongside this Italian star!
Storage and Reheating the Chicken Parmesan Recipe
Listen, this chicken parmesan recipe is so good, you’ll definitely have leftovers! Store any extra pieces right in the baking dish (covered tightly) or an airtight container in the fridge for up to three days. When you’re ready for round two, skip the microwave, please! Resist that urge!
The best way to resurrect that beautiful crunch is to reheat it in a toaster oven or a regular oven set at 375°F (190°C). It only takes about 10 to 12 minutes. This warms the chicken through gently, keeps the cheese melty, and you won’t get that sad, steamed breading. It’s worth the extra three minutes, trust me!
Frequently Asked Questions About Making Chicken Parmesan
It’s natural to have questions when you’re aiming for that perfect, cheesy chicken bake! I get asked the same things all the time in my DMs, so I pulled the top ones here for you. If you’re wondering about the sauce, I can’t stress this enough: use the best quality marinara you can afford or make. That sauce carries so much flavor in the final dish. If you follow my tips here, you won’t end up with dry chicken because we are careful with that pan-frying time!
If you’re looking for privacy details on the site, you can always check out my Privacy Policy, but let’s get back to dinner!
Can I make this a Baked Chicken Parmesan without frying?
Yes, absolutely! If you need to skip the stovetop, I included notes in the recipe for that. You’ll just need to lightly spray the breaded cutlets with cooking spray and bake them at 400°F for a longer time, maybe 10 minutes, before adding your sauce and cheese. It won’t get that super deep golden color from the oil, but it’s still a great path to a fantastic Chicken Parmesan Dinner Idea.
Why is my chicken parmesan always soggy?
Sogginess is usually caused by one of two things: either the breading wasn’t pressed on firmly enough (we need adhesion!), or the sauce was too watery and overwhelmed the crust before it baked. Make sure you really press that Panko on during the dredging step. Also, using a thicker, richer marinara helps protect the crust!
Do I have to use Panko breadcrumbs?
I highly recommend Panko for this Homemade Chicken Parm. They are lighter and flakier than standard breadcrumbs, which is how we achieve that restaurant-style crunch. If you don’t have them, you can use finely ground dried breadcrumbs, but I definitely notice a difference in the final texture.
Nutritional Data Estimate
Now, let’s talk fuel! Because we are using quality ingredients—chicken breast, olive oil for that initial sear, and plenty of fresh mozzarella—this dish is hearty, but it’s absolutely worth it. I calculated the estimates based on serving one cutlet as detailed in the recipe measurements.
- Calories: Approximately 580 per serving
- Protein: Around 45g (That’s great for feeling full!)
- Fat: About 30g total
- Carbohydrates: Roughly 35g
- Sodium: Around 750mg
I always keep a close eye on these numbers as a food scientist, but please remember these are just estimates, friends! Your exact sodium and fat content will vary a bit based on the brand of marinara sauce you choose and exactly how much cheese you pile on top. If you ever need to reach out with questions about the recipe or anything else kitchen-related, hop over to my Contact Page!
Share Your Homemade Italian Comfort Food
I truly hope this becomes your next Family Favorite Dinner! If you made this ultimate chicken parmesan recipe, please come back and drop a comment below with your star rating—I love hearing what you think! Snap a photo of your cheesy creation and tag me on social media; seeing your success makes my day. If you’re looking for ideas for a sweet finish, don’t forget to check out my collection of Dessert Recipes!
PrintThe Ultimate Crispy Chicken Parmesan Recipe
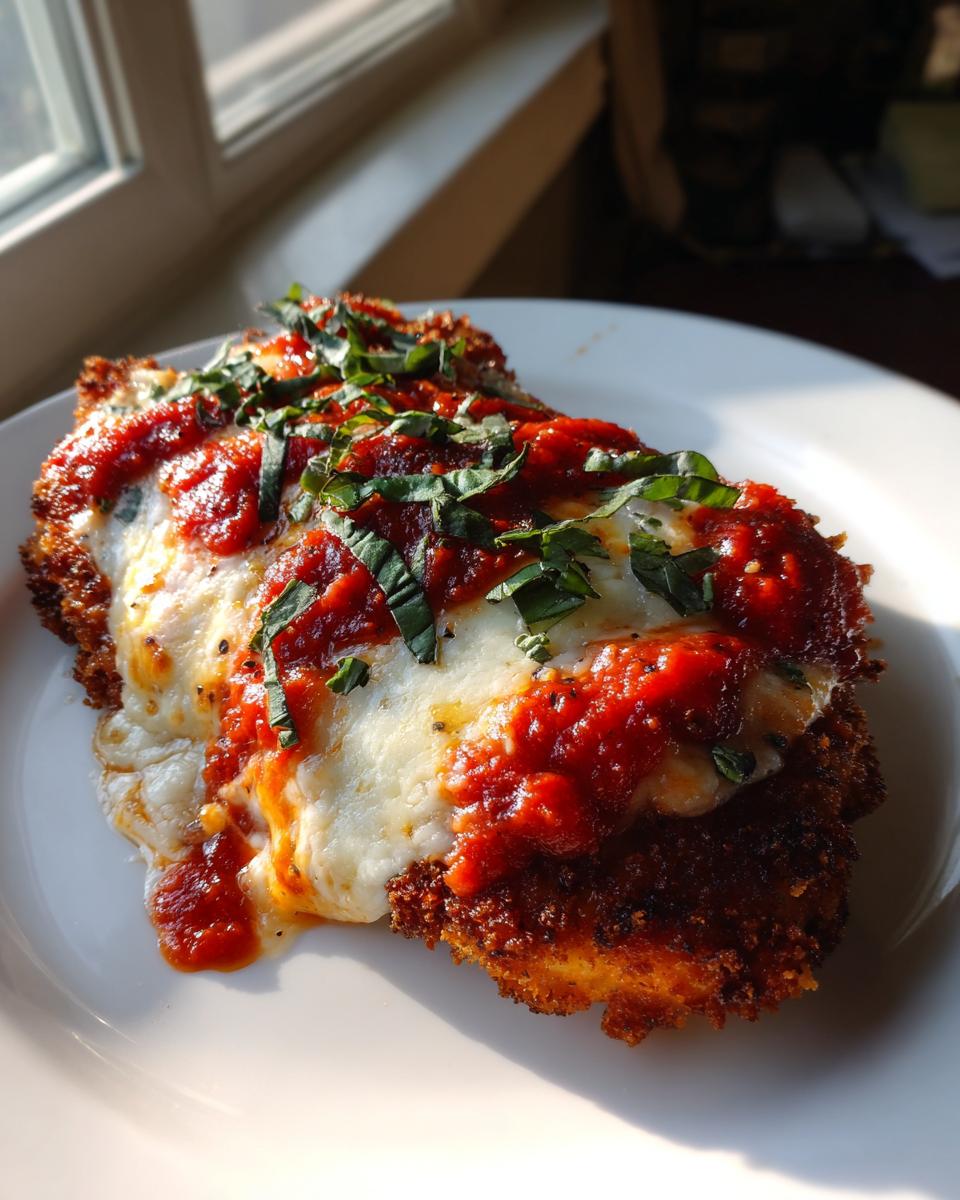
Make restaurant-style Chicken Parmesan at home. This recipe focuses on achieving a perfectly crispy crust on juicy chicken cutlets, smothered in marinara sauce and melted mozzarella and Parmesan cheese. It is quick enough for a weeknight dinner.
- Prep Time: 15 min
- Cook Time: 25 min
- Total Time: 40 min
- Yield: 4 servings 1x
- Category: Dinner
- Method: Pan-Frying and Baking
- Cuisine: Italian-American
- Diet: Vegetarian
Ingredients
- 4 boneless, skinless chicken breasts, about 6 ounces each
- 1 cup all-purpose flour
- 2 large eggs, lightly beaten
- 1 tablespoon water
- 1 1/2 cups Panko breadcrumbs
- 1/2 cup grated Parmesan cheese, plus more for topping
- 1 teaspoon garlic powder
- 1/2 teaspoon dried oregano
- 1/2 teaspoon salt
- 1/4 teaspoon black pepper
- 1/4 cup olive oil, for pan-frying
- 2 cups quality marinara sauce
- 8 ounces fresh mozzarella cheese, sliced or shredded
- Fresh basil leaves, for garnish
Instructions
- Preheat your oven to 400 degrees Fahrenheit (200 degrees Celsius). Lightly grease a baking dish large enough to hold the chicken.
- Prepare the chicken cutlets: Place each chicken breast between two sheets of plastic wrap. Pound them to an even 1/2-inch thickness using a meat mallet.
- Set up the dredging stations: In one shallow dish, place the flour. In a second dish, whisk the eggs and water together. In a third dish, combine the Panko breadcrumbs, 1/2 cup Parmesan cheese, garlic powder, oregano, salt, and pepper.
- Dredge the chicken: Coat each cutlet first in the flour, shaking off excess. Dip it into the egg mixture, allowing excess to drip off. Finally, press the cutlet firmly into the Panko mixture to ensure a thick, even coating.
- Pan-fry for crispness: Heat the olive oil in a large skillet over medium-high heat. Working in batches if necessary, pan-fry the breaded chicken for 2 to 3 minutes per side until golden brown. The chicken will not be fully cooked at this stage. Place the browned cutlets in the prepared baking dish.
- Assemble the parmesan: Spoon about 1/4 cup of marinara sauce over the top of each cutlet. Top generously with the sliced or shredded mozzarella cheese, followed by a light sprinkle of extra Parmesan cheese.
- Bake: Bake for 12 to 15 minutes, or until the chicken is cooked through (internal temperature reaches 165 degrees Fahrenheit) and the cheese is melted and lightly golden.
- Rest and serve: Let the chicken rest for 5 minutes before serving. Garnish with fresh basil. Serve immediately over pasta or with a side salad.
Notes
- For extra crispy results when baking, you can briefly place the assembled chicken under the broiler for the last 1-2 minutes, watching carefully to prevent burning.
- Use a high-quality, thick marinara sauce; this makes a big difference in the final flavor of your cheesy chicken bake.
- If you prefer a baked-only method to skip frying, spray the breaded cutlets lightly with cooking spray and bake at 400°F for 10 minutes before adding sauce and cheese.
Nutrition
- Serving Size: 1 cutlet
- Calories: 580
- Sugar: 8
- Sodium: 750
- Fat: 30
- Saturated Fat: 12
- Unsaturated Fat: 18
- Trans Fat: 0.5
- Carbohydrates: 35
- Fiber: 3
- Protein: 45
- Cholesterol: 140