
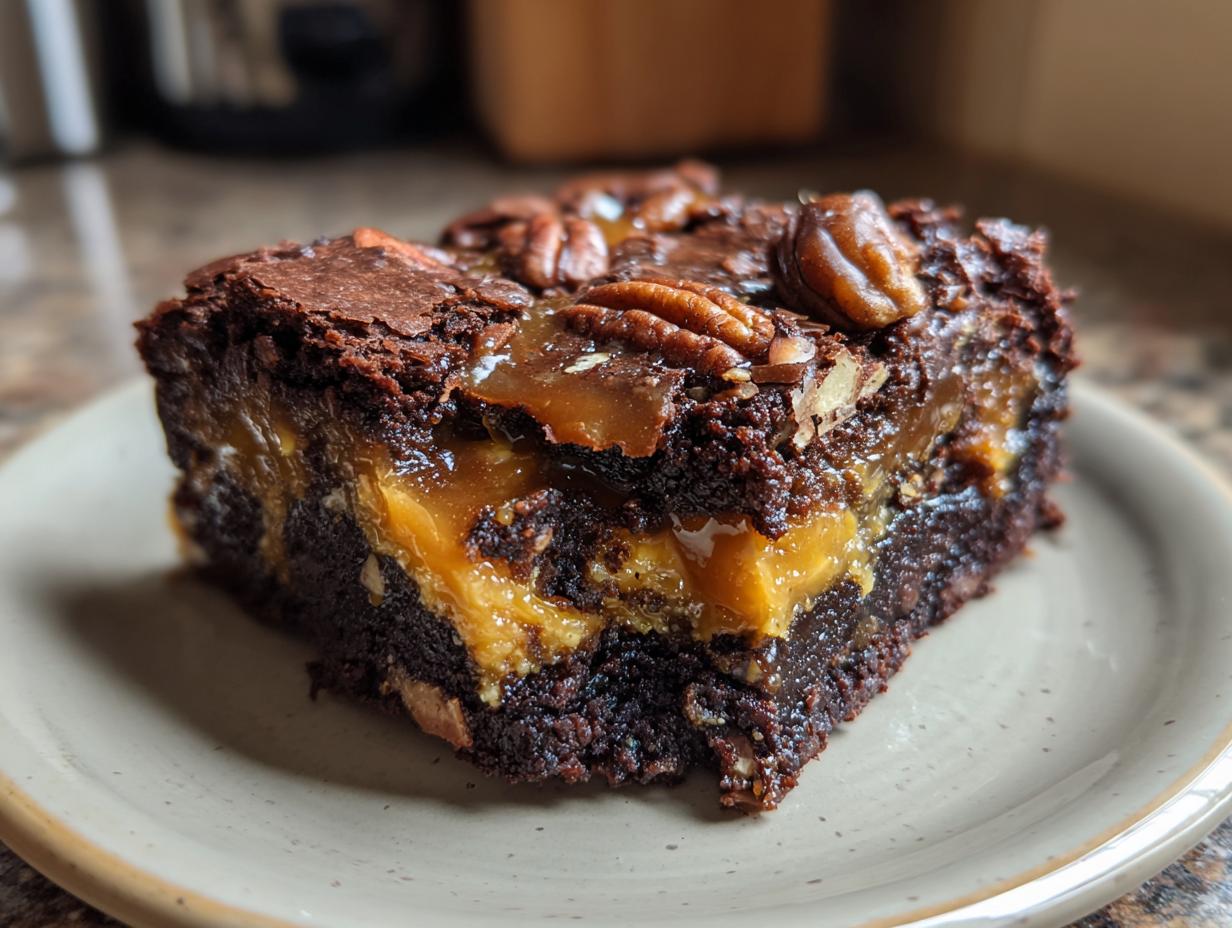
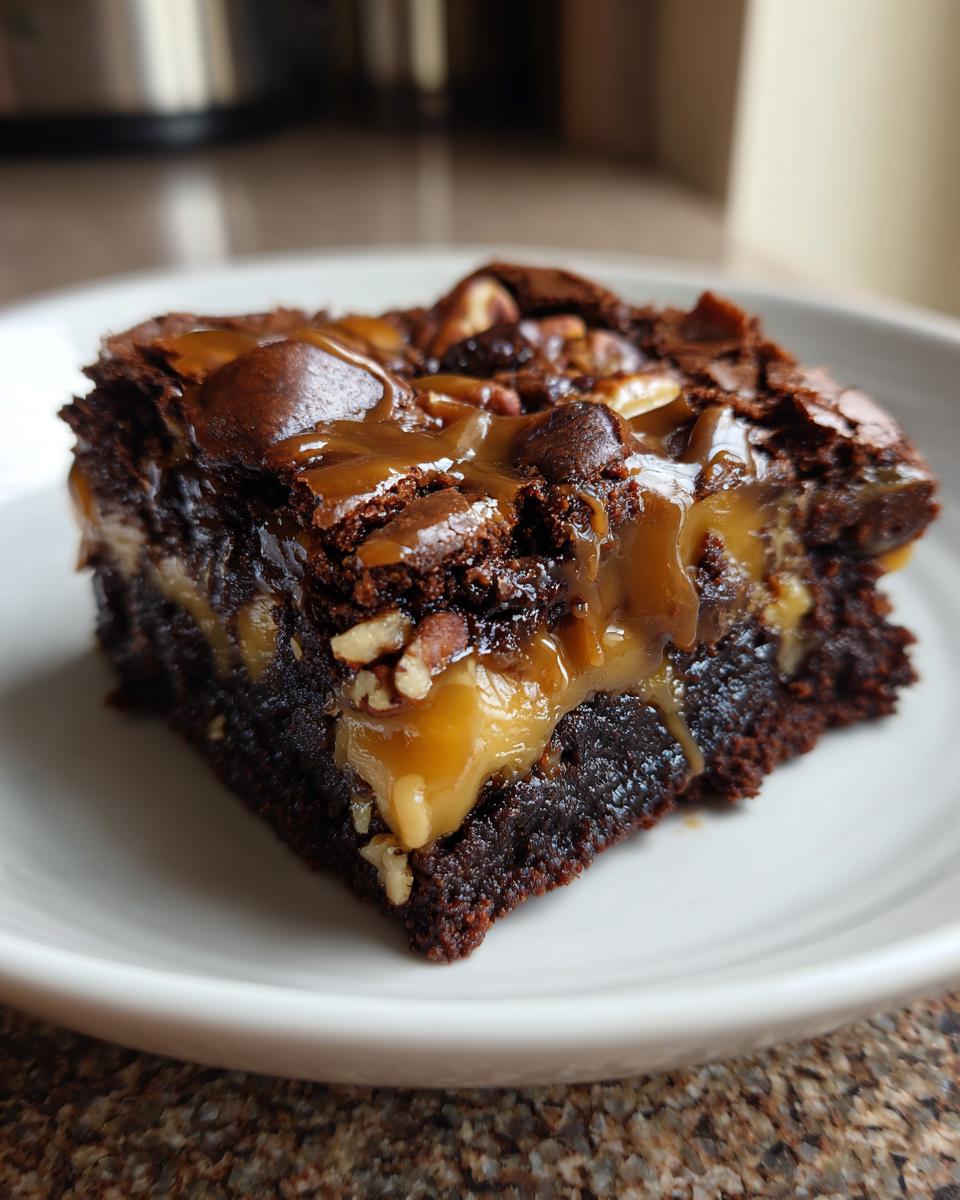
When you need a dessert that screams indulgence, forget everything else—we’re talking about the ultimate chocolate experience! These **turtle brownies** are everything you dream about when you crave that perfect combination of rich, dark chocolate, gooey caramel, and crunchy pecans all rolled into one magnificent bar. Developing this recipe took some serious testing; coming from a background where flavor precision matters, I made sure this version guarantees that fudgy, chewy texture every single time, with zero sinking caramel surprises.
Trust me, once you try these **chocolate caramel nut bars**, they’ll become your new go-to for impressing absolutely everyone. We’ve nailed the balance here between decadent flavor and reliable results.
- Why You Will Love These Turtle Brownies Recipe
- Essential Ingredients for Perfect Turtle Brownies
- Equipment Needed for Making Chocolate Caramel Nut Bars
- Step-by-Step Instructions for Fudgy Turtle Brownies Recipe
- Tips for Success When Baking Gourmet Brownie Idea
- Storing and Reheating Your Delicious Turtle Brownies
- Frequently Asked Questions About Caramel Pecan Brownies
- Estimated Nutritional Information for Turtle Brownies
- Share Your Decadent Turtle Brownies Experience
Why You Will Love These Turtle Brownies Recipe
Honestly, I think this might be the best thing I’ve ever pulled out of my oven! If you’ve been searching for that perfect **gourmet brownie idea**, stop right here. This isn’t just a brownie; it’s an experience. You get that intense chocolate flavor I learned to respect from my time in professional kitchens, but with the comfort of home baking.
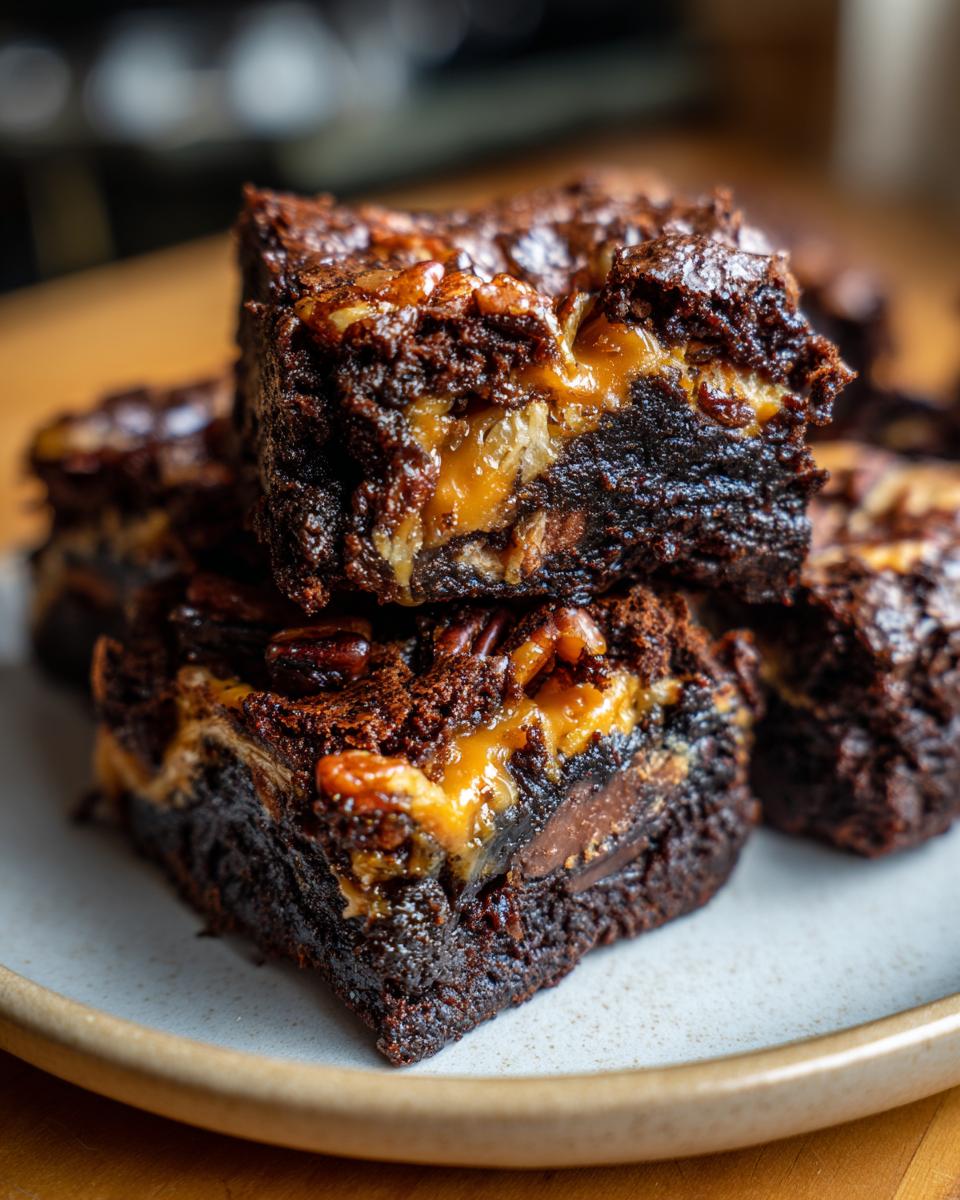
- Unbelievably Fudgy Texture: We nail that dense, rich middle layer. These bars are chewy all the way through, exactly how a proper brownie should be—no cakey business here!
- Gooey Caramel Pockets: The layering technique we use means you get pockets of warm, soft caramel in almost every bite. It’s truly spectacular when warm.
- That Classic Turtle Flavor: The combination of dark chocolate, sweet caramel, and salty, crunchy pecans is just magic. It hits every note you want in a **chocolate caramel nut bar**.
- Surprisingly Simple Assembly: Even though they look incredibly fancy, these **caramel pecan brownies** come together fast. Once the layers are set, the oven does the heavy lifting for you!
Essential Ingredients for Perfect Turtle Brownies
When we’re aiming for that truly decadent experience, the ingredients really matter. These aren’t cookies; they’re structured like a fancy dessert bar, so we need specific components to hold up to all that gooey goodness. Remember, everything here is for one 9×13 pan, which makes plenty for sharing—or, let’s be honest, for enjoying yourself!
- 1 cup unsalted butter, melted
- 2 cups granulated sugar
- 4 large eggs
- 1 teaspoon vanilla extract
- 3/4 cup unsalted cocoa powder (make this a good one!)
- 1 cup all-purpose flour
- 1/2 teaspoon salt
- 1/2 teaspoon baking powder
- 1 cup semi-sweet chocolate chips
- 1/2 cup caramel sauce, store-bought or homemade
- 1 cup chopped pecans
- 1/2 cup extra caramel sauce for drizzling
- 1/4 cup melted chocolate for drizzling
Ingredient Notes and Substitutions for Turtle Brownies
Okay, let’s talk about the keys to success here. First off, that cocoa powder: I used my favorite high-quality dark cocoa powder because it gives you that deep, almost bitter chocolate punch needed to balance the rest of the sweetness. Don’t cheap out here; it truly makes a difference in the final flavor profile of your **turtle brownies**.
For the caramel, you absolutely want something thick. If your store-bought caramel is super runny, it might just dissolve into the bottom layer of batter. If it seems thin, microwave it for just 10 seconds to thicken it up slightly before you drizzle it on. That small adjustment keeps those lovely ribbons of caramel suspended where they belong!
Equipment Needed for Making Chocolate Caramel Nut Bars
Before we even start melting butter, let’s make sure your kitchen is ready. Having everything organized upfront means you won’t miss that quick mixing window when it counts. Since these are such rich bars, we need the right pan to handle the layers and the cooling process effectively.
You won’t need anything fancy—no stand mixer required unless you’re making a huge batch where your arm gets tired! Here’s what you should pull out of the cupboards:
- One sturdy 9×13 inch baking pan. This pan size is perfect for getting that ideal brownie-to-topping ratio!
- Parchment paper. This is non-negotiable, everyone! It’s the only way to cleanly lift these behemoths out later.
- A large mixing bowl for the wet ingredients.
- A medium bowl for whisking the dry ingredients separately.
- A whisk to get that butter and sugar just perfectly creamy.
- A rubber spatula for folding everything gently together—remember, we don’t want tough brownies!
That’s really it! Simple tools for making something truly exceptional. Having that parchment paper lined up with a good overhang lets you feel like a professional when you finally pull out those perfect **chocolate caramel nut bars**.
Step-by-Step Instructions for Fudgy Turtle Brownies Recipe
Okay, this is where the magic really happens! We’re moving fast here, so make sure your ingredients are ready to go. The process is all about careful assembly to make sure those pockets of caramel end up exactly where they should be—not stuck to the bottom of the pan! First things first, preheat that oven to 350 degrees Fahrenheit. And please listen to me on this next part: grease and line your 9×13 pan with that parchment paper, leaving a nice overhang on the long sides. That overhang is your built-in handle later!
Mixing the batter is straightforward; whisk the melted butter and sugar, then beat in those four eggs one by one until they’re incorporated. In another bowl, whisk your dry items—cocoa, flour, salt, and baking powder—so there are no weird dry pockets later. Add the dry stuff to the wet mixture gradually until it just comes together. Seriously, stop mixing the second you don’t see dry streaks anymore. Fold in those chocolate chips!
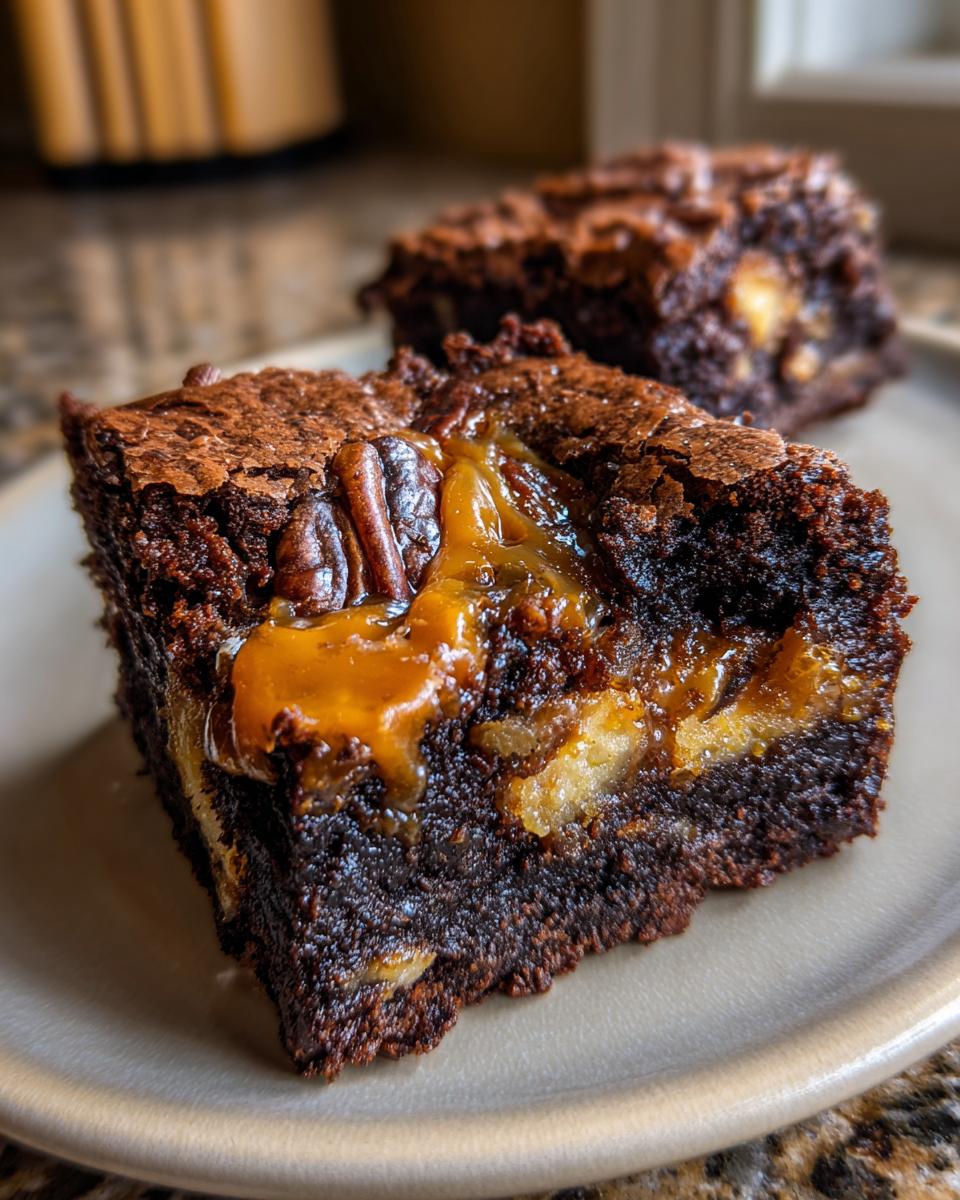
Now for the crucial layering. Spread exactly half of the batter into your ready pan. Drizzle that first half-cup of caramel carefully over the top, followed by half of your chopped pecans. Then, gently spread the remaining batter right over that pecan layer. Bake this beauty for 25 to 30 minutes. Mia always says the key to fudgy perfection is pulling them when the edges set but the middle still wiggles slightly. Trust me, if the toothpick comes out dry, you’ve gone too far! You want moist crumbs attached, not wet batter!
Achieving the Perfect Caramel Swirl in Your Turtle Brownies
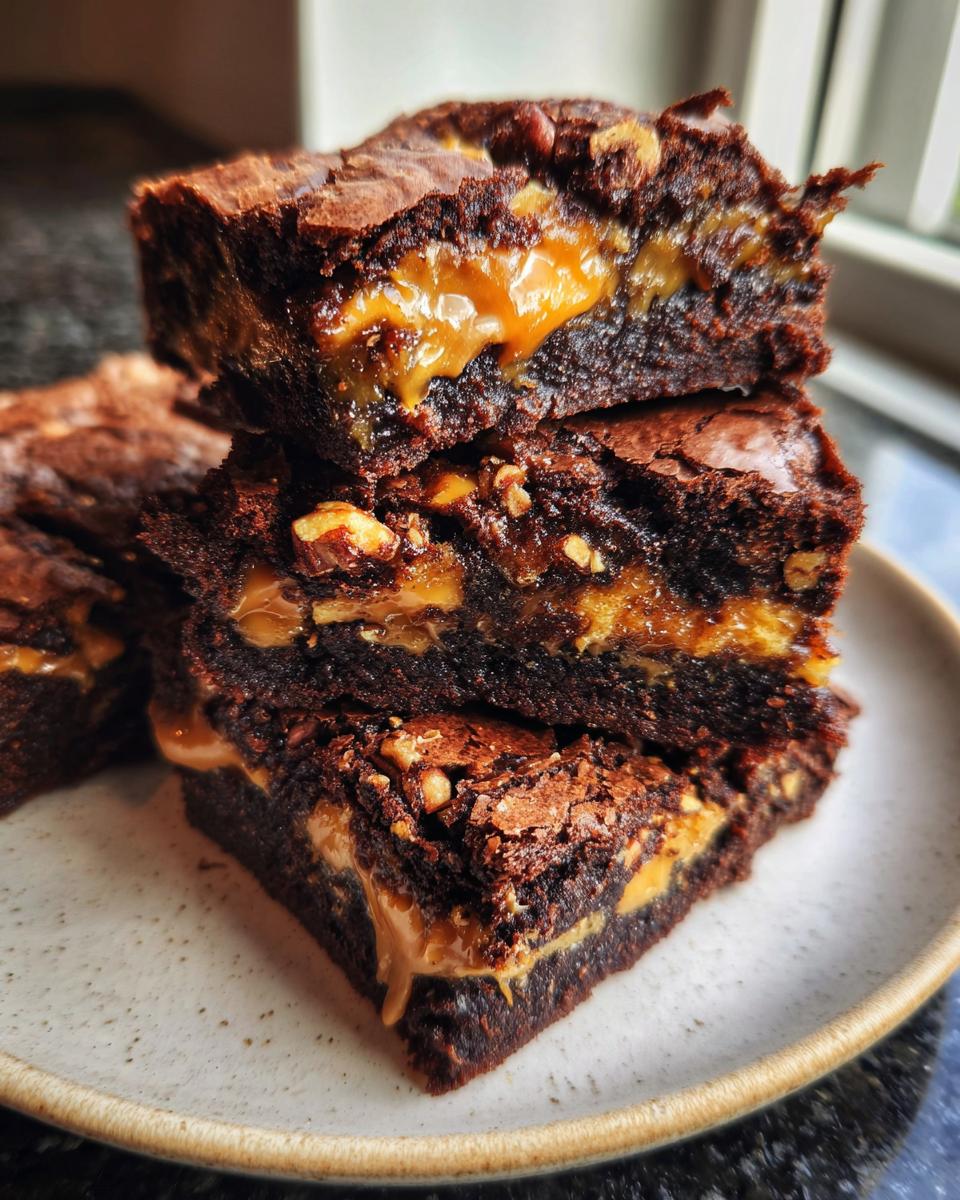
The biggest fear with any layered dessert like these **caramel pecan brownies** is having all the gooey stuff sink straight to the bottom. If that happens, you end up with a burnt, overly sweet layer instead of those lovely ribbons of flavor throughout! My trick is twofold. First, make sure your initial caramel drizzle—the one sandwiched inside the batter—isn’t ice-cold from the fridge; letting it sit on the counter for 20 minutes helps it spread nicely over the first batter layer. This focus on ingredient science is something I really picked up during my formal training, which you can read more about on my About Page.
Second, spreading that light layer of pecans directly on top of the *first* caramel layer acts like a little barrier. When you gently dollop the final layer of batter on top, you’re boxing that caramel in. It can’t sink through the heavy batter layer, but it gets hot enough in the oven to liquefy and mingle with the batter walls rather than dripping straight through to the pan bottom. You’ve created perfect layers of deliciousness!
Tips for Success When Baking Gourmet Brownie Idea
Baking these **gourmet brownie ideas** is a balancing act, I won’t lie. You’re trying to cook the inside thoroughly without turning that beautiful, gooey caramel layer into hard candy, or worse, drying out that rich chocolate base! The secret to getting that absolutely perfect fudgy center, the textural goal of every baker making **turtle brownies**, really comes down to paying attention during the final few minutes of baking.
The recipe notes say to aim for moist crumbs, and that is the absolute gospel truth. I learned this the hard way back when I was first trying to adapt family favorites into something richer. I remember pulling one batch out—it looked perfect on the outside—but when I cut into it, the center was basically little chocolate rocks. I was devastated! After that, I started religiously checking the doneness three different ways. Don’t overbake!
When you test for doneness, skip just relying on the toothpick in the dead center. That might still be wet because of the caramel layer settling there. Instead, check the edges first—they should look set and pull away from the pan just slightly. Then, use the toothpick test slightly *off-center*. You want moist crumbs clinging to it, not wet batter dripping off. If the toothpick comes out barely clean, pull those beauties out; they will keep cooking on the hot pan!
Once they are out, resist the urge to cut them immediately! I know, it smells divine, and the caramel looks so tempting, but if you cut them hot, you’ll end up with a melted, messy situation. Let them cool completely in the pan. Seriously, give them an hour or two. For those super clean, square cuts you see in magazines, pop the entire cooled pan into the fridge for about 30 minutes before you cut. Chilling tightens up that melted chocolate drizzle and firms up the caramel just enough so you can slice through those **chocolate caramel nut bars** like a pro. It’s worth the little wait, I promise!
Storing and Reheating Your Delicious Turtle Brownies
Part of what makes a **turtle brownies recipe** so fantastic is that you can (and should!) make them a day ahead of time. Believe it or not, the flavor actually deepens overnight! But how you store them plays a huge role in keeping that fudgy base soft and ensuring the caramel stays gloriously gooey.
If you plan on eating them over the next couple of days, I usually just leave them right in that 9×13 pan. Cover the whole thing tightly with plastic wrap or foil, and keep them on the counter at room temperature. Because of all that sugar in the chocolate and caramel, they stay perfectly fine for about three days out on the counter. Just make sure they are completely cool before you wrap them up, otherwise, you create a steamy environment, and nobody wants a soggy top!
Now, if you’re making these ahead of a big party or just want to save some for later (which, good luck resisting!), the fridge is best. Pop that foil-topped pan in the refrigerator. When you do this, the caramel and the brownie base will firm up quite a bit—that’s normal! They turn into great, dense, almost chocolate fudge bars when cold, which some people actually prefer.
How to Get That Heavenly Reheated Texture
When it’s time to serve the refrigerated ones, or if you just want that fresh-out-of-the-oven experience, reheating is key to reviving that gooey factor in your **turtle brownies**.
My favorite way to reheat a single square is the microwave. Place one bar on a microwave-safe plate and hit it for just 10 to 15 seconds. Watch it closely! You’re just trying to warm up the chocolate and soften that caramel ribbon inside. Don’t go too long, or you’ll end up with liquid caramel everywhere, which is messy, though still delicious, admittedly.
If you need to reheat a whole sheet, I suggest carefully cutting the cooled brownies into squares first—it’s easier to get heat distribution that way. Place the squares on a baking sheet and warm them in a 300-degree oven for about five to seven minutes. This gently warms the whole thing through without drying out the edges. Honestly, serving them slightly warm is the absolute best way to enjoy these **caramel pecan brownies**!
Frequently Asked Questions About Caramel Pecan Brownies
I know when you’re tackling a rich recipe like this, questions pop up! That’s totally normal, especially when you’re trying to nail the fudgy factor without having the caramel run everywhere. Here are a few things readers ask me most often about making these decadent **chocolate caramel nut bars** perfectly.
Can I use walnuts instead of pecans in this turtle brownies recipe?
Yes, absolutely! You can swap walnuts in for pecans if that’s what you have on hand, or maybe that’s just your preference—no judgment here! Just know that pecans have a slightly sweeter, buttery flavor that really enhances the ’turtle’ aspect. Walnuts will work great, giving you that satisfying crunch, but the overall flavor note will shift just a bit!
How do I prevent the caramel from sinking to the bottom of the turtle brownies?
This is my most common question, and it’s all about technique! If you look back in the instructions, you’ll see we use a dual-layer system. You put half the batter down first, then the caramel and nuts, and *then* the remaining batter on top. The top layer of batter acts like a heavy blanket holding the first layer of caramel in place so it can melt and spread rather than just pooling at the base. Also, using a thick caramel sauce is key here!
If you have any other burning questions about these amazing **caramel pecan brownies**, please don’t hesitate to reach out on my contact page. I love hearing how your baking turns out!
Estimated Nutritional Information for Turtle Brownies
I always try to keep things balanced in the kitchen, even when we’re making something this gloriously decadent! Because these **turtle brownies** are so rich, this information is based on an assumption of 24 servings from that 9×13 pan. Please remember these are just estimates based on standard store-bought ingredients, so your final numbers might vary a tiny bit depending on which brand of caramel you grab!
For those tracking nutrition, here’s a ballpark look at what one delicious square of these **chocolate caramel nut bars** contains:
- Serving Size: 1 square
- Calories: 250
- Sugar: 25g
- Fat: 15g (with 8g Saturated Fat)
- Carbohydrates: 28g
- Protein: 3g
We’re definitely focused on the flavor here, but knowing the basics helps! And if you ever want to check out the science behind why these turn out so fudgy, you can always take a look at my approach to food science on the Privacy Policy page—it helps me develop reliable recipes!
Share Your Decadent Turtle Brownies Experience
I put my heart and soul into making sure this **turtle brownies recipe** comes out perfectly chewy, fudgy, and loaded exactly right with caramel and pecans every time I bake it. Now that you’ve made them, I desperately want to hear what you think! Did they make it through the night at your gathering? Did your family members fight over the last one?
Please drop a rating using those stars right below this section. Seeing those five-star reviews really encourages me to keep developing these rich, comforting baked goods for you all!
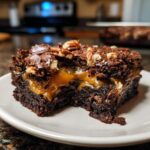
And if you took a picture of your finished **caramel pecan brownies**—especially that cross-section showing the gorgeously gooey layers—please share it! Tag me on social media so I can see your incredible results. Sharing your successes helps build this whole community of home bakers, and I love seeing your beautiful bakes!
If you had any issues, or maybe even a little adjustment you made that you think others should try in their next batch of **chocolate caramel nut bars**, leave those tips in the comments too! We all learn from each other in the kitchen. You can find the official terms for sharing your incredible feedback on the Terms of Use page if you’re curious about how we handle comments here!
PrintDecadent Turtle Brownies with Caramel and Pecans
Make rich, fudgy brownies layered with gooey caramel sauce and crunchy pecans for a gourmet dessert experience.
- Prep Time: 20 min
- Cook Time: 30 min
- Total Time: 50 min
- Yield: 24 servings 1x
- Category: Dessert
- Method: Baking
- Cuisine: American
- Diet: Vegetarian
Ingredients
- 1 cup unsalted butter, melted
- 2 cups granulated sugar
- 4 large eggs
- 1 teaspoon vanilla extract
- 3/4 cup unsalted cocoa powder
- 1 cup all-purpose flour
- 1/2 teaspoon salt
- 1/2 teaspoon baking powder
- 1 cup semi-sweet chocolate chips
- 1/2 cup caramel sauce, store-bought or homemade
- 1 cup chopped pecans
- 1/2 cup extra caramel sauce for drizzling
- 1/4 cup melted chocolate for drizzling
Instructions
- Preheat your oven to 350 degrees Fahrenheit. Grease and line a 9×13 inch baking pan with parchment paper, leaving an overhang for easy removal.
- In a large bowl, whisk together the melted butter and granulated sugar until smooth.
- Beat in the eggs one at a time, mixing well after each addition. Stir in the vanilla extract.
- In a separate bowl, whisk together the cocoa powder, flour, salt, and baking powder.
- Gradually add the dry ingredients to the wet ingredients, mixing until just combined. Do not overmix.
- Fold in the chocolate chips.
- Spread half of the brownie batter into the prepared pan.
- Drizzle 1/2 cup of caramel sauce evenly over the batter. Sprinkle half of the chopped pecans over the caramel layer.
- Carefully spread the remaining brownie batter over the pecan and caramel layer.
- Bake for 25 to 30 minutes. The edges should look set, but the center should still be slightly soft for a fudgy texture.
- Remove the brownies from the oven. Immediately drizzle the remaining 1/2 cup of caramel sauce over the hot brownies. Sprinkle the remaining pecans on top.
- Let the brownies cool completely in the pan before lifting them out using the parchment overhang.
- Once cool, drizzle the melted chocolate over the top. Let the chocolate set before cutting into squares.
Notes
- For the best fudgy texture, avoid overbaking the brownies. A toothpick inserted near the center should come out with moist crumbs attached, not wet batter.
- If you prefer a thicker caramel layer, use a thick, high-quality caramel sauce.
- Chill the brownies for 30 minutes after drizzling the chocolate to make clean cuts easier.
Nutrition
- Serving Size: 1 square
- Calories: 250
- Sugar: 25
- Sodium: 90
- Fat: 15
- Saturated Fat: 8
- Unsaturated Fat: 7
- Trans Fat: 0
- Carbohydrates: 28
- Fiber: 1
- Protein: 3
- Cholesterol: 55