

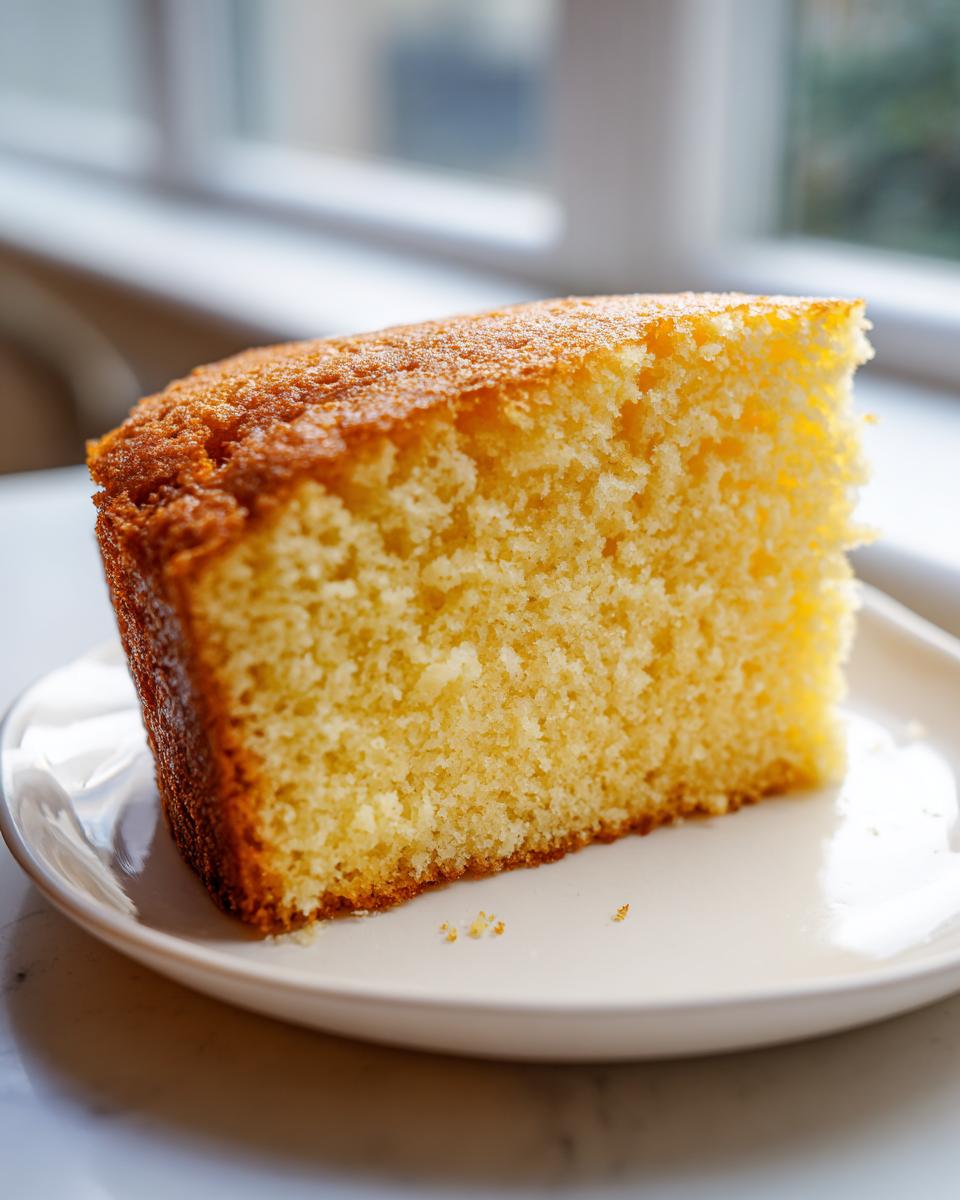
Every baker needs that one foundational recipe, right? The one you can turn to when you need something reliable, something utterly delicious, and something that tastes just like coming home. For me, that’s this perfect, buttery yellow cake recipe. It’s simple, absolutely tender, and holds that pure vanilla flavor we all crave. My background, learning classic American baking from my mother, really solidified how important it is to nail the basics, and trust me, this Vanilla cake is the one! It’s the perfect canvas for anything—whether you want to serve it naked with coffee or stack it high with fancy fillings. You can read more about my culinary journey at Cooking by Mia, but honestly, the real magic is happening right here in this simple batch of batter.
- Why This Classic Vanilla Cake Recipe Works (Expert Baking Secrets)
- Gathering Ingredients for Your Easy Cake Batter
- Step-by-Step Instructions for Your All-Purpose Celebration Cake
- Tips for Success When Baking a Tender Vanilla Cake
- Serving Suggestions for Your Buttery Birthday Cake
- Storage and Reheating Instructions for Your Vanilla Cake
- Frequently Asked Questions About This Easy Cake Batter
- Estimated Nutritional Data for This Classic Vanilla Cake
- Share Your Perfect Slice of Vanilla Cake
Why This Classic Vanilla Cake Recipe Works (Expert Baking Secrets)
So many recipes out there promise the world but deliver a dry, dense brick! That’s what this recipe fixes. We focus heavily on technique so you walk away with that melt-in-your-mouth tenderness every single time. This isn’t just guesswork; it’s tested science applied with a little bit of heart, which is what I learned blending my formal training with my mother’s Southern comfort recipes.
- We use baking powder very specifically; too much, and the cake tastes metallic, but just the right amount gives us that beautiful height.
- The milk and eggs *must* be at room temperature—this is non-negotiable for a smooth emulsion.
- The vanilla flavor here is intentionally strong. We are making a true vanilla experience, not a pale imitation!
Achieving the Perfect Buttery Birthday Cake Texture
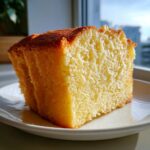
The texture is everything, especially when you want that gorgeous, fine crumb for a proper buttery birthday cake. The secret starts with the butter and sugar, folks. You have to cream those two together until they look pale, almost white, and definitely fluffy. Don’t rush this! This step traps air, and those tiny air pockets are what give you height and a delicate structure. Use room temperature butter that yields just slightly when pressed—if it’s melty or too hard, you’re already behind!
Gathering Ingredients for Your Easy Cake Batter
Okay, let’s talk about what you need to pull together this easy cake batter. Seriously, the ingredient list is short and sweet, which is why this recipe works so well for any occasion—no digging around for obscure pantry items here! It’s all about having the right proportions of high-quality staples to get that gorgeous yellow color and rich flavor. Remember, the quality of your base ingredients really shows through when you’re keeping things this simple.
Ingredient Notes and Substitutions for Vanilla Cake
Before you start mixing, I need you to do two things for purity and structure. First, that vanilla extract better be *pure*! Imitation stuff just tastes cloyingly sweet, and we want that deep, comforting aroma only true vanilla gives your final Vanilla cake. Second, and I can’t stress this enough: your butter, your eggs, and your milk absolutely need to be at room temperature. If they’re cold, they won’t combine properly with the creamed butter, and you end up with a curdled mixture that results in a denser cake crumb. If you forgot to take things out, here’s my quick trick for warming eggs up safely in warm water for just five minutes!
Step-by-Step Instructions for Your All-Purpose Celebration Cake
Time to put these beautiful ingredients to work! We’re preheating to 350°F and getting those pans ready—I always use a light spray of baking spray followed by a dusting of flour, just to be extra safe. Once you start mixing, you have to move with purpose. Remember, we are building structure here, not just stirring stuff around. Make sure you follow the alternating pattern closely when adding the flour and milk; that’s the secret to keeping the whole thing light and airy before we even get to the oven.
Mastering the Creaming and Mixing Stages of Vanilla Cake
Look at that butter and sugar! When I say “light and fluffy,” I mean you should be able to gently scoop it with your spoon and see texture in it, almost like pale, whipped frosting—that takes a good three to five minutes with the mixer, depending on your machine. Once the eggs are in, things will look a little smoother. Now for stopping—when you alternate the flour and milk, this is where you stop mixing the second those streaks of flour disappear. Seriously, stop! Overmixing your Vanilla cake batter activates the gluten and that’s how you end up with a tough bake. We want clouds, not rubber bands!
Baking and Cooling the Classic Vanilla Cake
Pop those rounds into the middle rack. And here’s a rule my mom enforced: hands off the oven door for the first 20 minutes! If you peek too early, that lovely rise will just collapse on itself. When the timer goes off, grab a wooden pick—not a toothpick, a reliable wooden one—and check the very center. If it comes out with moist, clinging crumbs, it’s done! If it’s wet, give it five more minutes. Don’t forget the cooling step for your classic vanilla cake; let them rest in the pans on a rack for a full ten minutes before you flip them out. This stabilizes the structure so the warm cake doesn’t tear when it lands.
Tips for Success When Baking a Tender Vanilla Cake
Honestly, baking this vanilla cake successfully comes down to respecting a couple of small, yet mighty, rules. Since this is your go-to classic vanilla cake, we want it perfect every time! If you are aiming for that absolute finest crumb—the kind of velvety texture usually reserved for professional bakeries—then you need to sift your dry ingredients. I know it feels like an extra step, but whisking flour, baking powder, and salt together isn’t enough; sifting breaks everything apart uniformly.
Also, remember those warm-up instructions for the milk and eggs? That really helps your final emulsion, leading to a more stable mix. Please, please, please, do not be tempted to check on your cake until at least the 25-minute mark. Opening that oven door lets the heat rush out, and your tender cake structure will totally deflate on you. Patience, my friend, patience is the final ingredient for baking success!
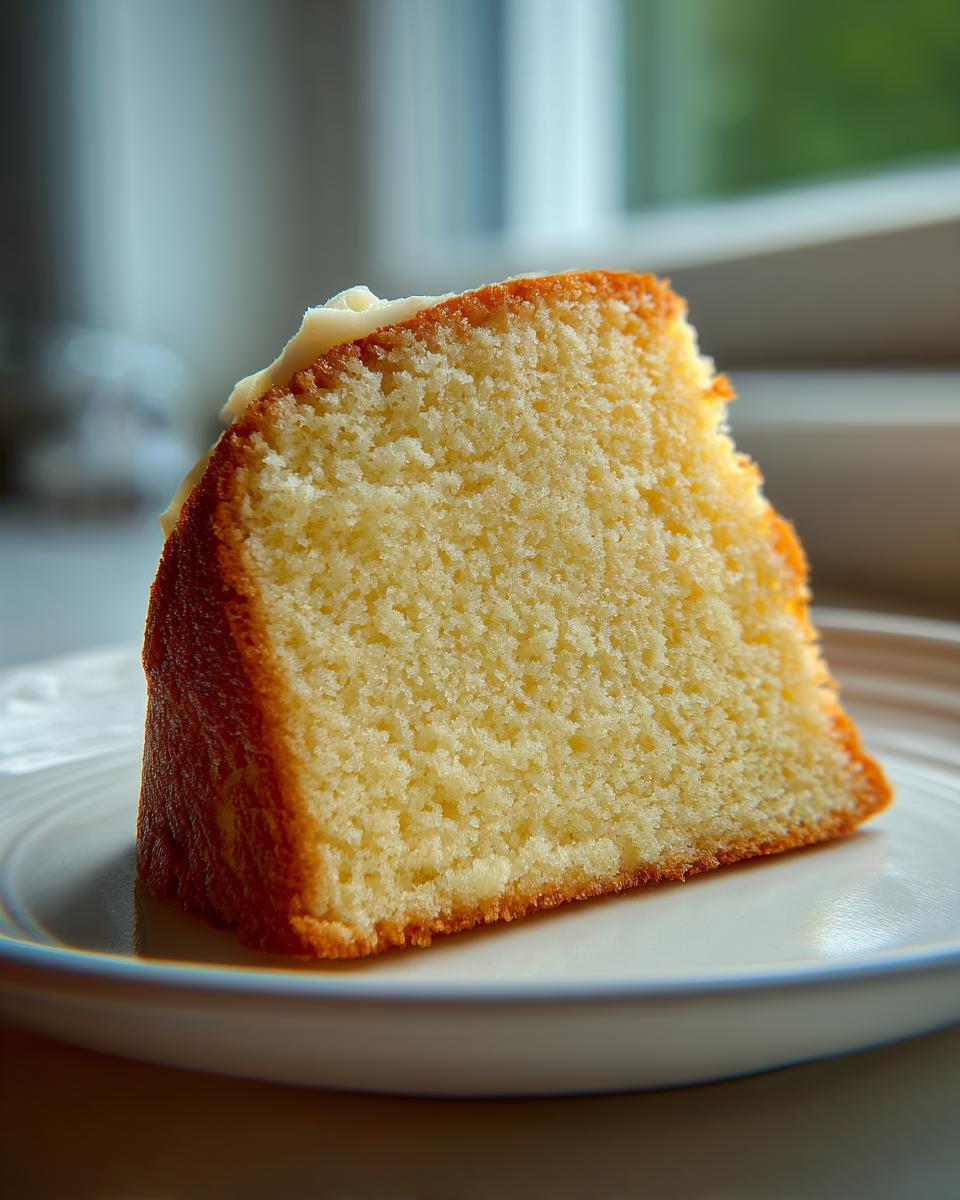
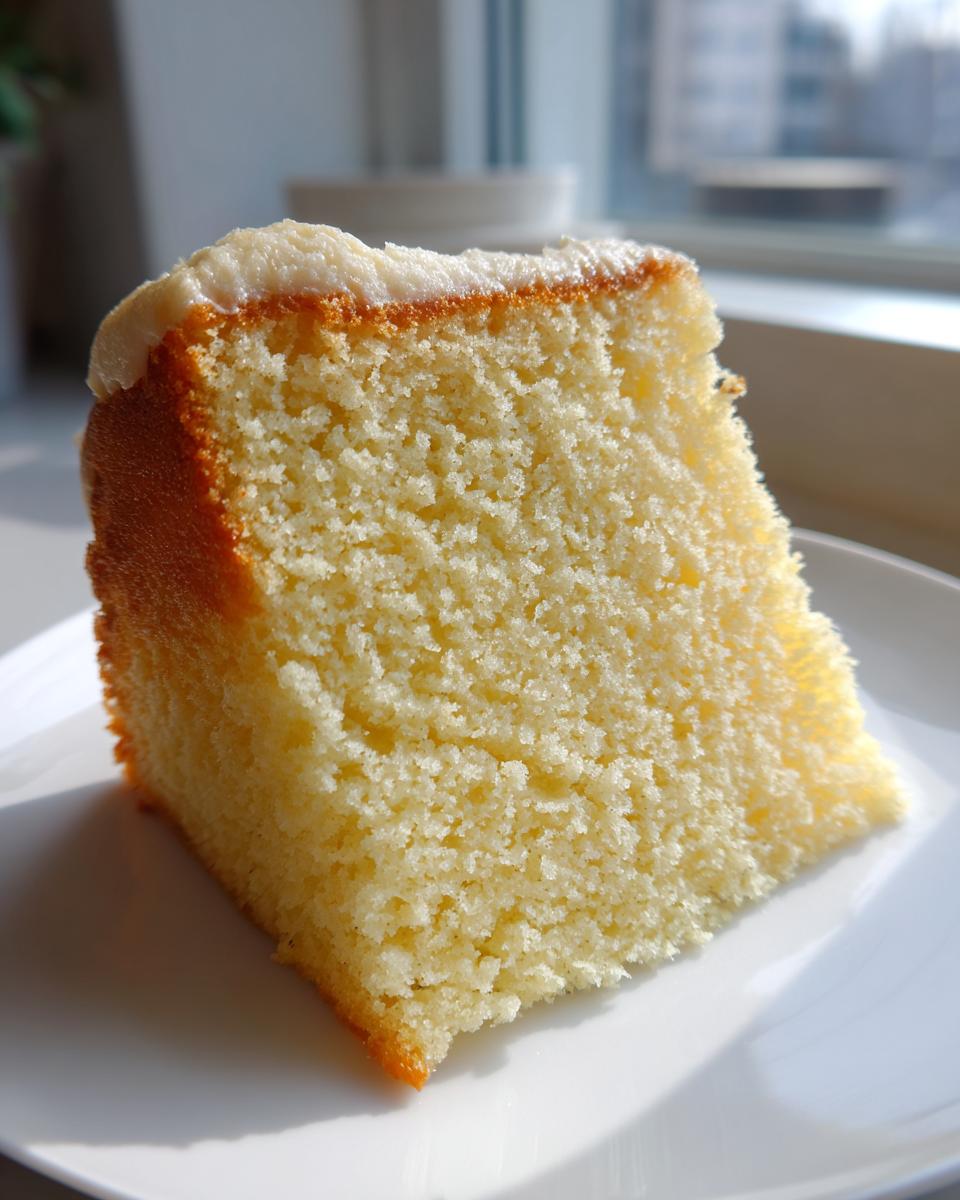
Serving Suggestions for Your Buttery Birthday Cake
Because this Vanilla cake is so straightforward and delicious on its own, you don’t need much fuss! I think the best way to honor its buttery flavor is with something light and creamy. A classic vanilla buttercream—just butter, powdered sugar, and a splash of milk—is always a winner for a proper buttery birthday cake celebration.
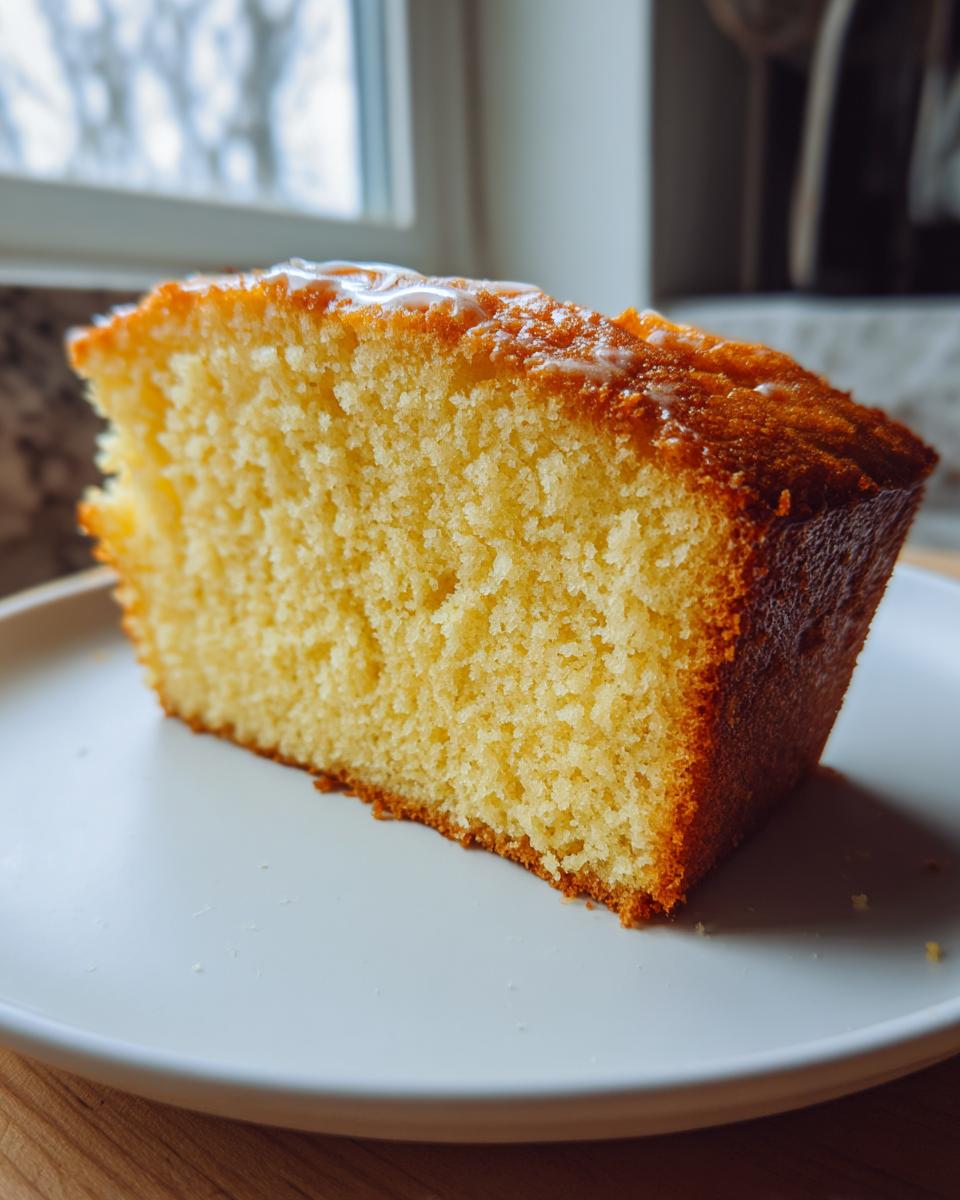
If you want to keep it really rustic and fresh, just dust the cooled layers heavily with powdered sugar and serve them alongside a big bowl of fresh whipped cream and macerated strawberries. Oh, that combination is just heavenly! It lets the simple, honest flavor of the cake truly shine through.
Storage and Reheating Instructions for Your Vanilla Cake
This buttery cake is best eaten the day it’s made, but since it’s so moist, it lasts wonderfully! Since we used real butter, you need to handle storage carefully to keep that fine crumb from drying out. If you’re frosting it the next day, wrap the cooled, unfrosted layers tightly in plastic wrap and store them at room temperature. If you’ve already frosted it, keep it covered, but realize that refrigeration can sometimes firm up butter cakes.
If you must refrigerate a frosted cake, make sure to let it sit out on the counter for at least an hour before serving to bring that buttery softness back. Trust me, cold cake is a sad cake!
Frequently Asked Questions About This Easy Cake Batter
I get so many messages asking how to tweak this recipe, which is great because it proves how reliable this easy cake batter recipe is! People want to know if they can substitute things or what went wrong when their mix looked a little funny. Don’t worry if you run into little bumps; baking is all about learning how your ingredients behave under different settings. Let’s go through the most common hurdles so your next attempt at this beautiful Vanilla cake is flawless!
Can I use milk substitutes in this Vanilla Cake recipe?
Yes, you certainly can swap out the whole milk, but you have to be mindful of the temperature. If you use something thinner like almond milk or even soy milk, you must make sure it’s still warmed up to room temperature, just like the whole milk. Cold substitutes will shock the butter mixture and can cause separation, which we definitely want to avoid when aiming for that buttery texture!
Why did my cake batter separate after adding eggs?
Oh, that curdled mess! This almost always happens for one of two reasons: either your butter wasn’t soft enough when you started creaming, or your eggs were too cold when you added them in one by one. If the eggs are cold, they stop the air bubbles you worked so hard to create during the creaming stage, and the whole mixture breaks. Always remember the rule I mention in the notes about room temperature ingredients—it’s the key to that beautiful structure!
Estimated Nutritional Data for This Classic Vanilla Cake
I know some of you are curious about the numbers behind all that deliciousness! Since this is a recipe built on classic ingredients—real butter, sugar, and flour—it definitely falls into that comforting, traditional category of baking. Here is the estimated breakdown for a single slice of this Vanilla cake based on standard ingredient measurements. Keep in mind, this is just an estimate, like all nutritional facts printed on boxes!
- Serving Size: 1 slice
- Calories: 320
- Sugar: 25g
- Sodium: 180mg
- Fat: 16g (Saturated Fat: 10g)
- Carbohydrates: 42g
- Protein: 5g
Just a little note so you don’t fret—these numbers can change wildly depending on exactly what brand of butter you use or if you decide to make a heavy layer of frosting on top! We’re using standard US measurements for this classic vanilla cake calculation, so use what you know works best for your kitchen, and enjoy every bite!
Share Your Perfect Slice of Vanilla Cake
Now that you’ve baked the perfect, tender slice of Vanilla cake, I really want to know how it went! Did the creaming method work magic for your texture? Did you keep your promise not to open that oven door?
Please, take a picture of your finished creation—whether it’s plain with a dusting of sugar or piled high with my favorite buttercream—and share it with me! Tag me on social media so I can see your beautiful bakes. Every time someone shares their success with this recipe, it just warms my heart and reminds me why I put all those detailed notes down.
If you had any little hiccups or questions that weren’t answered above, don’t hesitate to reach out directly through my contact page. Happy baking, and I can’t wait to see what you create with your new favorite all-purpose celebration cake!
PrintClassic Tender Vanilla Cake
A straightforward recipe for a buttery yellow cake with a fine crumb, perfect as a base for any frosting or filling.
- Prep Time: 20 min
- Cook Time: 35 min
- Total Time: 55 min
- Yield: 12 servings 1x
- Category: Dessert
- Method: Baking
- Cuisine: American
- Diet: Vegetarian
Ingredients
- 1 cup unsalted butter, softened
- 1 3/4 cups granulated sugar
- 4 large eggs, room temperature
- 1 tablespoon pure vanilla extract
- 2 3/4 cups all-purpose flour
- 1 tablespoon baking powder
- 1/2 teaspoon salt
- 1 cup whole milk, room temperature
Instructions
- Preheat your oven to 350°F (175°C). Grease and flour two 9-inch round cake pans.
- In a large bowl, cream the softened butter and granulated sugar together with an electric mixer until the mixture is light and fluffy, about 3 to 5 minutes. This step is important for texture.
- Add the eggs one at a time, beating well after each addition. Mix in the vanilla extract. Scrape down the sides of the bowl as needed.
- In a separate medium bowl, whisk together the flour, baking powder, and salt.
- Gradually add the dry ingredients to the wet ingredients, alternating with the milk. Begin and end with the dry ingredients (e.g., 1/3 flour, 1/2 milk, 1/3 flour, 1/2 milk, 1/3 flour). Mix only until just combined; do not overmix.
- Divide the batter evenly between the prepared cake pans.
- Bake for 30 to 35 minutes, or until a wooden pick inserted into the center comes out clean.
- Let the cakes cool in the pans for 10 minutes before inverting them onto a wire rack to cool completely before frosting.
Notes
- Use room temperature butter, eggs, and milk for the best emulsion and cake structure.
- For a finer crumb, sift your dry ingredients before measuring and mixing.
- Do not open the oven door during the first 20 minutes of baking to prevent the cake from falling.
Nutrition
- Serving Size: 1 slice
- Calories: 320
- Sugar: 25g
- Sodium: 180mg
- Fat: 16g
- Saturated Fat: 10g
- Unsaturated Fat: 6g
- Trans Fat: 0.5g
- Carbohydrates: 42g
- Fiber: 1g
- Protein: 5g
- Cholesterol: 85mg