
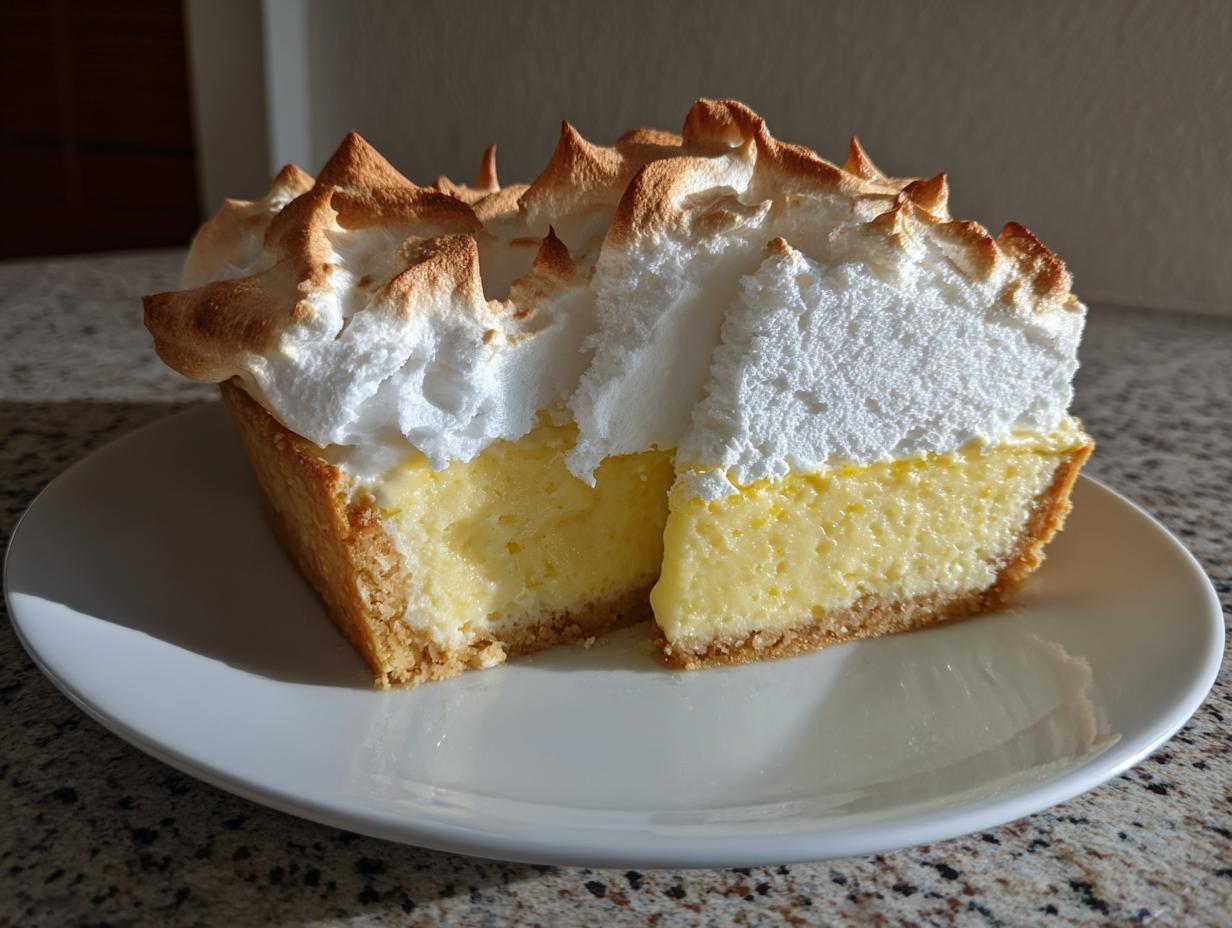
There is nothing—and I mean *nothing*—quite like slicing into a perfect pie where the filling is tart, the crust is buttery, and the meringue stands up tall and proud. If you’ve ever been scared off by a runny filling or, worse, a meringue that weeps all over your countertop, trust me, you need this recipe.
This isn’t just any old recipe; this is my go-to, completely from-scratch **lemon meringue** pie. Drawing on my background honing classic American recipes, I’ve focused relentlessly on stability. We’re talking about a showstopper dessert that holds its structure beautifully. We’ve cracked the code so you can achieve that bright, zesty flavor without any frustrating collapse. If you want reliability in your baking, you’ve come to the right place. You can learn more about my culinary philosophy over on the About Page!
- Why This Classic Lemon Meringue Recipe Succeeds (E-E-A-T Focus)
- Ingredients for the Ultimate Lemon Meringue
- How to Prepare the Perfect Lemon Meringue Recipe From Scratch
- Expert No Weep Lemon Meringue Tips for Stability
- Storing Your Finished Lemon Meringue Pie
- Variations: Mini Lemon Meringue Tarts and Bars
- Serving Suggestions for This Zesty Lemon Dessert
- Frequently Asked Questions About Lemon Meringue
- Nutritional Estimate for One Slice
- Share Your Baking Success
Why This Classic Lemon Meringue Recipe Succeeds (E-E-A-T Focus)
Look, I know making **lemon meringue** can seem intimidating. People imagine weeping puddles and sunken topping, but honestly, that’s usually just a technique issue! What makes this recipe a true winner is that we focus on proven methods, not shortcuts. This is confidence-building baking that results in a real showstopper dessert.
We are making a genuine, homemade lemon pie from scratch that works every single time. It’s about precision where it counts, like in the filling, and knowing your tools!
The Secret to a Tart and Sweet Pie Balance
The goal here is that sharp, zesty lemon flavor that cuts through the sweetness—you want a true zesty lemon dessert! That perfect tart and sweet pie flavor comes down to the ratio of fresh lemon juice to sugar in the filling. We use plenty of fresh juice and zest, balancing it so the filling doesn’t taste flat or sickeningly sweet. Don’t skimp on the fresh stuff, trust me on this!
Achieving the Buttery Pie Crust Tutorial
You can’t have an amazing **lemon meringue** pie without a solid base. I always insist on using a fully baked, blind-baked crust. If your crust is even slightly soft when you add the hot filling, you invite moisture migration, and that’s the enemy! Taking the extra ten minutes to fully bake that buttery pie crust tutorial ensures you have the flaky foundation required to hold up that luscious lemon layer.
Ingredients for the Ultimate Lemon Meringue
When friends ask me what makes my **lemon meringue** pie superior, I tell them it’s not magic; it’s just respecting the ingredients and being precise. If you follow these lists—and I mean *exactly*—you’re setting yourself up for success. We’re avoiding anything boxed or weird for a truly authentic, from-scratch experience. This recipe is straightforward, but every single part matters!
First things first: you’ll need a good crust ready to go. I always use my favorite flaky crust recipe and make sure it’s been blind-baked and cooled completely before we even think about the filling. You want that barrier strong!
For the Zesty Lemon Filling
This part is where we build that incredible flavor profile. Pay close attention to the sugar and cornstarch—that’s our thickening powerhouse. Don’t play fast and loose with these amounts, okay?
- 1 1/2 cups granulated sugar
- 1/3 cup cornstarch (This makes it nice and thick!)
- 1/4 teaspoon salt
- 1 1/2 cups cold water
- 4 large egg yolks, lightly beaten (Save those whites!)
- 1/2 cup fresh lemon juice (No substitutes here, please!)
- 1 tablespoon lemon zest (The brighter, the better)
- 2 tablespoons unsalted butter (Just a touch for richness)
For the Fluffy Meringue Topping
This is the part everyone swoons over. For the fluffy meringue topping that holds its shape, room temperature egg whites are essential. They whip up bigger and glossier, I promise!
- 4 large egg whites, room temperature
- 1/2 teaspoon cream of tartar (This is your insurance policy against collapse!)
- 1/2 cup granulated sugar (For whipping into those perfect peaks)
How to Prepare the Perfect Lemon Meringue Recipe From Scratch
Alright, deep breath! We are making magic now. Getting this lemon meringue recipe from scratch is genuinely satisfying, and it all comes down to doing things in the right order. We need that crust ready, then hot filling, and finally, that beautiful topping. Don’t rush this, or the whole **lemon meringue** pie drama starts!
Step 1: Preparing the Crust and Lemon Curd Recipe Base
First, make sure your 9-inch crust has already been blind-baked until it’s golden and completely cooled. I mean it—cool! Then, grab a medium saucepan. Whisk together 1 1/2 cups of your sugar, the cornstarch, and salt until there are no lumps at all. Now, pour in the cold water slowly, whisking until everything looks muddy but smooth.
Put that on medium heat and get ready to stir. You have to dedicate yourself to this until it thickens up like gravy and starts bubbling furiously. Once you see those big, slow bubbles for a full minute, pull it right off the heat. That’s Step One done for your filling!
Step 2: Tempering Yolks and Finishing the Filling
This is where we prevent scrambling eggs—the oldest trick in the book! Take your lightly beaten egg yolks in a separate bowl. You need to slowly pour about a cup of that hot sugar mixture into the yolks *while whisking constantly*. This is called tempering. You’re gently telling the yolks, “Hey, it’s getting warm!”
Once those yolks are happier, pour that tempered mixture right back into the main pot. Set it back on medium heat. Stir, stir, stir until it thickens again and boils gently for just one more minute. Take it off the heat again. Now, melt in your butter, and finally, stir in that beautiful fresh lemon juice and zest. It should be intensely fragrant—that’s your signature **homemade lemon pie from scratch** flavor!
Step 3: Making the How to Make Perfect Meringue
While the filling is hot (that’s important for later!), start on your meringue. Make sure your bowl and whisk are spotlessly clean—any tiny bit of grease equals flat meringue. Get your room-temperature egg whites and the cream of tartar going on medium speed until they look foamy and hold soft peaks. You know, where the tip flops over a bit?
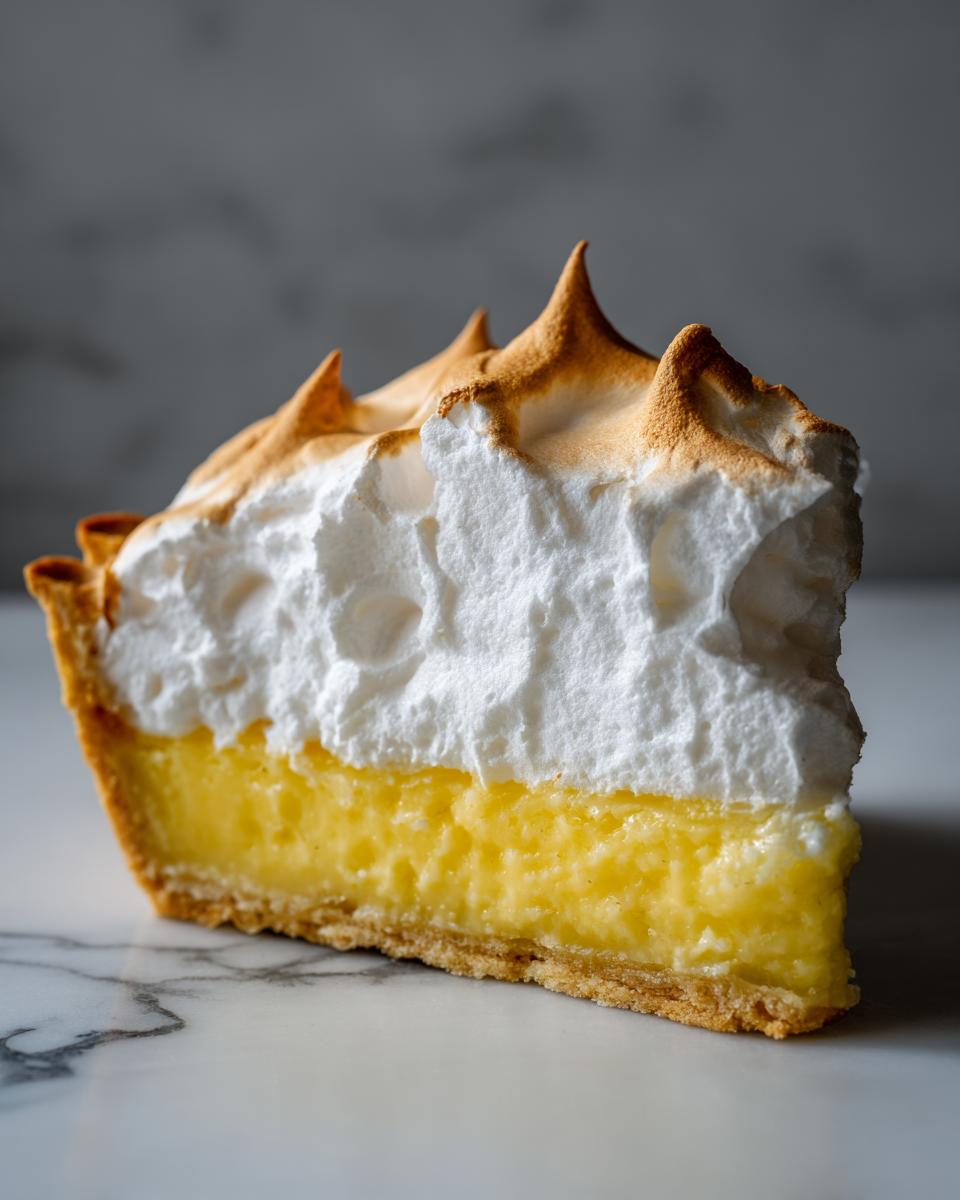
Now, slowly, slowly, slowly add that last half cup of sugar, just a tablespoon at a time, while cranking the speed up to high. Keep beating until you have stiff, *glossy* peaks. When you lift the whisk, the peak should stand straight up without even thinking about drooping. That’s how you get that **fluffy meringue topping** that holds its shape!
Step 4: Assembly and Baking for a Showstopper Dessert
Pour that glorious hot lemon filling into your cooled pie crust. Now, take your meringue and spread it over the top. Here’s the critical part to avoid shrinking: make sure the meringue seals against the crust edge all the way around. You don’t want any exposed filling! Use a spatula or the back of a spoon to create your fun swirls for texture.
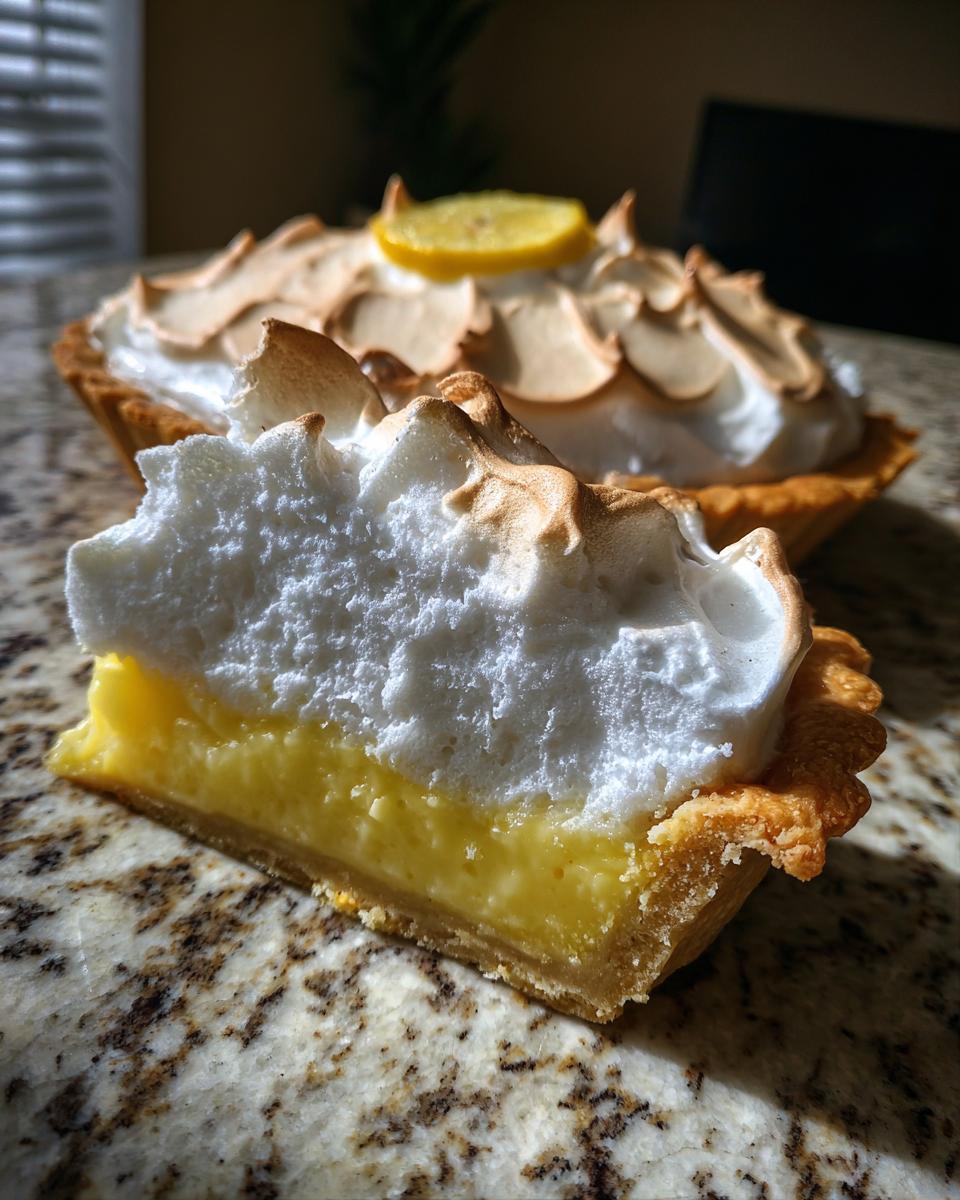
Toss it into a 350°F oven for about 12 to 15 minutes. You’re just looking for those beautiful peaks to turn lightly golden brown. It’s your perfect **showstopper dessert**!
Expert No Weep Lemon Meringue Tips for Stability
Okay, let’s talk about the moment of truth: the meringue. This is where most people get nervous, right? We don’t want weeping! We want proud, golden peaks that stay exactly where we put them, even hours later. I’ve tested this recipe hundreds of times, and I figured out the little things that keep this magnificent **lemon meringue** topping looking sharp.
Remember, preventing that awful sugary liquid from beading on top—weeping—is all about temperature control and grease avoidance. These two things seriously boost your credibility in the kitchen!
Preventing Meringue Shrinkage and Weeping
This is the most important trick for a stable topping. When you are ready to spread the meringue onto your filling, that lemon curd **must** still be hot. I mean, right off the stove hot! When the hot filling meets the egg white protein in the meringue, it sets up faster and that’s what stops the shrinking in its tracks.
Also, make sure that meringue is sealed completely to the crust edge all the way around. If you leave even a tiny gap, that hot filling inside will steam, and the steam will push moisture out between the crust and the meringue. It’s like creating a little roof; no gaps allowed!
Equipment Cleanliness for High Meringue Volume
If you want that gorgeous, cloud-like, **fluffy meringue topping**, your bowl has to be surgically clean. Seriously! Find a bowl that you know is totally grease-free. Even one speck of fat—a drop of oil, residual butter from an earlier recipe, anything—will sabotage your efforts. Fat prevents egg whites from reaching their maximum volume.
I always give my mixer bowl and whisk attachments a quick wipe down with a paper towel dipped in white vinegar or a splash of lemon juice right before whipping the whites. It sounds bossy, but trust me, this little routine ensures you get stiff, glossy peaks that stand tall, not sad, flat white fluff!

Storing Your Finished Lemon Meringue Pie
Okay, you’ve made the most beautiful, towering **lemon meringue** pie. Now, the real test: storage! You can’t just throw this beauty straight into the fridge! If you do that, the sudden cold shock is a surefire way to encourage weeping, and we worked way too hard on that fluffy topping to have it leak everywhere.
For the first few hours, leave your pie right on the counter at room temperature. It needs a slow transition. Since the filling is slightly acidic and has that stable cornstarch base, it’s fine sitting out for about four to six hours. This long, slow cooling process is essential to stabilize everything.
Once it’s mostly cooled down—maybe an hour or two after coming out of the oven—you can cover it loosely and move it to the refrigerator if you aren’t serving it immediately. But listen to me: Meringue on lemon pie is a temporary masterpiece. It’s at its absolute peak the *day* it’s made. By day two, it’s still delicious, but you might start noticing some moisture seeping underneath, especially if your kitchen is humid.
If you have leftovers (and honestly, that’s rare in my house!), eat them within 24 hours for the best texture. When you do store it, loosely tent it with plastic wrap, but try not to let the plastic touch the peaks unless you have to. If you are bringing it to a party, carry it still slightly warm if possible, or give it a good hour on the counter before slicing into that perfect **lemon meringue pie recipe**!
Variations: Mini Lemon Meringue Tarts and Bars
Now, this recipe is absolutely made for a full 9-inch pie, right? It’s big, it’s bold, it’s a real crowd-pleaser. But sometimes, you need something a little more portable, or maybe you just want a prettier presentation for a springtime tea party. Don’t you worry! This wonderful **lemon meringue** flavor profile translates beautifully into smaller formats.
If you’re hosting a summer gathering or just want an easier way to serve dessert without all the messy slicing, you have to try turning this into mini lemon meringue tarts. They feel so fancy but are secretly super easy to adapt!
For the mini tarts, instead of one big pie crust, you’ll use little individual tart shells—either homemade shortbread or store-bought ones if you’re in a major rush. You’ll use the exact same lemon filling recipe, but you have to really watch the baking time for the meringue. They cook much faster because they’re shallow, so keep an eye on those little peaks!
And what about **lemon meringue bars**? That’s another fantastic option for easy handling. For bars, I usually switch out the traditional flaky pie crust for a sturdier, buttery shortbread base. You bake that shortbread base completely first, let it cool (this is crucial for bars!), and then pour your hot lemon filling right over the top.
The meringue goes on just the same way—seal it to the edges of the shortbread base! You bake them until the meringue is set, and the best part? You can let them cool completely, then chill them until they are firm before cutting them into neat squares. They hold up so much better for potlucks than a huge wedge of pie, though they definitely won’t be as tall! It’s just a different, very delicious way to enjoy that classic **zesty lemon dessert** flavor.
Serving Suggestions for This Zesty Lemon Dessert
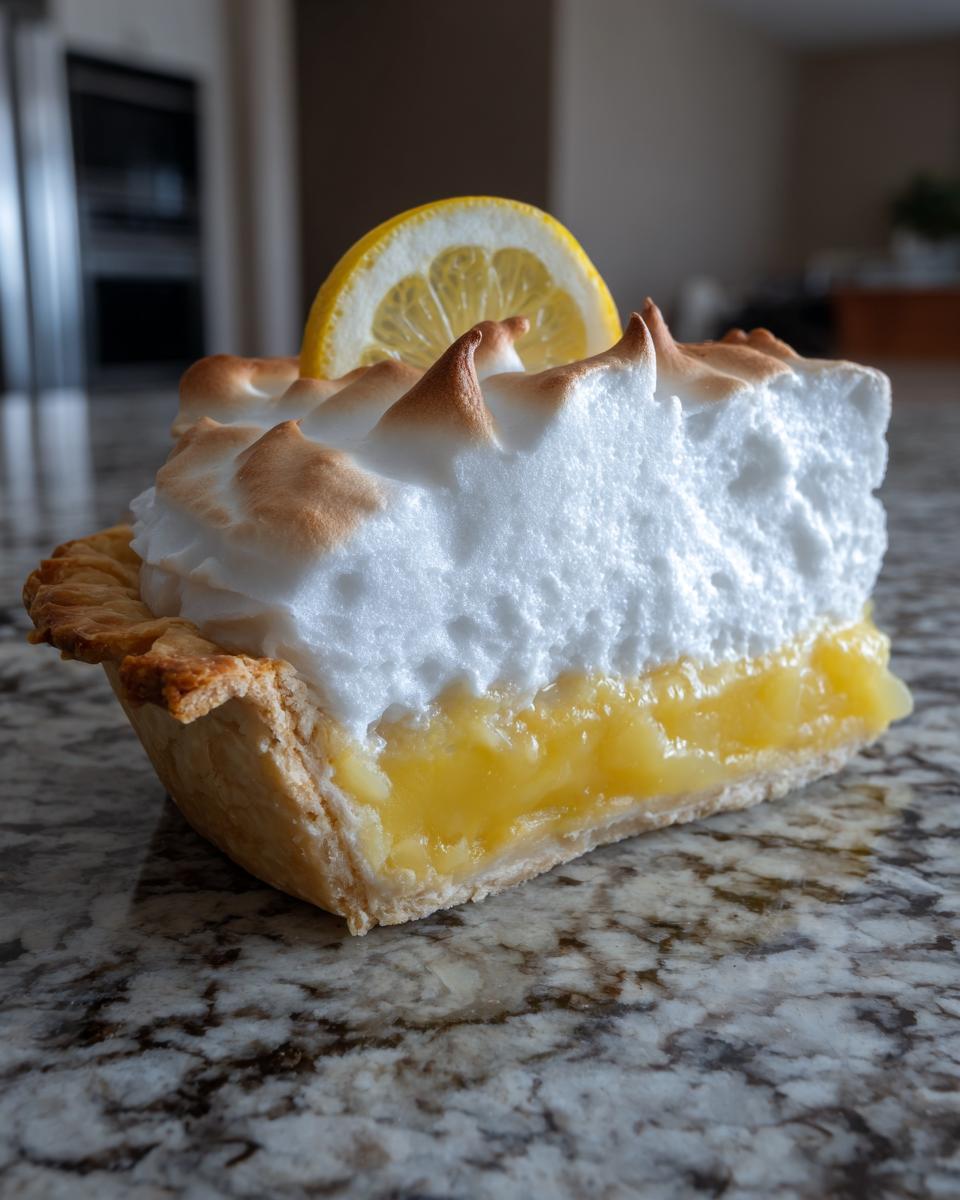
You’ve done it! You’ve conquered the crust, tamed the curd, and baked a perfect, towering meringue. Now, how do you serve this incredible creation? This **zesty lemon dessert** deserves the perfect complement. Since the pie itself is so intensely flavored—that sweet, bright, sharp kick—you don’t want to overpower it.
Because we are talking about a major **summer citrus dessert**, I often think about contrast. The pie is rich from the butter and custard, and powerfully tart. So, what works best is something light, cooling, or buttery.
My absolute favorite way to serve this **lemon meringue pie recipe** is exactly as it comes, slicing it clean and letting that beautiful yellow and white contrast shine on the plate. But if you’re worried about serving it to crowds who might find the intensity a bit much, I have a couple of tricks up my sleeve.
First, serve it with a little dollop of fresh, unsweetened or *very* lightly sweetened whipped cream on the side. That pure dairy richness cuts the sharp edges of the lemon instantly without adding more sugar or conflicting flavors. It just cools the palate between bites.
Secondly, if you’re having guests who aren’t huge meringue fans (I know, weirdos!), you have to give them a little something crisp to go with it. Think about serving your slice alongside a simple, plain shortbread cookie. The buttery snap of the shortbread contrasts wonderfully with the soft set of the filling and the airy meringue. It adds textural interest without fighting the main flavor profile.
If you’re enjoying this as an everyday type of treat rather than a formal **showstopper dessert**, I sometimes just serve the cooled filling itself (without meringue!) over vanilla ice cream. It turns into a quick, cold lemon sundae. Easy peasy, but definitely still screams summer!
Frequently Asked Questions About Lemon Meringue
I know you might still have a few lingering worries after tackling a big bake like this **lemon meringue pie recipe**. That’s totally normal! When you’re making something this beautiful and technical, questions pop up. I’ve gathered the ones I hear the most below, so let’s put your mind at ease so you can focus on enjoying that magnificent tart flavor!
Can I make the lemon filling ahead of time for my lemon meringue pie recipe?
Oh yes, you absolutely can! And honestly, this is one of my favorite tricks for making pie day less stressful. You can whip up that gorgeous lemon curd recipe base, pour it into your cooled crust, and cover it up. But here’s the huge caveat: you have to stick plastic wrap directly onto the surface of the filling, touching it completely. This stops a skin from forming.
Keep it in the fridge that way. When it’s time to bake the meringue, take the whole thing out. You’ll probably need to let it sit on the counter for about 30 minutes so it warms up just a little bit, or gently reheat it on the stove for just a minute or two until it’s warm again. Remember, the meringue *needs* that hot contact to seal properly and stop the shrinking!
What is the difference between this and a ‘classic lemon pie’?
That’s a great question! When people talk about a **classic lemon pie**, they usually mean a simple, rich lemon custard filling baked in a crust, maybe topped with a little dollop of whipped cream after it chills. It’s delicious, for sure!
But what makes this a **lemon meringue** pie—and what makes it a true showstopper—is that towering, cloud-like topping of baked egg whites! That meringue is what adds that distinct airy sweetness and that gorgeous golden peak texture we all love. If it doesn’t have that sugary, glorious tower on top, it generally isn’t officially a lemon meringue pie, right? It’s the height that makes all the difference!
Can I substitute bottled lemon juice?
Look, I try to be flexible in the kitchen, I really do! But for anything that relies on bright citrus flavor, like our **zesty lemon dessert**, bottled juice is just a huge gamble. The bottled stuff is pasteurized, which dulls that fresh, vibrant perfume we’re hunting for.
Fresh lemons give you the real punch. They give you that beautiful acid balance against the sugar that makes your eyes widen just a little bit when you take the first bite. If you are serious about getting the absolute *best* flavor in your pie—the kind that people ask for year after year—please, please use freshly squeezed juice and zest. It takes an extra minute, but I promise you, your pie will sing!
If you try this recipe and just love how reliable it is, please take a moment to leave me a quick note over at our contact page. Hearing from you guys makes all that testing worth it!
Nutritional Estimate for One Slice
Okay, confession time: I’m a cook, not a nutritionist! When I’m focused on crafting the *best* **lemon meringue** pie, my main thing is flavor and texture, not counting macros, ha! However, I know some of you lovely bakers need a general idea of what you’re diving into when you enjoy a slice of this rich **showstopper dessert**.
So, I ran the final ingredients through a standard calculator just to give you a baseline. Please remember, this is totally an estimate. If you use extra butter in your crust, or if your lemons were gigantic, these numbers will shift a little bit. This is based on splitting the pie into 8 generous slices.
It’s definitely a treat, right? But wow, is it worth every single calorie when you nail that perfect lemon meringue pie recipe!
- Calories: 380
- Fat: 18g
- Carbohydrates: 52g
- Sugar: 45g (That’s where the meringue and curd sweetness comes from!)
- Protein: 6g
- Sodium: 150mg
Seriously, take this table as a fun guideline more than a hard rule. The most important measurement is the one that says how much joy one slice brings you. If you’re focused on cutting down on sugar, maybe go easy on the extra dusting when serving, or stick to the **classic lemon pie** filling recipe without too much extra on the meringue!
Share Your Baking Success
Now, this is the fun part! You’ve navigated the cornstarch minefield, you’ve tamed the meringue, and you’ve successfully created what is truly the *best* **lemon meringue** pie out there. I really, really want to see what you made!
When you pull that pie out of the oven, smelling that amazing roasted sugar fragrance, you deserve a round of applause! Don’t keep that magnificent **showstopper dessert** just to yourself. If you made this recipe and it turned out beautifully, please hop over to the recipe card near the top of the page and give it a rating. Five stars is highly encouraged, naturally, but I want to hear what you loved most!
Did the sweet and tart ratio hit the mark? Did you manage to get those stiff, glossy peaks? Tell me everything in the comments below! I read every single one, and hearing about your success is genuinely what keeps me in the kitchen developing these family-approved recipes.
And if you took a stunning picture of your perfectly browned, towering pie crust and that bright yellow filling peeking out, please tag me on social media! Seeing your **classic lemon pie** creations popping up always makes my day. If you have questions regarding privacy or data, you can always review that information on our Privacy Policy page. Happy baking, friend—now go enjoy that slice!
PrintClassic Homemade Lemon Meringue Pie Recipe

Make a showstopper dessert with this classic recipe for Lemon Meringue Pie, featuring a buttery crust, zesty lemon filling, and fluffy, stable meringue topping. This recipe focuses on making it entirely from scratch.
- Prep Time: 30 min
- Cook Time: 30 min
- Total Time: 4 hours 0 minutes
- Yield: 8 servings 1x
- Category: Dessert
- Method: Baking
- Cuisine: American
- Diet: Vegetarian
Ingredients
- 1 recipe for Buttery Pie Crust (for a 9-inch pie)
- 1 1/2 cups granulated sugar
- 1/3 cup cornstarch
- 1/4 teaspoon salt
- 1 1/2 cups cold water
- 4 large egg yolks, lightly beaten
- 1/2 cup fresh lemon juice
- 1 tablespoon lemon zest
- 2 tablespoons unsalted butter
- 4 large egg whites, room temperature
- 1/2 teaspoon cream of tartar
- 1/2 cup granulated sugar (for meringue)
Instructions
- Prepare and partially bake your 9-inch pie crust according to your preferred recipe. Let it cool.
- Prepare the Lemon Filling: In a medium saucepan, whisk together 1 1/2 cups sugar, cornstarch, and salt. Gradually whisk in the cold water until smooth.
- Cook the mixture over medium heat, stirring constantly, until it thickens significantly and boils. Boil for 1 minute, stirring. Remove from heat.
- In a separate bowl, whisk the egg yolks. Slowly temper the yolks by whisking in about 1 cup of the hot sugar mixture.
- Pour the tempered yolk mixture back into the saucepan with the remaining hot mixture. Cook over medium heat, stirring constantly, until the filling comes to a gentle boil again. Cook for 1 minute. Do not overcook.
- Remove the filling from the heat. Stir in the lemon juice, lemon zest, and butter until the butter melts completely.
- Pour the hot lemon filling into the cooled, partially baked pie crust.
- Prepare the Meringue: In a clean, grease-free bowl, beat the egg whites and cream of tartar with an electric mixer on medium speed until soft peaks form.
- Gradually add the 1/2 cup of sugar, 1 tablespoon at a time, while beating continuously on high speed until stiff, glossy peaks form. This step is key for a no weep lemon meringue.
- Spread the meringue evenly over the hot lemon filling, making sure the meringue touches the edge of the crust all around to prevent shrinking. Create decorative swirls with the back of a spoon.
- Bake the pie at 350°F (175°C) for 12 to 15 minutes, or until the meringue peaks are lightly golden brown.
- Cool the pie completely on a wire rack at room temperature for at least 4 hours before slicing. Avoid placing it in the refrigerator immediately to prevent weeping.
Notes
- For a stable meringue, ensure your mixing bowl and whisk attachments are completely free of any grease or fat residue.
- To prevent the meringue from weeping (beading of liquid), make sure the lemon filling is hot when you spread the meringue on top.
- If you prefer a toasted meringue look without baking, you can use a kitchen torch after the pie has cooled slightly.
Nutrition
- Serving Size: 1 slice
- Calories: 380
- Sugar: 45g
- Sodium: 150mg
- Fat: 18g
- Saturated Fat: 7g
- Unsaturated Fat: 11g
- Trans Fat: 0g
- Carbohydrates: 52g
- Fiber: 1g
- Protein: 6g
- Cholesterol: 110mg